You have had a beautiful photo printed on a canvas background. To protect the photo from scratches and weather influences (such as yellowing due to UV light), you can finish the photo with a crystal-clear coat of epoxy resin. With our epoxy photo resin this is a fairly simple job. In this article we explain step by step how to get a deep shine in your canvas photo.
For the photo on canvas below we used the following materials:
To start with, make sure you prepare the workshop for working with epoxy. For example, you can easily cover the surface (the ground you will be working on) with rubbish bags. Next, place the canvas photo on a table with such support that the canvas does not touch the table and is level. If the photo is not level, it will be difficult to spread the epoxy properly over the canvas.

Before you start making the epoxy resin, it is important that you check whether the base resin (component A) is crystal clear. If you store the epoxy photo resin too cold, it can crystallize. Fortunately, this is not a problem and can be easily solved by first placing the epoxy in warm water (about 40℃) until the epoxy becomes clear in color. Make sure that no water gets into the resin! When the resin is clear again, you can let it cool to 20 to 25°C.
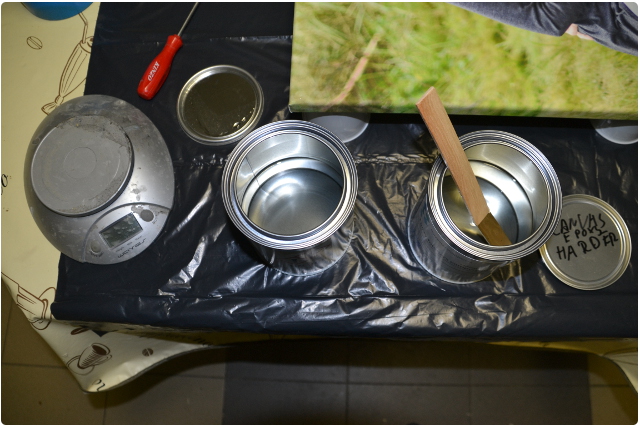
The next step is to prepare the epoxy resin. Epoxy is a sensitive product when it comes to mixing ratio and mixing process. If you make mistakes in this step, there is a good chance that the end result will not be as desired. We therefore always recommend that you use a scale and weigh both components carefully. The mixing ratio of the RESION UV Resin Art Epoxy is 2 to 1. This means that for every 100 grams of epoxy (A), you must add 50 grams of hardener (B). In the photo below we have poured 500 grams of resin and 250 grams of resin into a mixing cup.
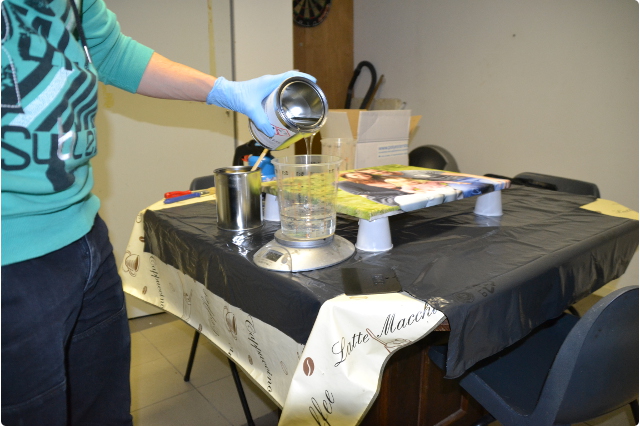
After you have carefully weighed both components, you can start mixing the epoxy. We recommend doing this for 2 to 4 minutes. Don't forget to include the wall and bottom of the mixing bowl while mixing. To be on the safe side, you can pour the epoxy into a new mixing cup and mix the resin for a few more minutes.
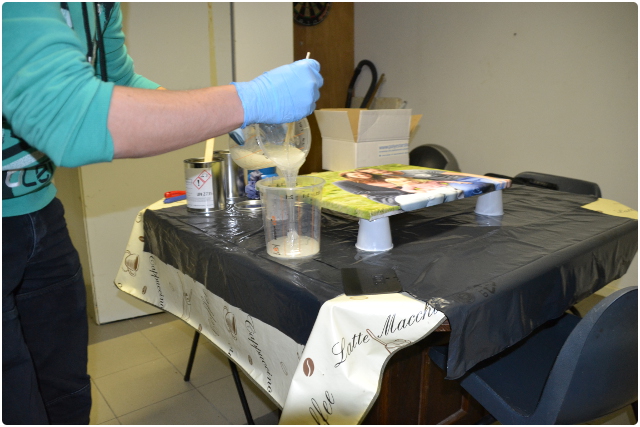
In this step we will pour the epoxy over the canvas. We recommend starting casting in the center of the canvas. You can easily spread the epoxy resin over the canvas after pouring with a mixing spatula or laminating spatula. We recommend pouring in steps. For example, you can always pour 200 grams of resin and then spread it.
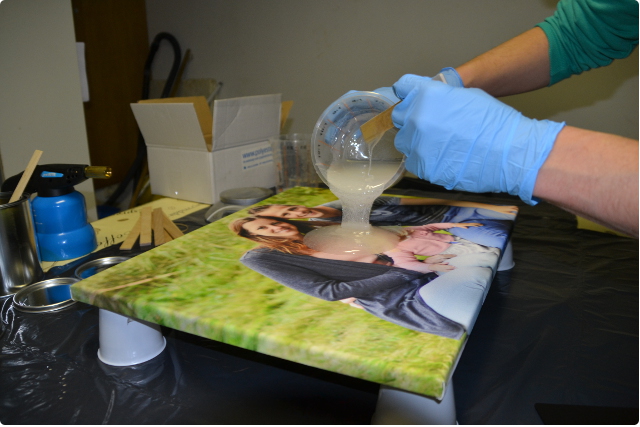
Once you spread the resin over the photo, it will probably look a bit cloudy with a lot of air bubbles in the resin. This is the moment when the mini gas burner comes in handy. By 'waving' the burner over the photo at a height of approximately 15 cm for a few minutes, the air bubbles disappear. You will now see that the resin in the photo is becoming brighter. This is because the heat from the burner pushes the air bubbles upwards, as it were, causing the air bubbles to disappear.
If there are still air bubbles left after the first 'venting (bleeding)', you can repeat this step after about 10 minutes.
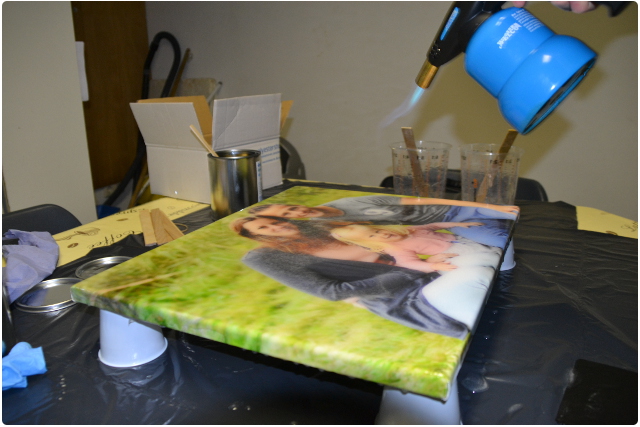
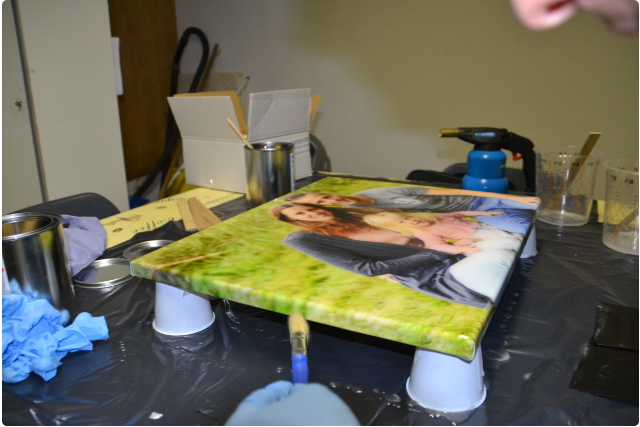
If you have carried out the above steps correctly, you will see that the surface becomes more beautiful and brighter! The epoxy that drips down the edges can easily be smoothed out with a flat brush.
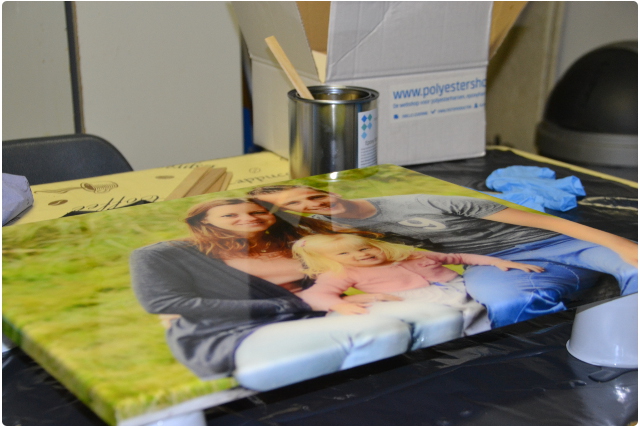
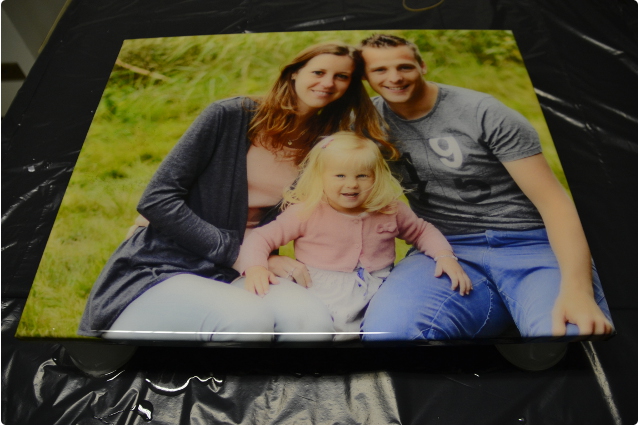
After you have completed the 7 steps above, you can let the epoxy harden. Complete curing takes approximately 3-5 days. You have now finished your canvas with crystal clear epoxy! The result should look like this:
Do you still have questions about the products after reading this article? Our specialists are happy to answer your questions and provide tips and advice for your project! Please contact us by calling or emailing us or via our live chat.
Do you have a specific question? Call one of our specialists for free advice +3185 0220090
