Make a beautiful shelf yourself by pouring a tree trunk plank with epoxy! For Jevi's bedroom we poured epoxy into a beautiful piece of wood and he is very happy with it. In this article you will read step by step how you can do it yourself. In addition, you can experiment with wood moulding at a lower cost if you want to make an epoxy table yourself!
Melamine board or other material to make the mould with
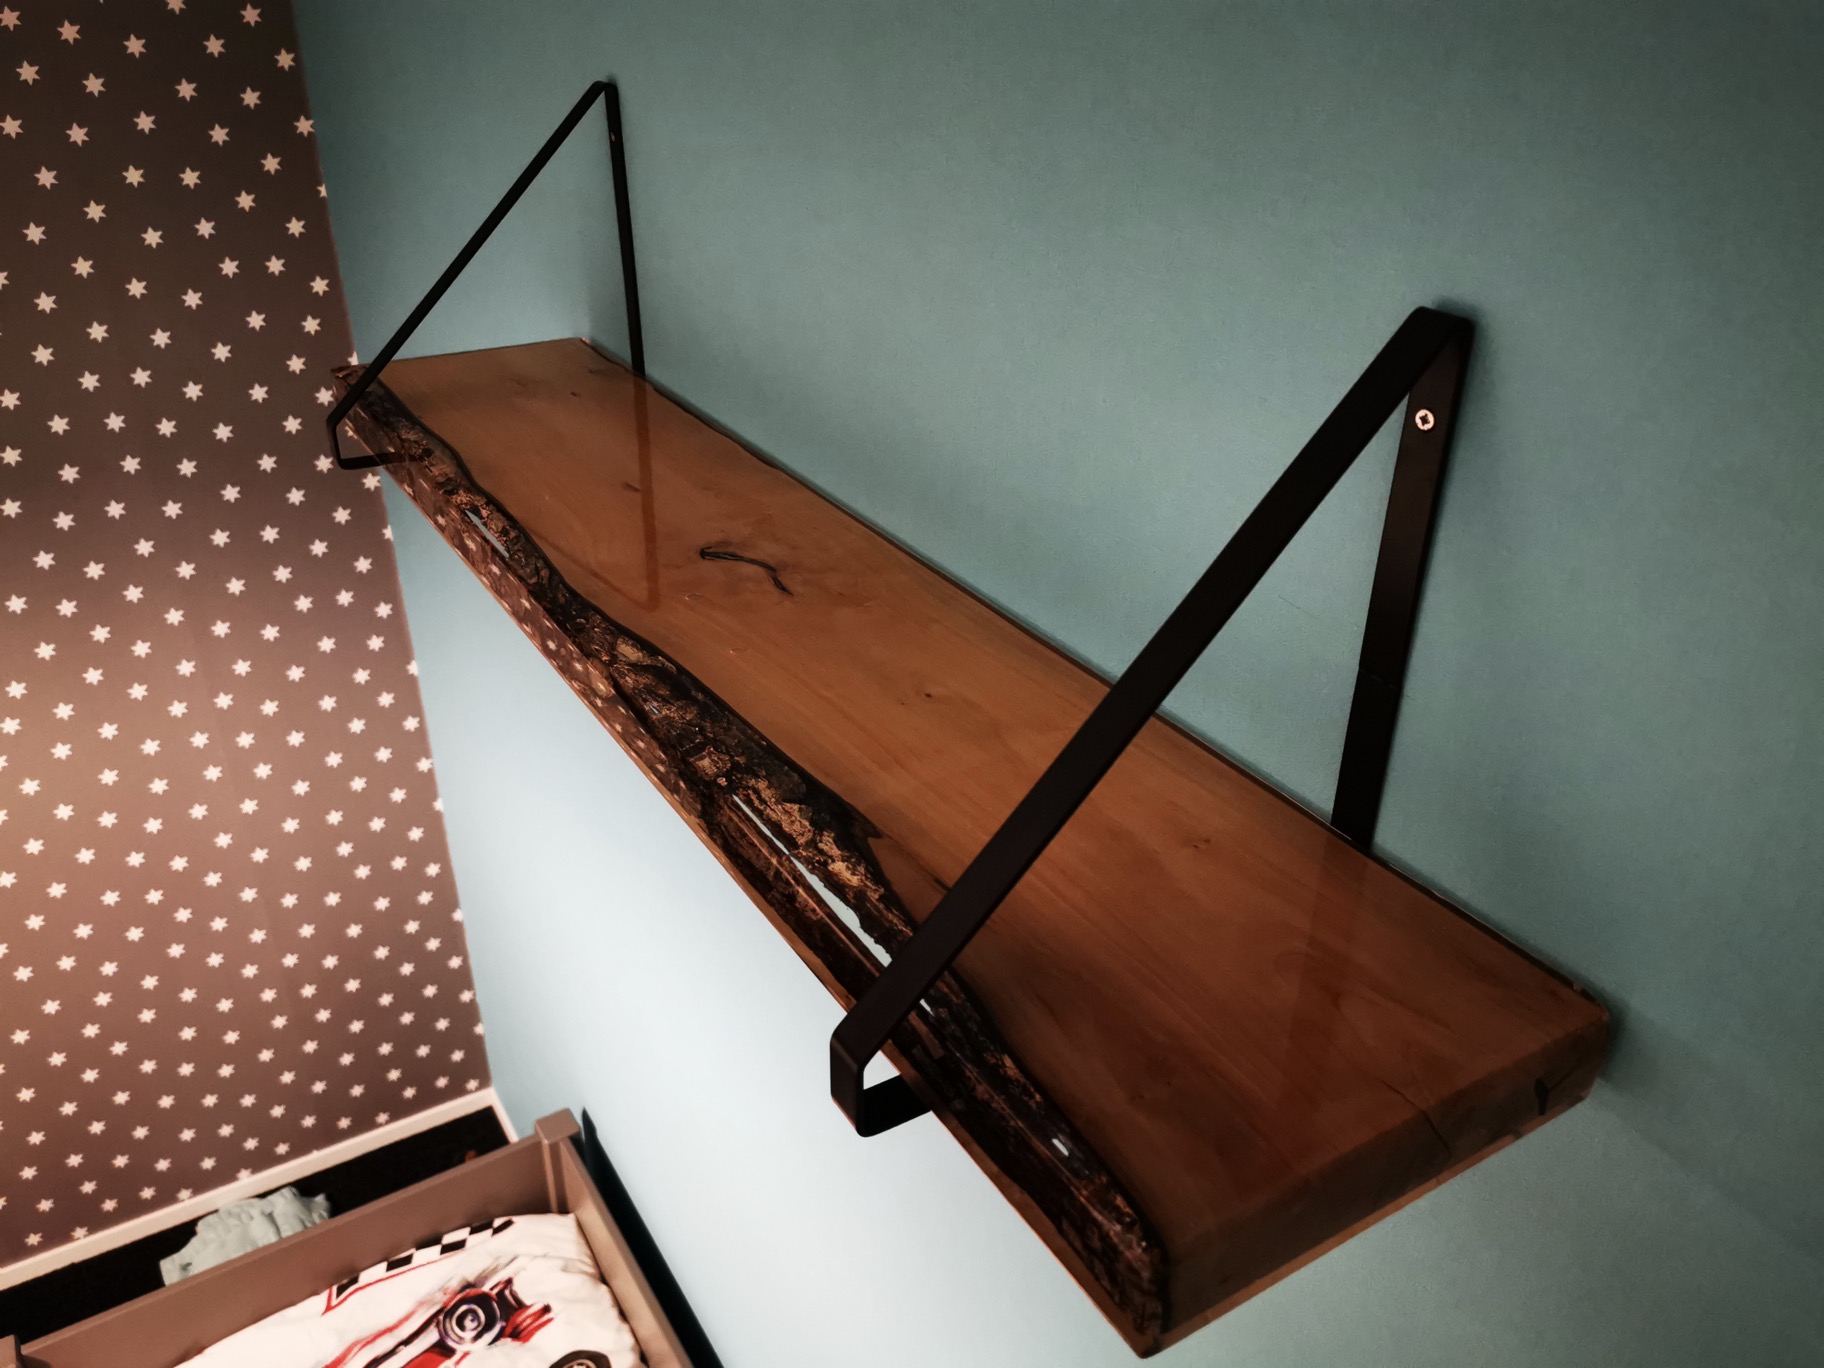
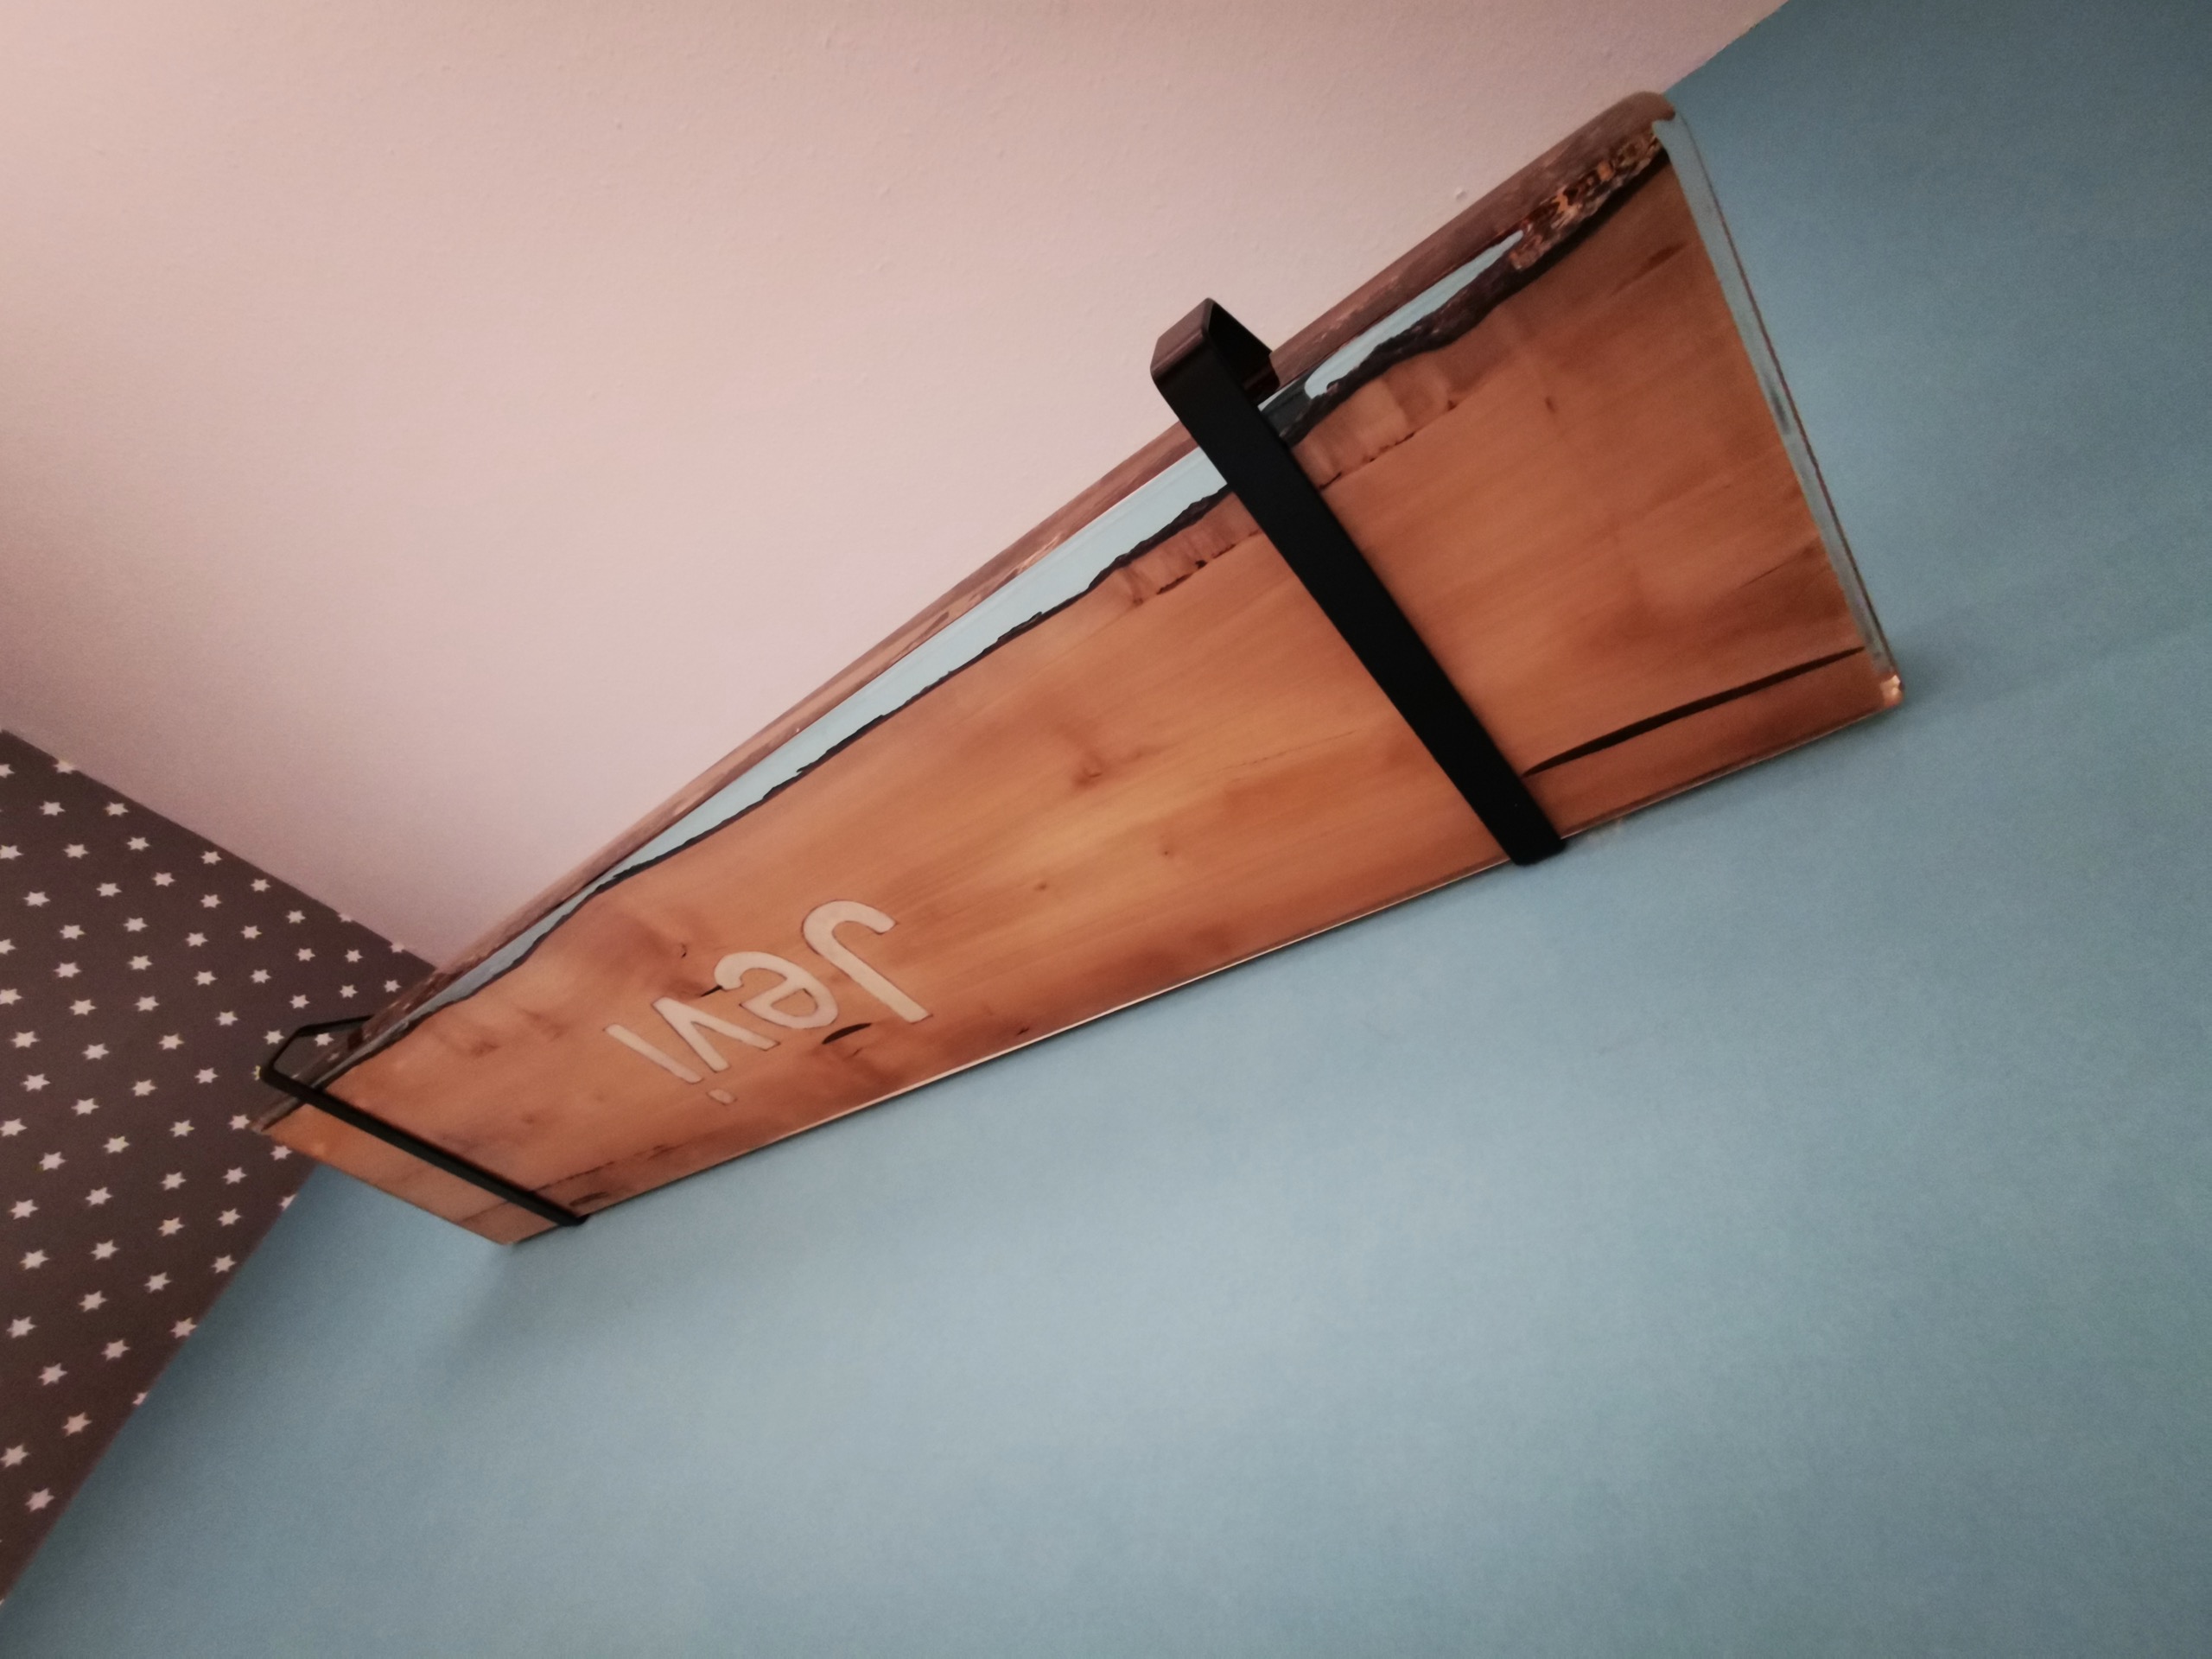
Hanging brackets for the shelf
Step 1. Prepare a nice piece of tree trunk wood
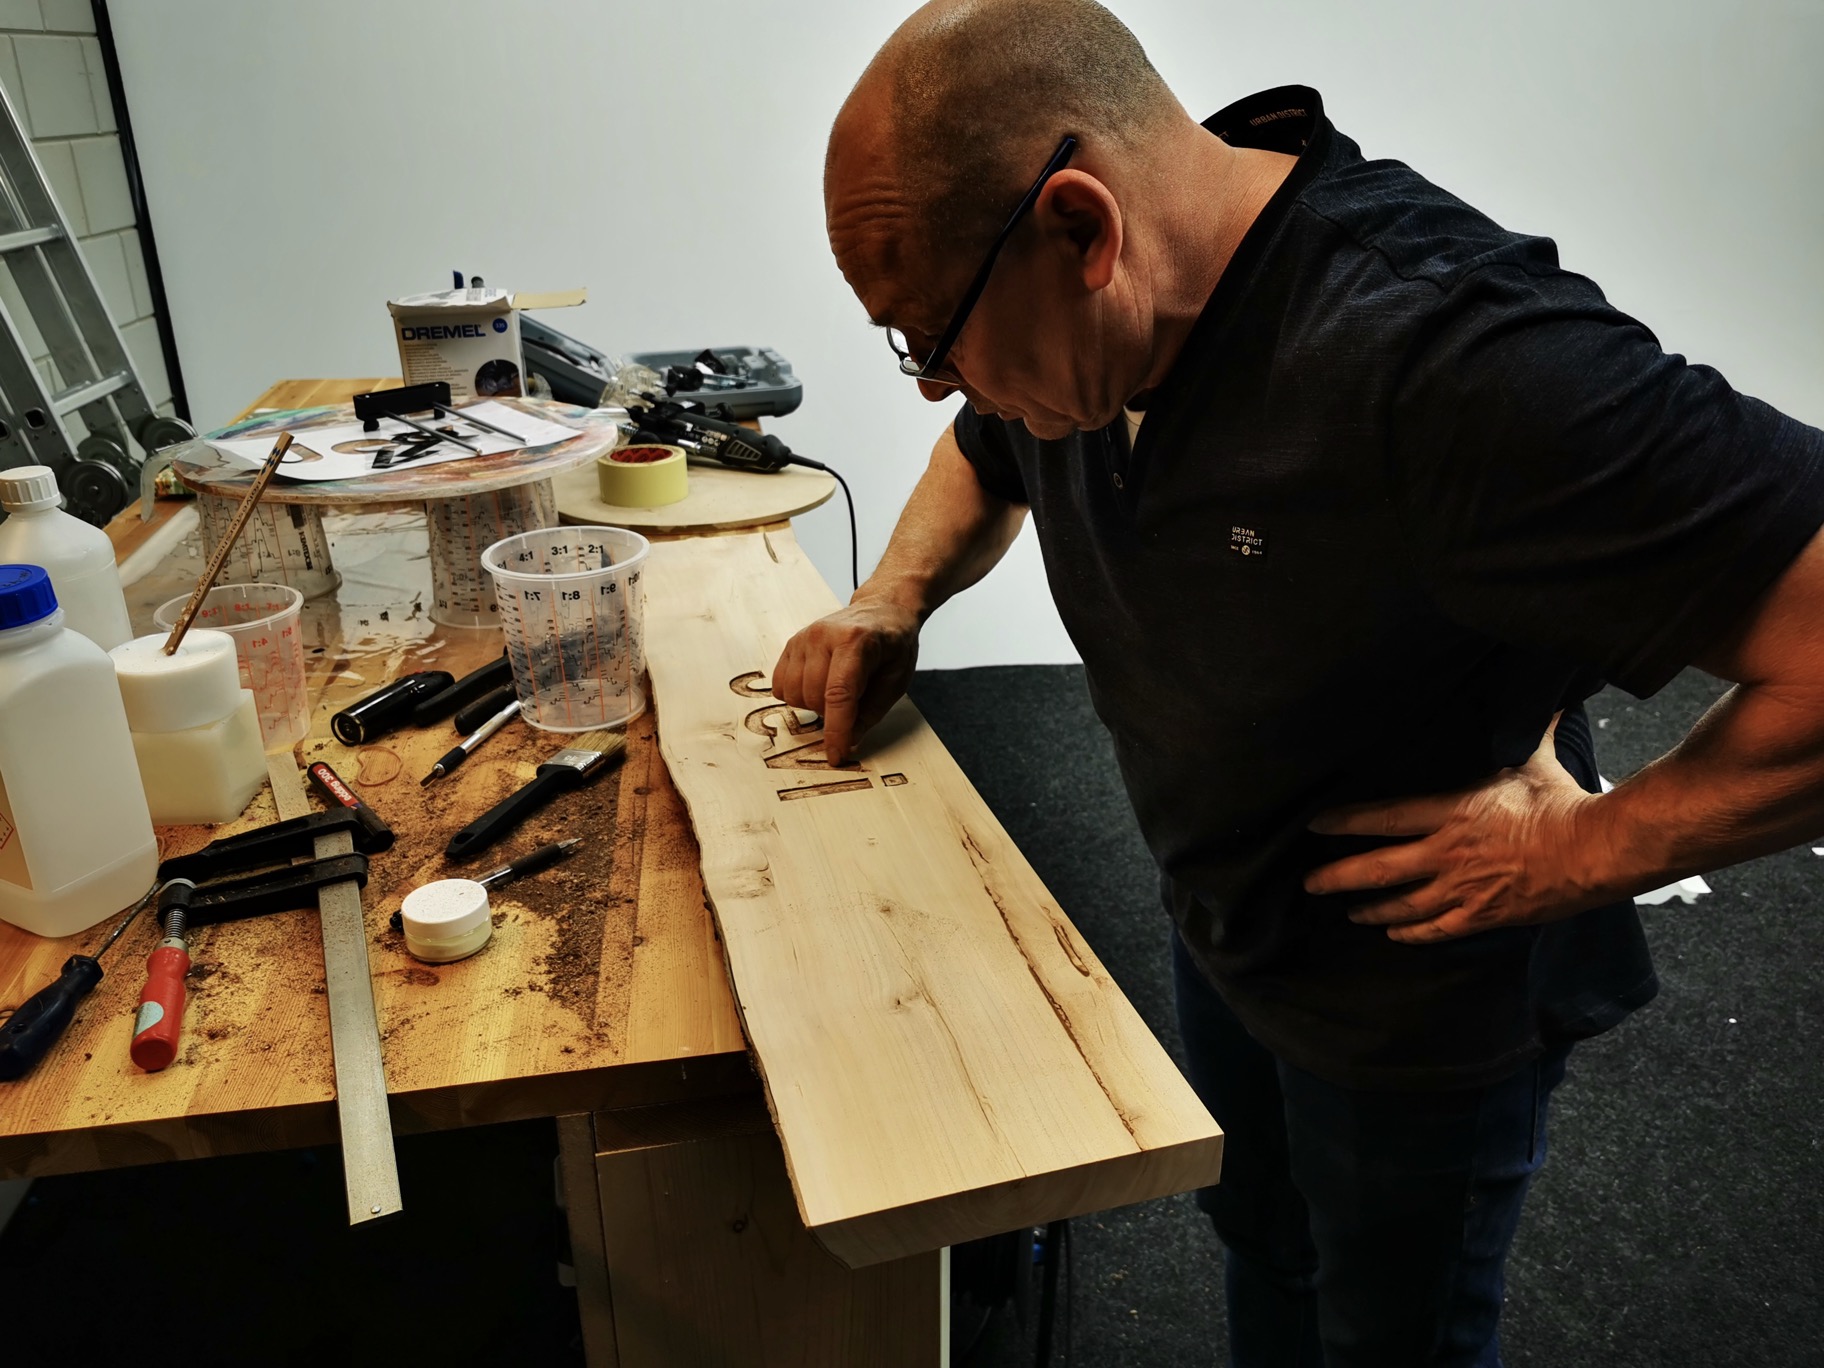
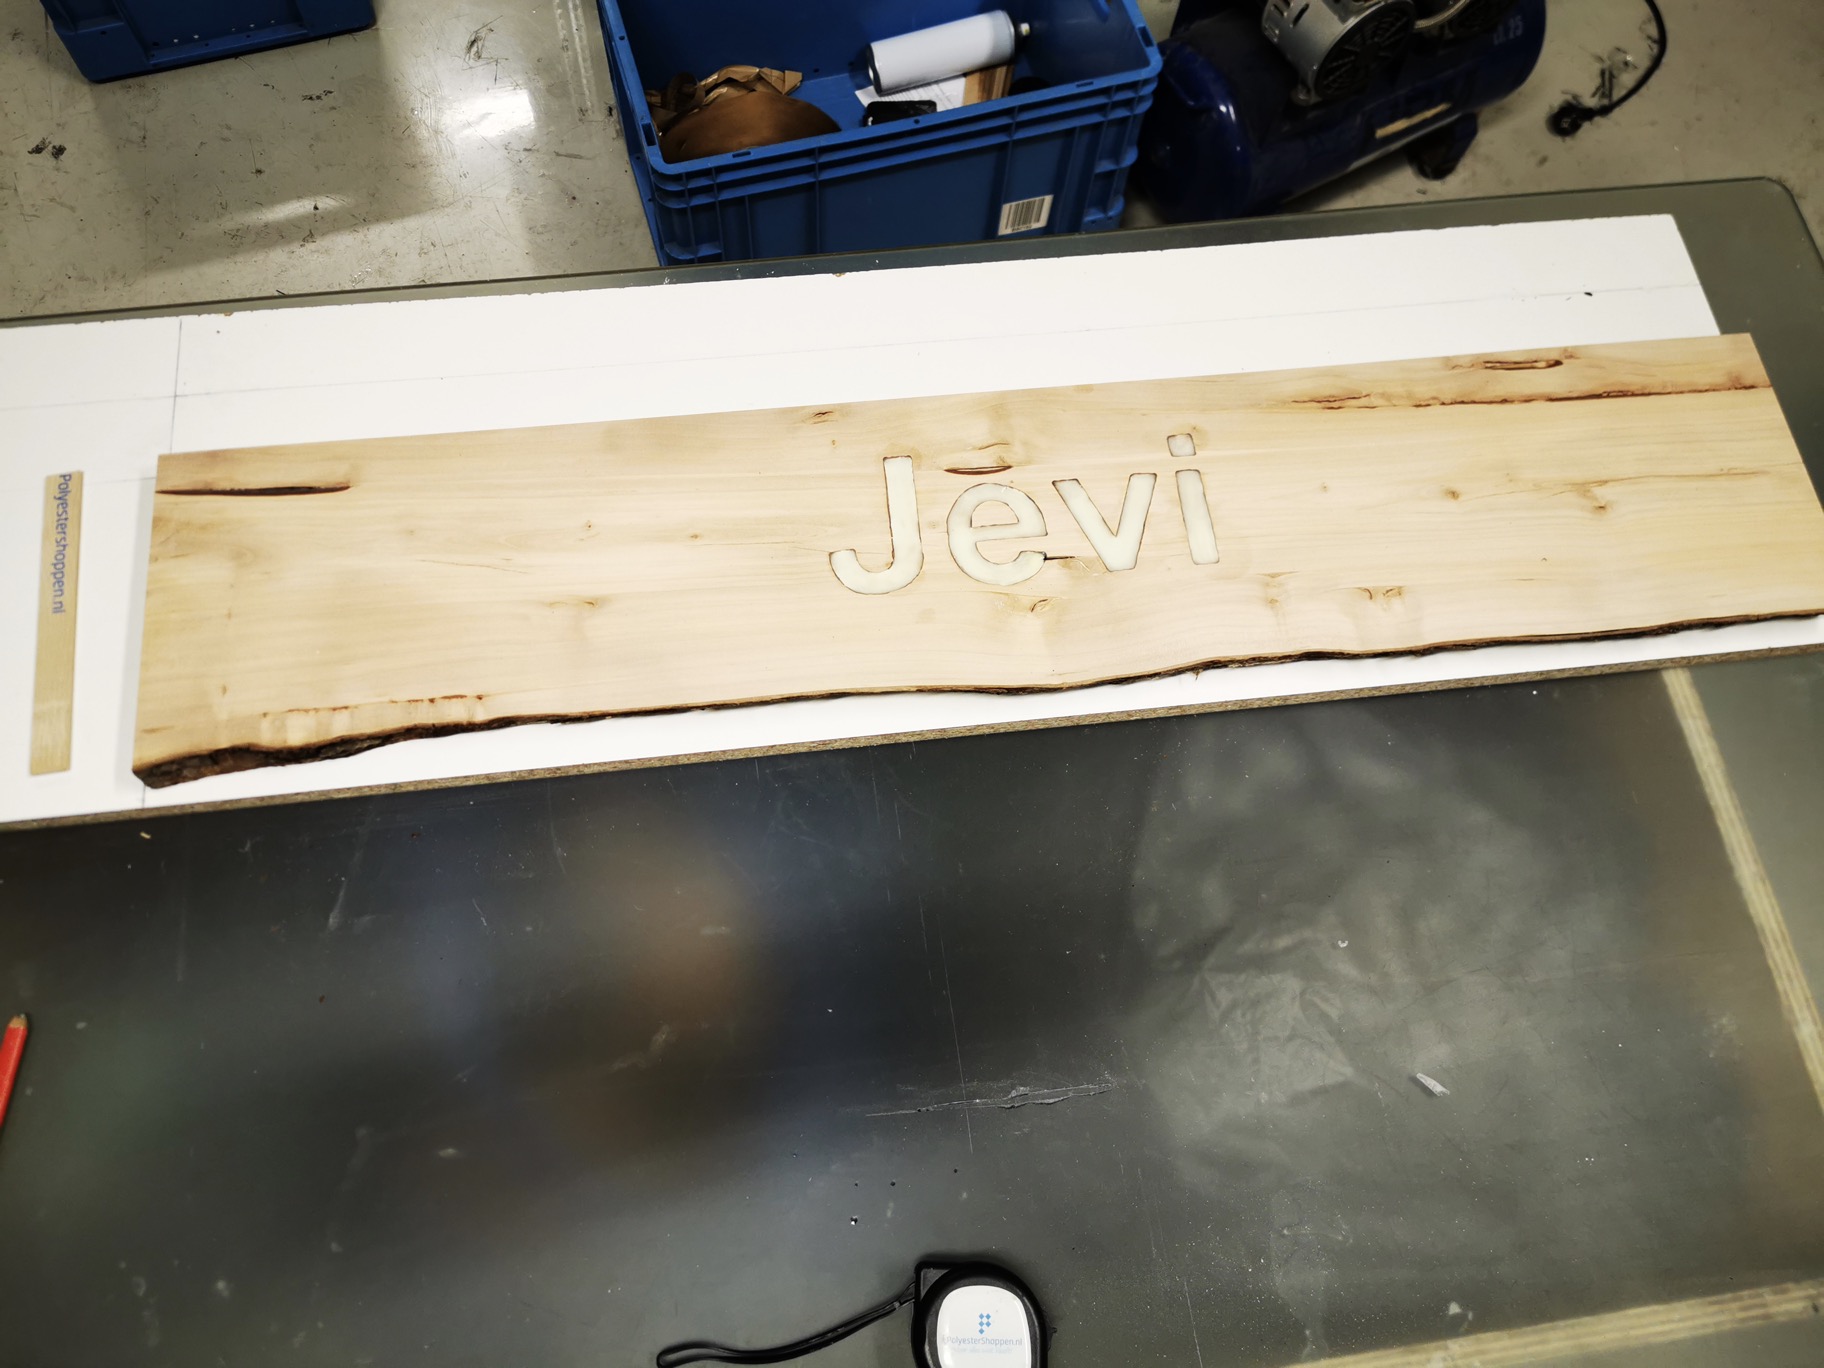
First, we start by looking for a nice piece of wood. Of course this could be any kind of wood. There are companies specialised in tree trunk planks and we obtained a nice residual piece from such a company. We sawed straight edges on the plank and made it as flat as possible. We then sanded it with 80 grit sandpaper.
Before we start making the mould, the wood must first be sealed. By brushing/rolling the board several times with epoxy casting resin, you make it airtight and prevent air bubbles from entering the wood during casting.
Prepare a small amount (e.g. 160 grams) of epoxy casting resin in the correct mixing ratio. Always mix the epoxy casting resin carefully. Lay the wood on a piece of plastic and brush the top with the epoxy. You can also use the velor roller for the flat areas. Bleed the epoxy with the gas burner.
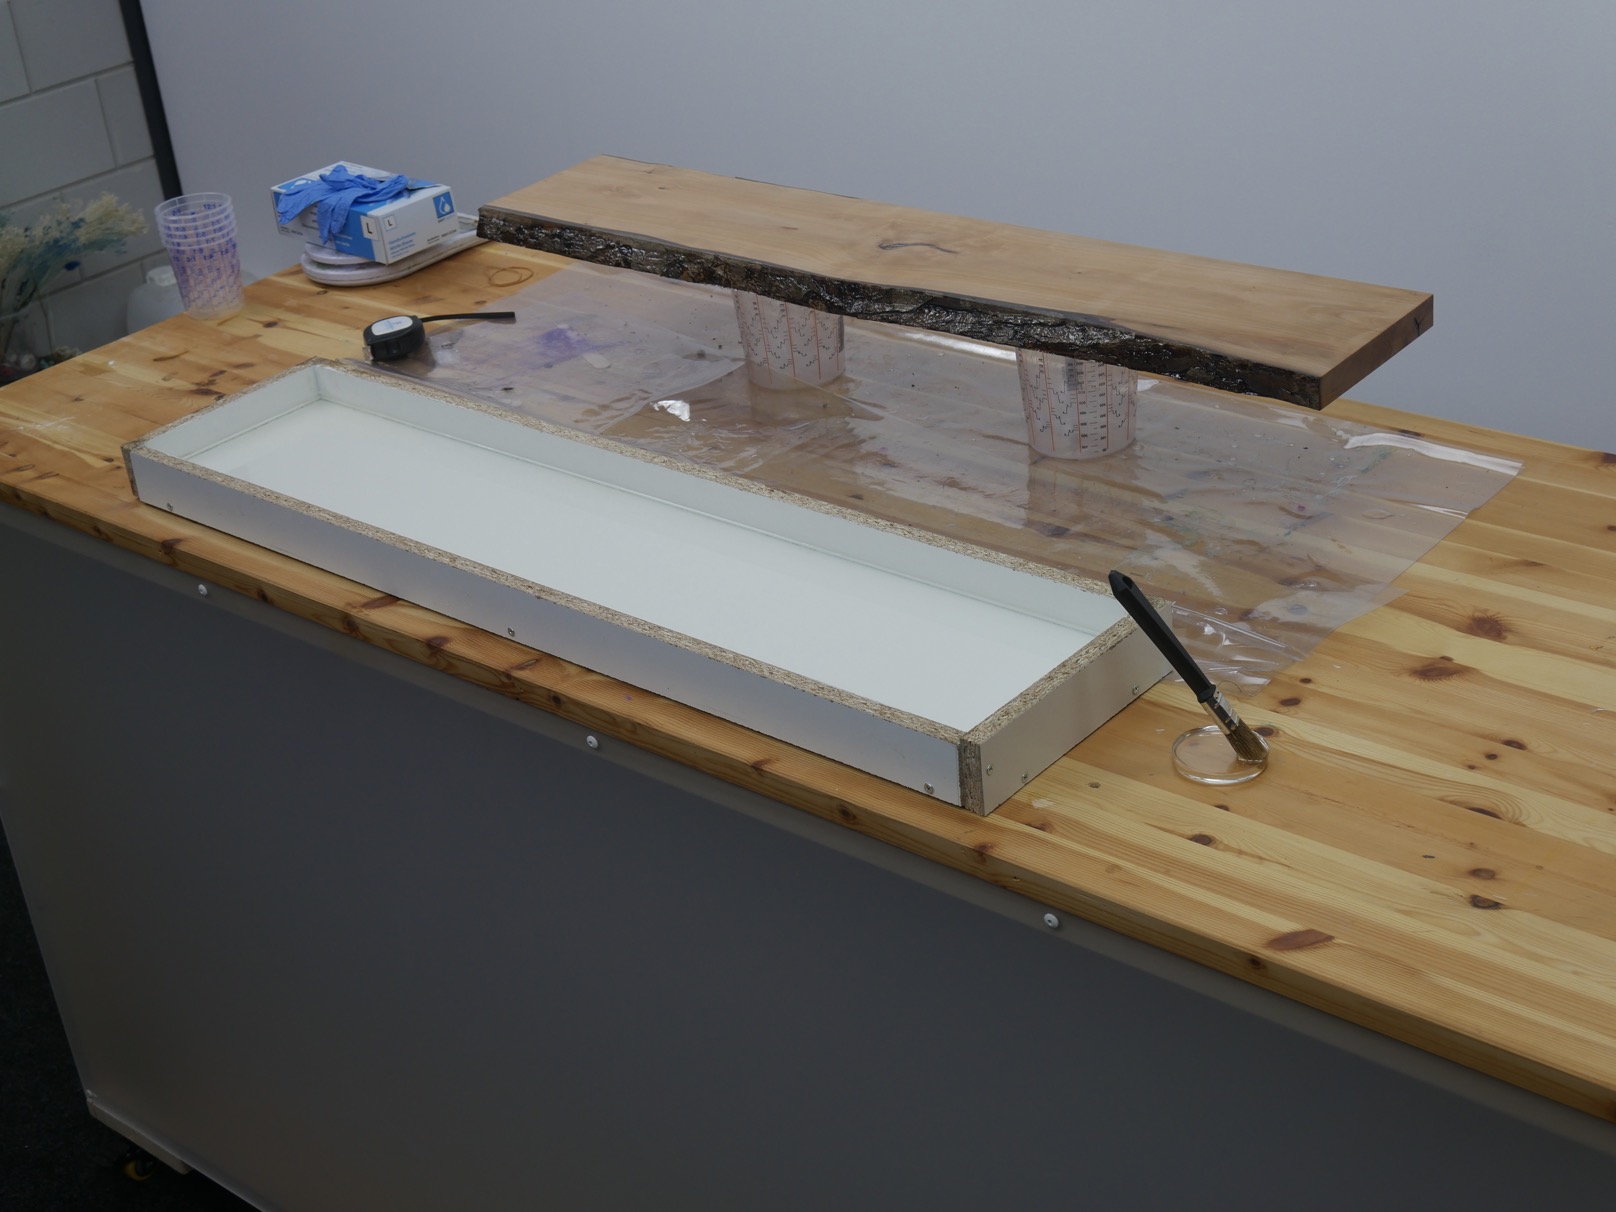
Step 3. Make the mould
We are now going to make the mould of melamine board. It could also be done with concrete plywood. As long as the wood is nice and smooth so epoxy hardly adheres to it. First make the base. Lay the plank on the plate and mark it. Here you can determine how thick you want the epoxy around it. For our plank this is only a few millimetres but you can make it as thick as you want. Also take into account the thickness that you need for the plate that will be placed perpendicular to it.
Cut the board as neatly as possible. Then saw the vertical parts. Do not cut the vertical boards too low, during casting you can determine how high the epoxy extends over the board. The length of the vertical boards doesn't make a huge difference.
Now cover all the wood with transparent packing tape. This will prevent the epoxy from sticking to the mould. After it is completely taped, screw the vertical boards to the bottom one by one to make a box. All you need to do now is seal all the seams with a silicone sealant. Epoxy does not adhere to silicone.
Step 4. Cast the base
Now that the mould is ready, you can start casting. First pour a thin layer which will serve as a base. Prepare approximately 800 (or more) grams of epoxy and mix well. Pour it into the mould and vent it with the gas burner. Then let it harden for approximately 10 to 24 hours.
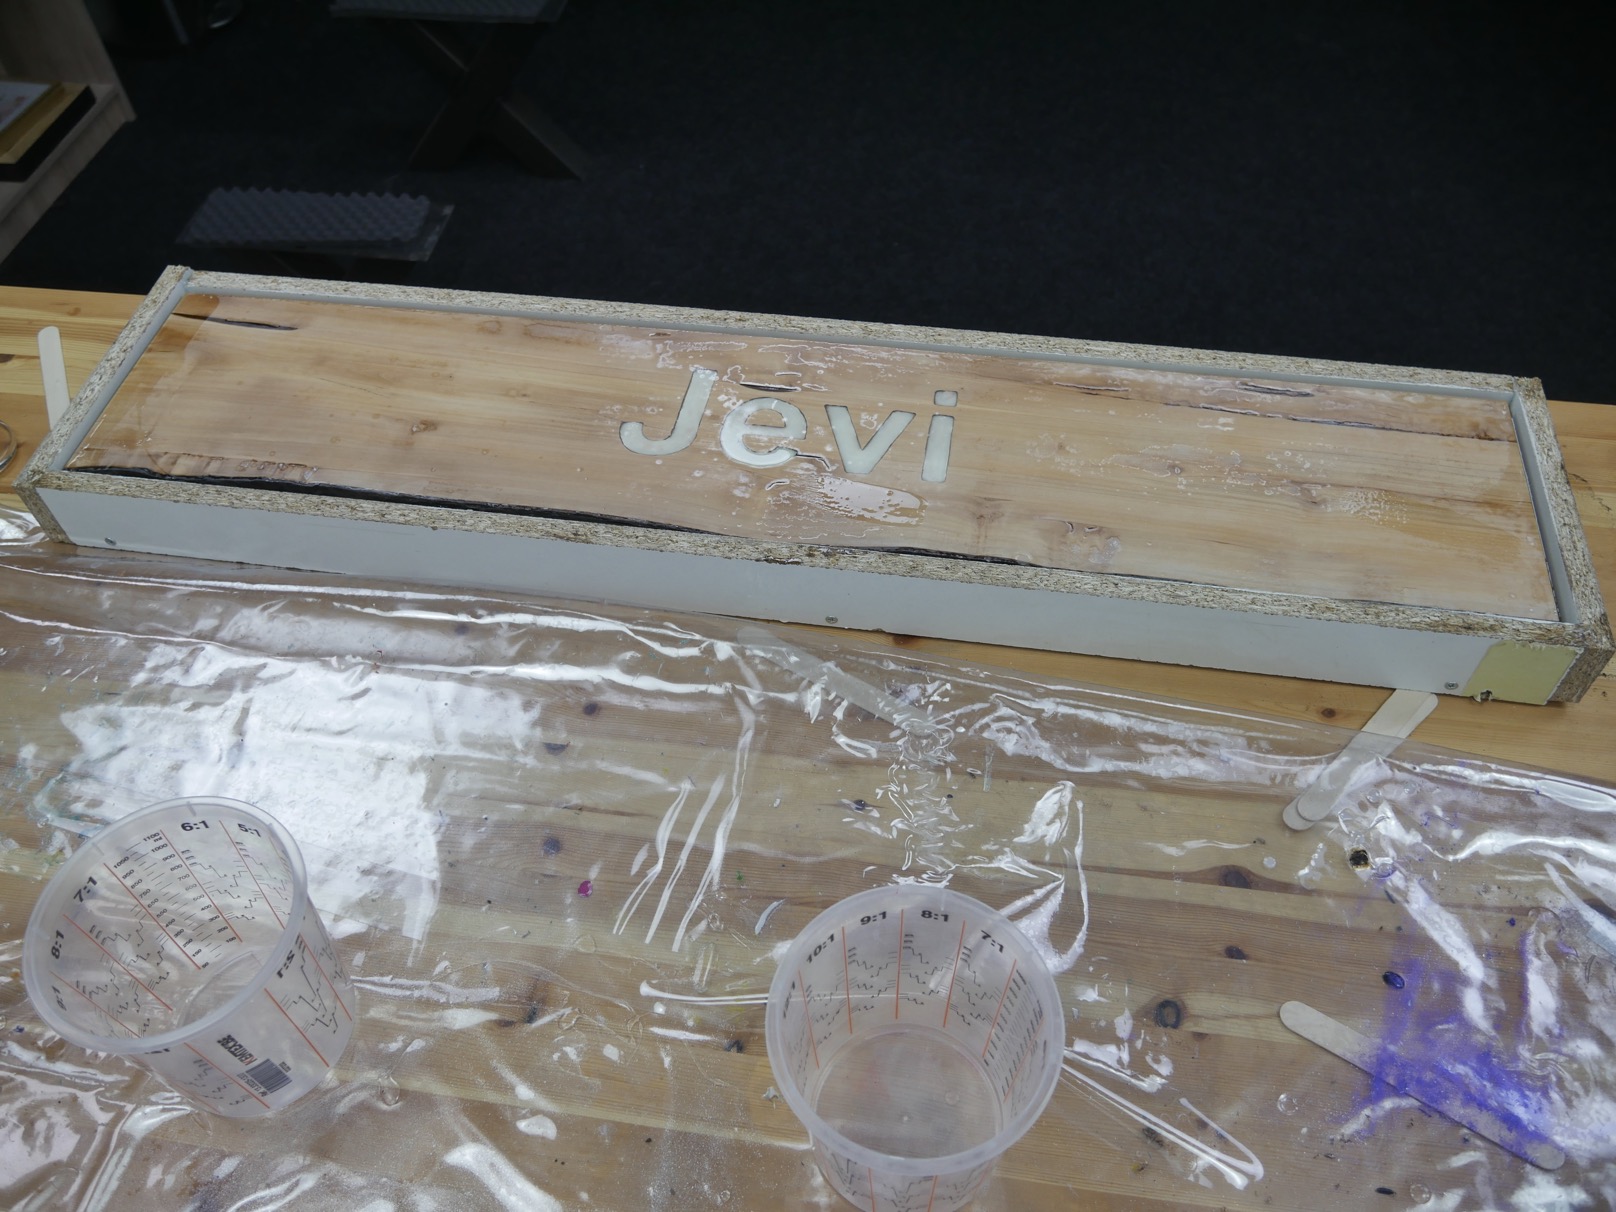
Step 5. Pour the adhesive layer
We are now going to cast the plank. We will not pour epoxy over the plank yet because it has to be fixed first. Therefore, prepare approximately 800 grams of epoxy casting resin again and mix it well. Pour half into the mould and immediately purge the epoxy with the gas burner.
Then carefully place the plank into the mould and position it. Next, pour the remaining 400 grams of epoxy around the edges. Allow to harden for approximately 10 to 24 hour
Step 6. Cast the tree trunk shelf
After the "glue layer" has hardened, we can continue casting the plank. Mix approximately 1.6 kg of epoxy casting resin each time until your mold is sufficiently filled. Pour the epoxy along the edges first until the epoxy rises above the shelf. It is best if the epoxy is approximately the same height at the top as at the bottom. Vent each time after pouring the epoxy.
Step 7. Remove from the mould and finish
Allow the whole to harden for at least 4 days. Then you can remove it from the mould. Loosen the screws and try to loosen the wood from the tree trunk plank. Try to apply force between the plank and the mold with a wedge.
Once the plank is completely out of the mould, the edges need to be finished. These will still be reasonably sharp. You can nicely mill edges with a router or round them with a sander and 80-grit sandpaper.
To get nice round edges and to solve any imperfections on the surface, you can pour a layer of epoxy casting resin over the top. Place the board on 2 cups, so that it is loose from the surface. Prepare approximately 800 grams of epoxy casting resin and pour it over the plank. Vent thoroughly with the gas burner. Cover the bottom with packing tape in advance to avoid having to sand away drips once it has hardened.
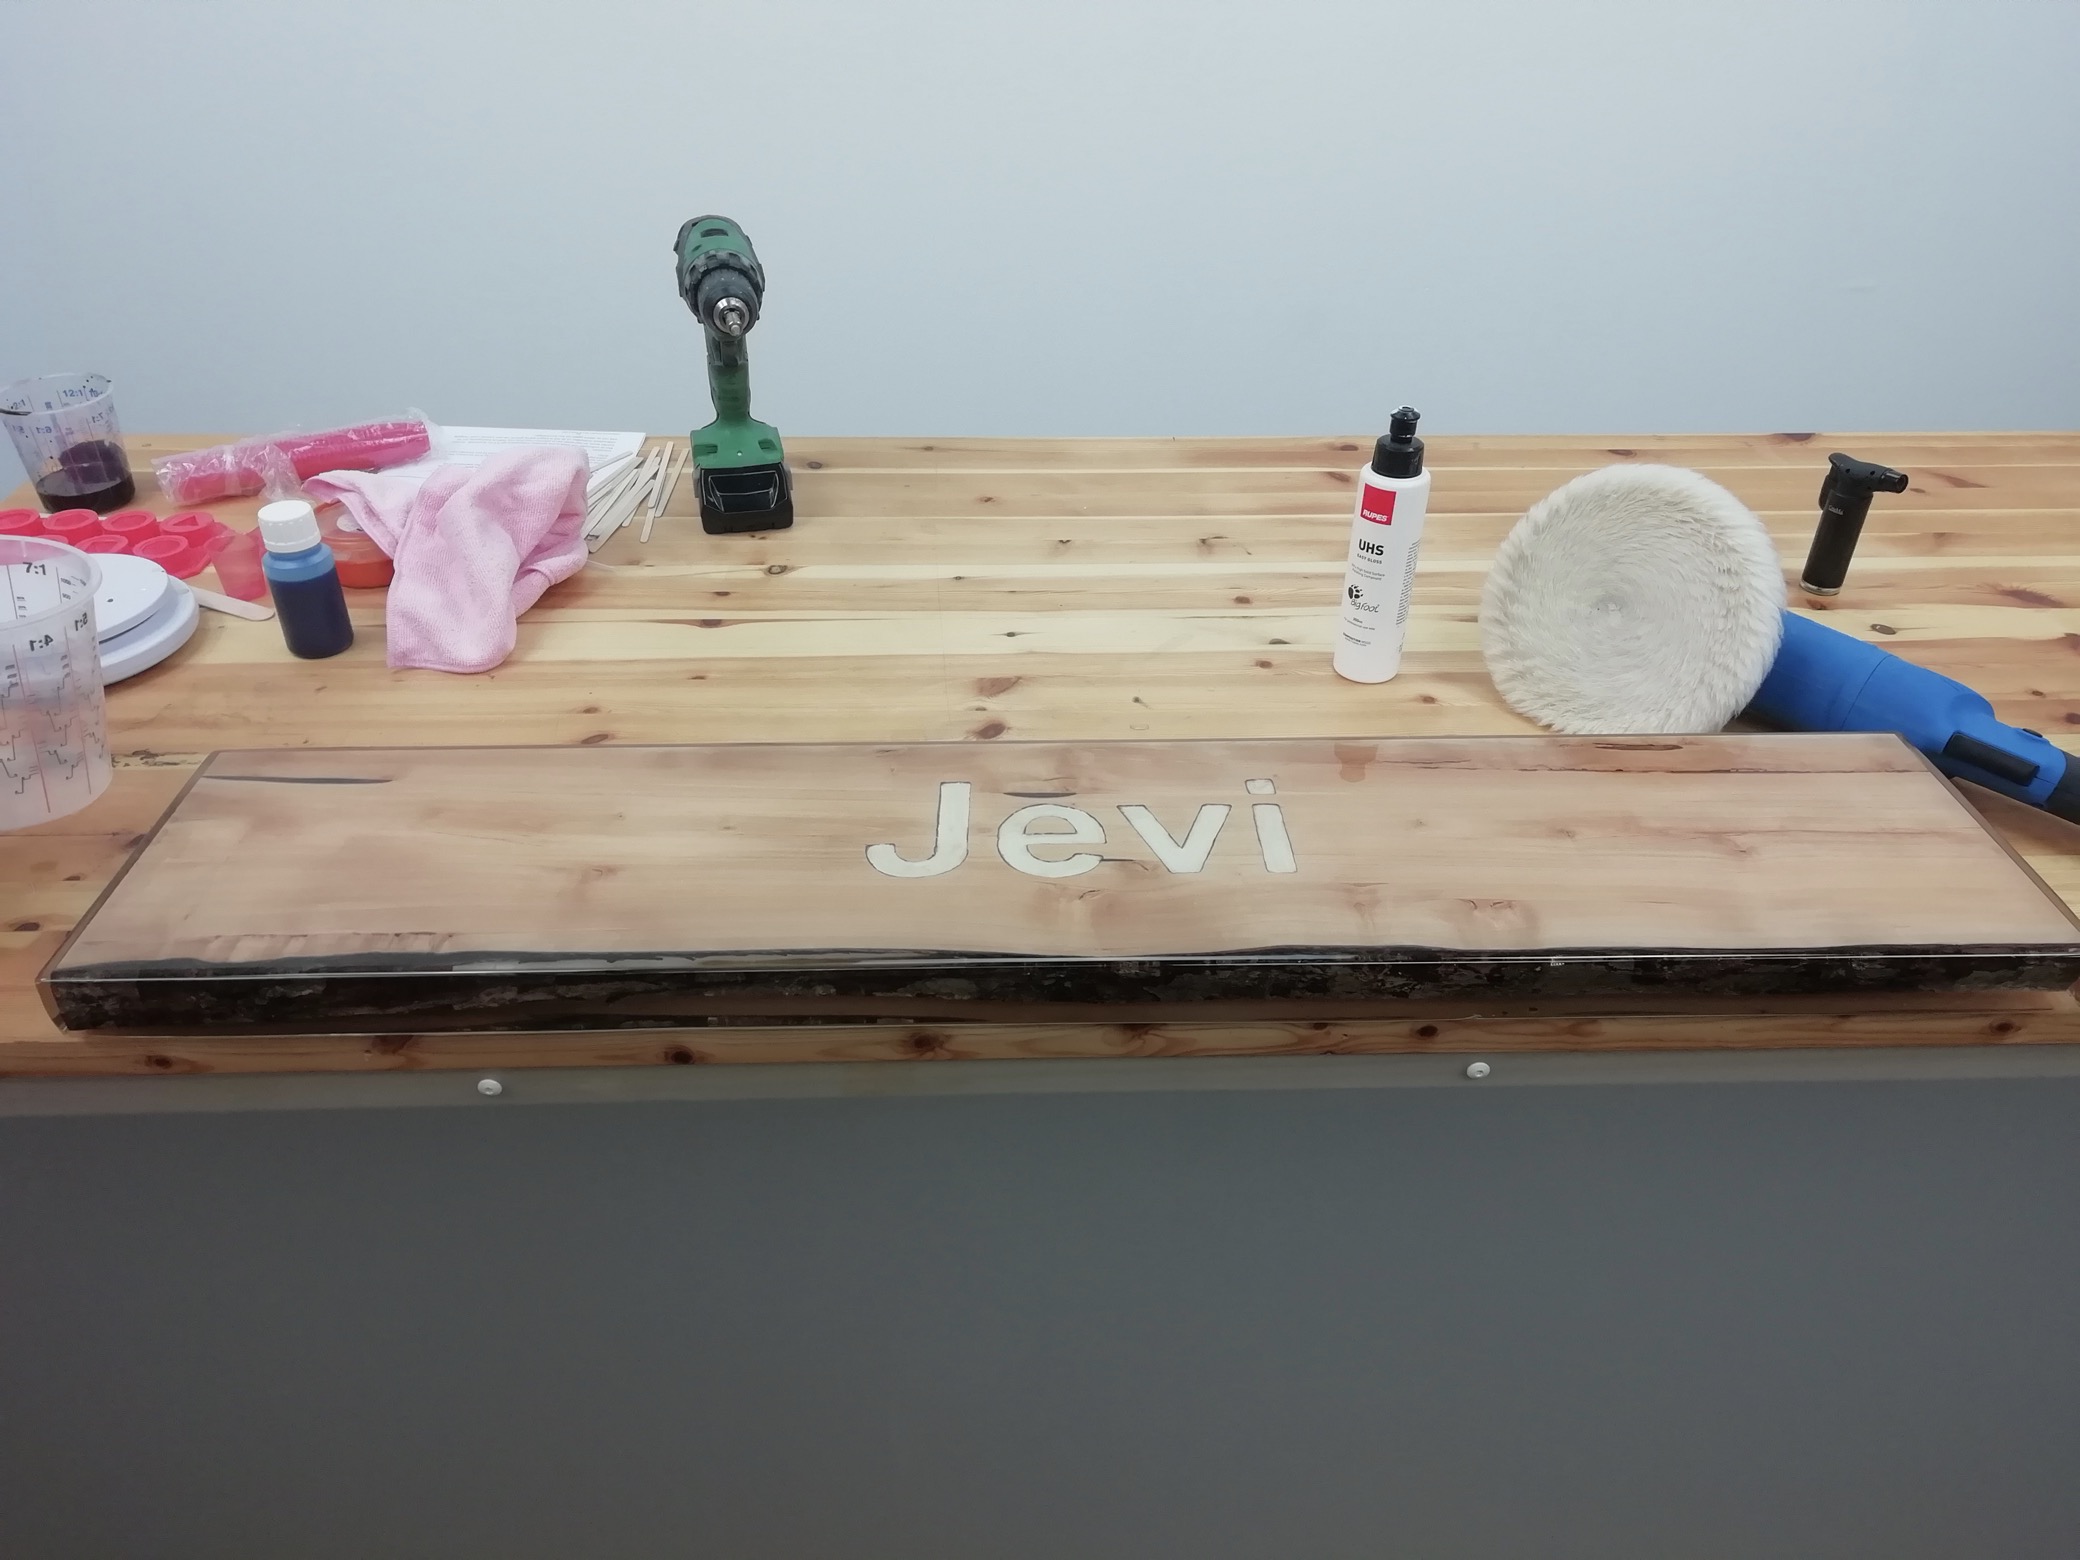
To give the plank a perfect finish, it is best to polish it. RESION High Gloss paste works best on epoxy. Sand the entire board from 320 to 2000 grit. Clean the board every time you change the sandpaper. Sand long enough and do not skip grains because otherwise you will not be able to remove the sanding scratches.
Once you have sanded everything completely down to 2000 grit, you can start polishing. Spray a little polishing paste on the pad and start polishing. Do not polish at too high a speed, otherwise the paste will become too hot. Regularly spray water on your workpiece to cool it.