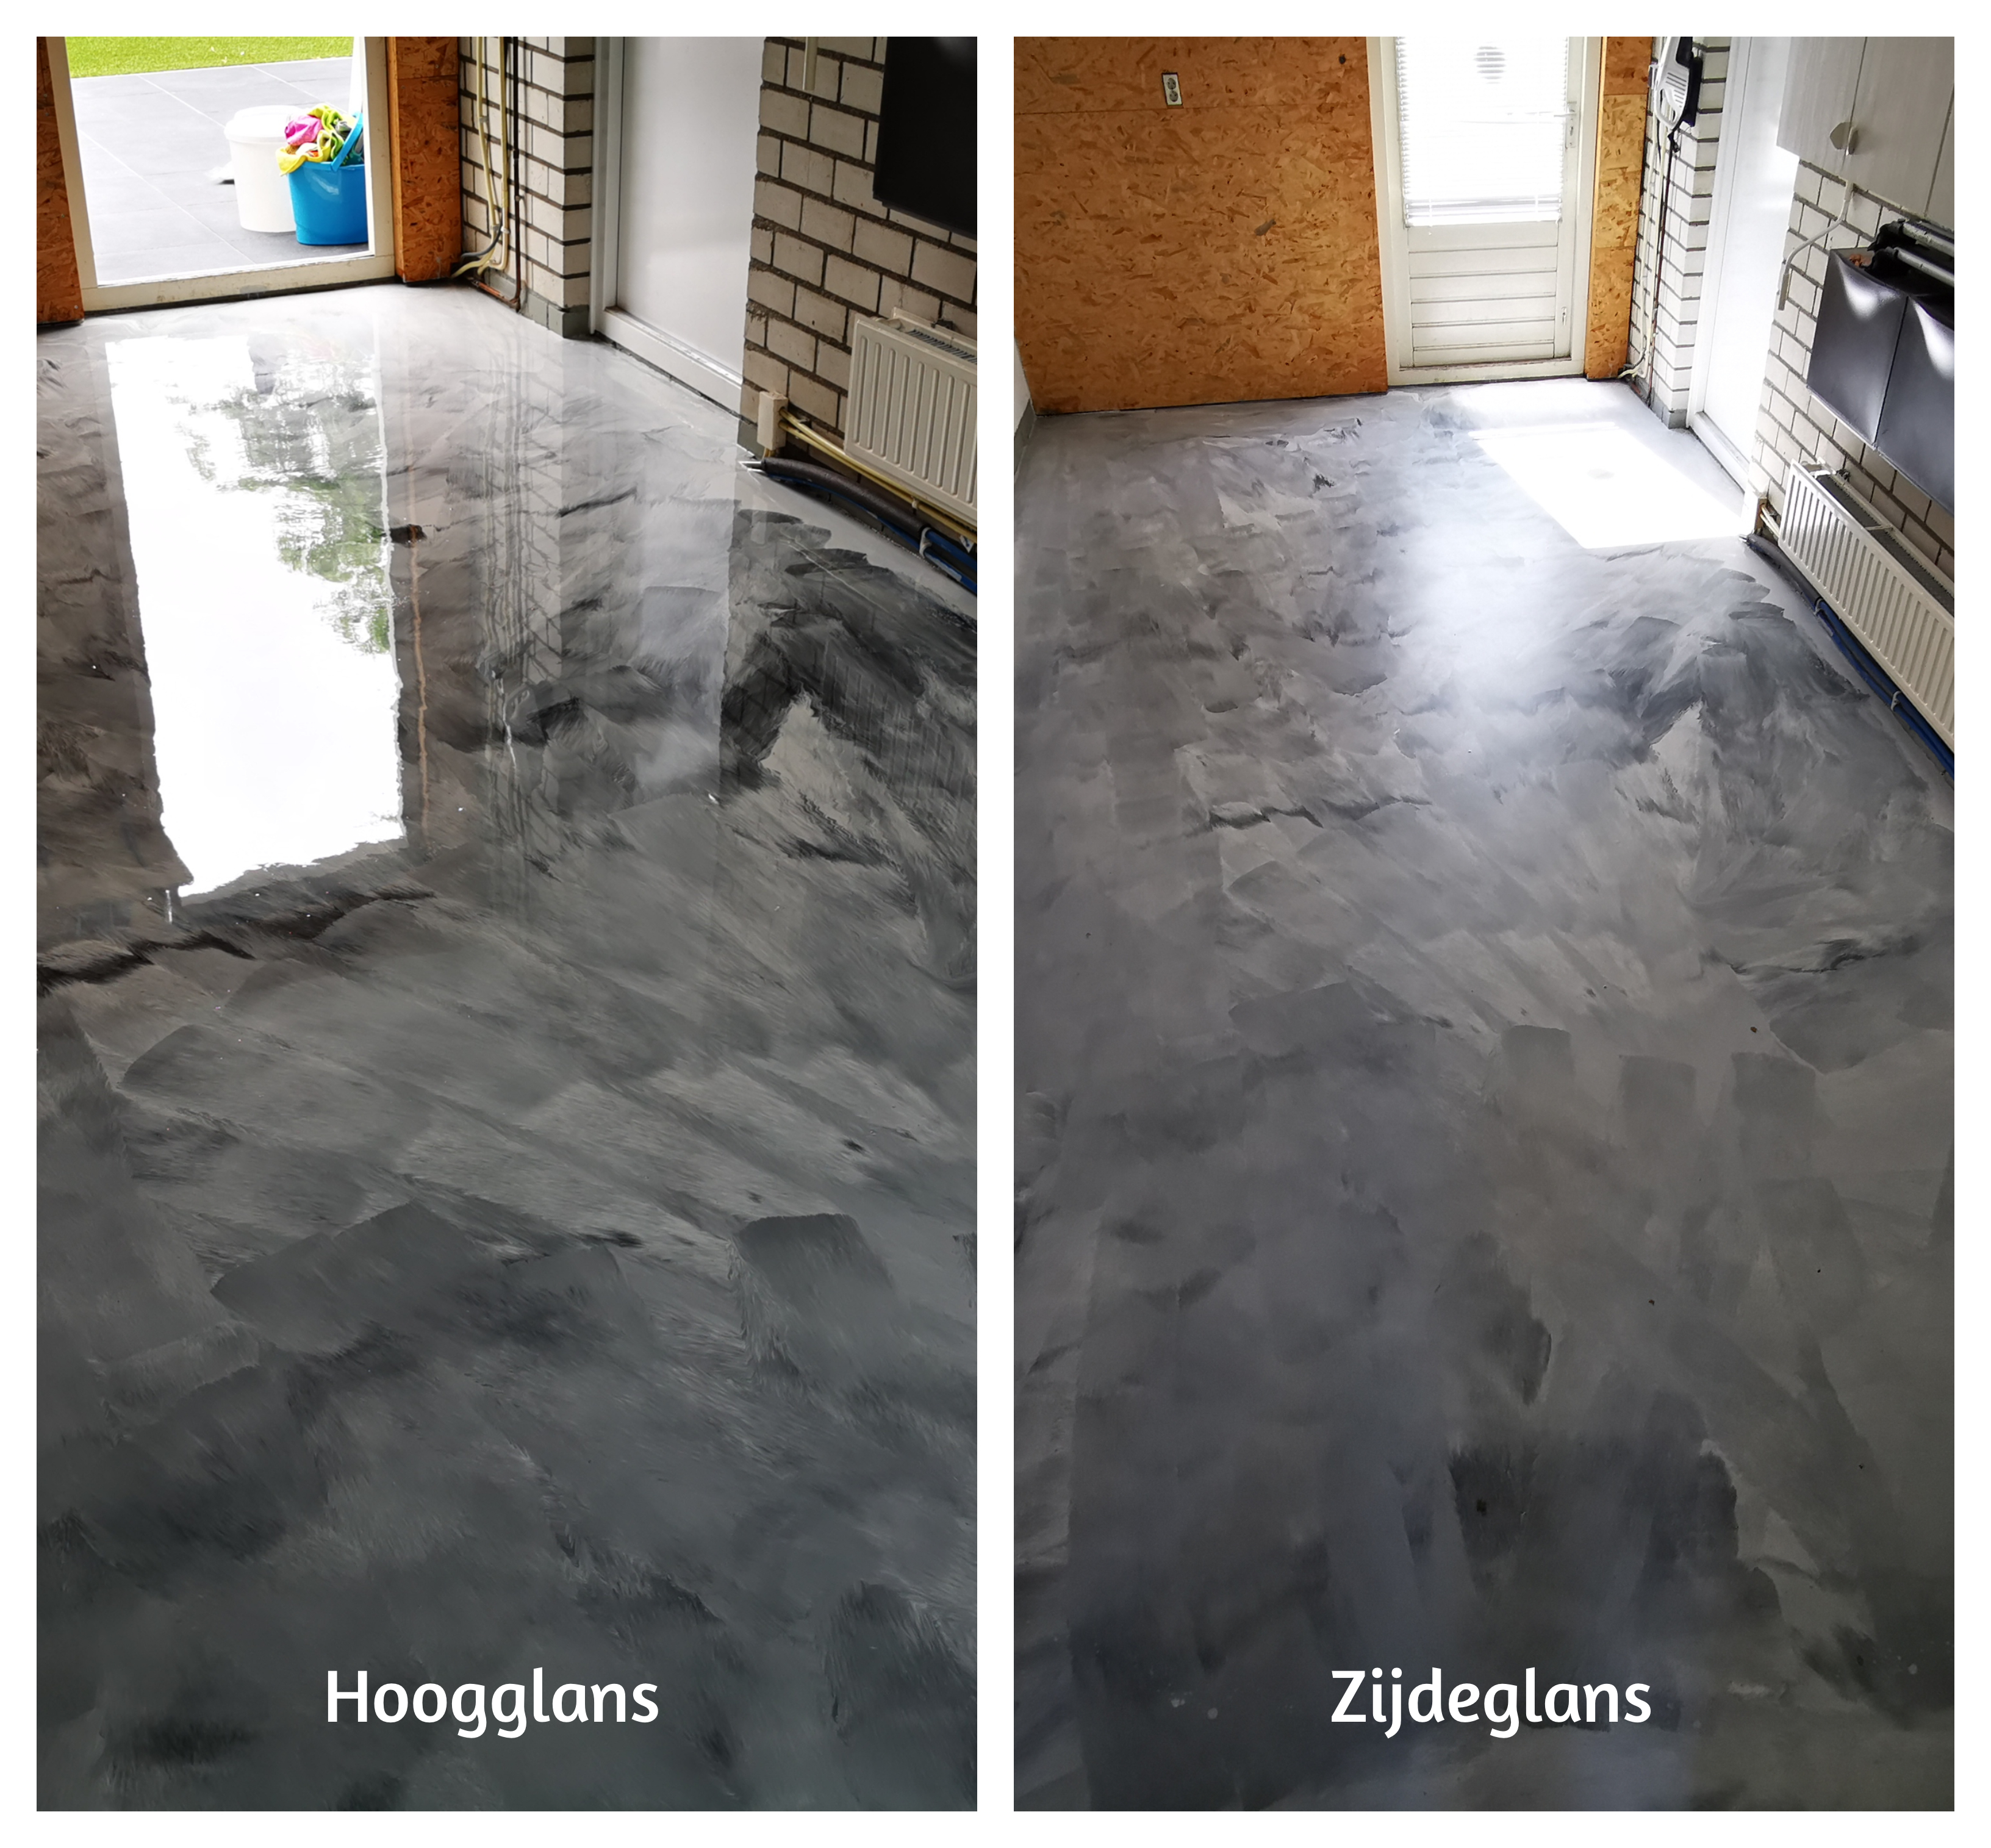
In this article, we will explain how to apply a matt-gloss coating to an epoxy floor. This is an easy-to-apply product with good properties. For example, the product is strong, flexible and resistant to various chemicals. After application, the floor is quickly walkable again; after 7 days, the coating has reached its optimum strength. The matt floor coating is also suitable for PU floors.
What is the point of a matt floor coating?
With a matt floor coating, you give a cast floor a scratch-resistant protective layer and a matt-gloss appearance. That way, you are less likely to experience wear and tear and protect the floor from sunlight. Moreover, a matt-gloss coating gives a slight anti-skid effect.
Benefits of matt floor coating
- Less prone to wear and tear.
- Matt appearance.
- UV protection.
- Higher scratch resistance.
- Light anti-skid effect.
Manual for a matt floor coating
RESION matt floor finish coat is easy to apply. We are happy to give you a hand and have written down all the steps in detail for you. This way, you are well prepared for the job. Watch our instructional video where we show you all the steps.
Supplies
To apply matt floor coating, you will need the following products:
- RESION matt floor coating
- Set: 1.1 kg (for approx. 10-15 m2)
- Set: 2.75 kg (for approx. 30-40 m2)
- Set 5 kg (for approx. 40-60 m2)
- Empty bucket 5 or 10 litres
- Spiral mixer
- Nitrile gloves
- Velour roller 18 cm + roller holder + paint roller pole
- Paint tray large
- Fine strainer (included)
- Ammonia
- Rotary floor sander + sandpaper (P220)
Previously, this product was called 'Silk gloss floor coating'. Therefore, this designation is still used in the video.
Step 1. Allow the screed to cure sufficiently
Before you start applying the matt gloss coating, it is crucial that the epoxy screed (or polyurethane screed) is properly cured. It usually takes about 72 hours for the screed to cure sufficiently. Always consult the technical documentation of the flooring system used for specific guidelines. If the screed is not fully cured, sanding will not be as effective and the sanding pad may quickly become saturated. Therefore, we recommend leaving the floor undisturbed for at least 3 days before proceeding with sanding and applying the floor coating. This will create the ideal foundation for a beautiful result.
Step 2. Sanding the screed
To get a good bond between the screed and the coating, we recommend sanding the floor with a rotary floor sander. Sand the floor with grit P220. For a 20m2 floor, you will need an average of two to three sanding sheets.
Tip: make sure the lever of the rotary sander is low. Usually the machine moves to the right when you raise it and to the left when you lower it.
Step 3. Thorough floor cleaning
After you sand the cast floor, it is important to thoroughly clean and dust the floor. Use a vacuum cleaner to remove residual dust. In addition, we recommend mopping the floor with a solution of water and diluted ammonia. Make sure the floor is allowed to dry completely before proceeding to the next step.
Step 4. Applying matt floor coating
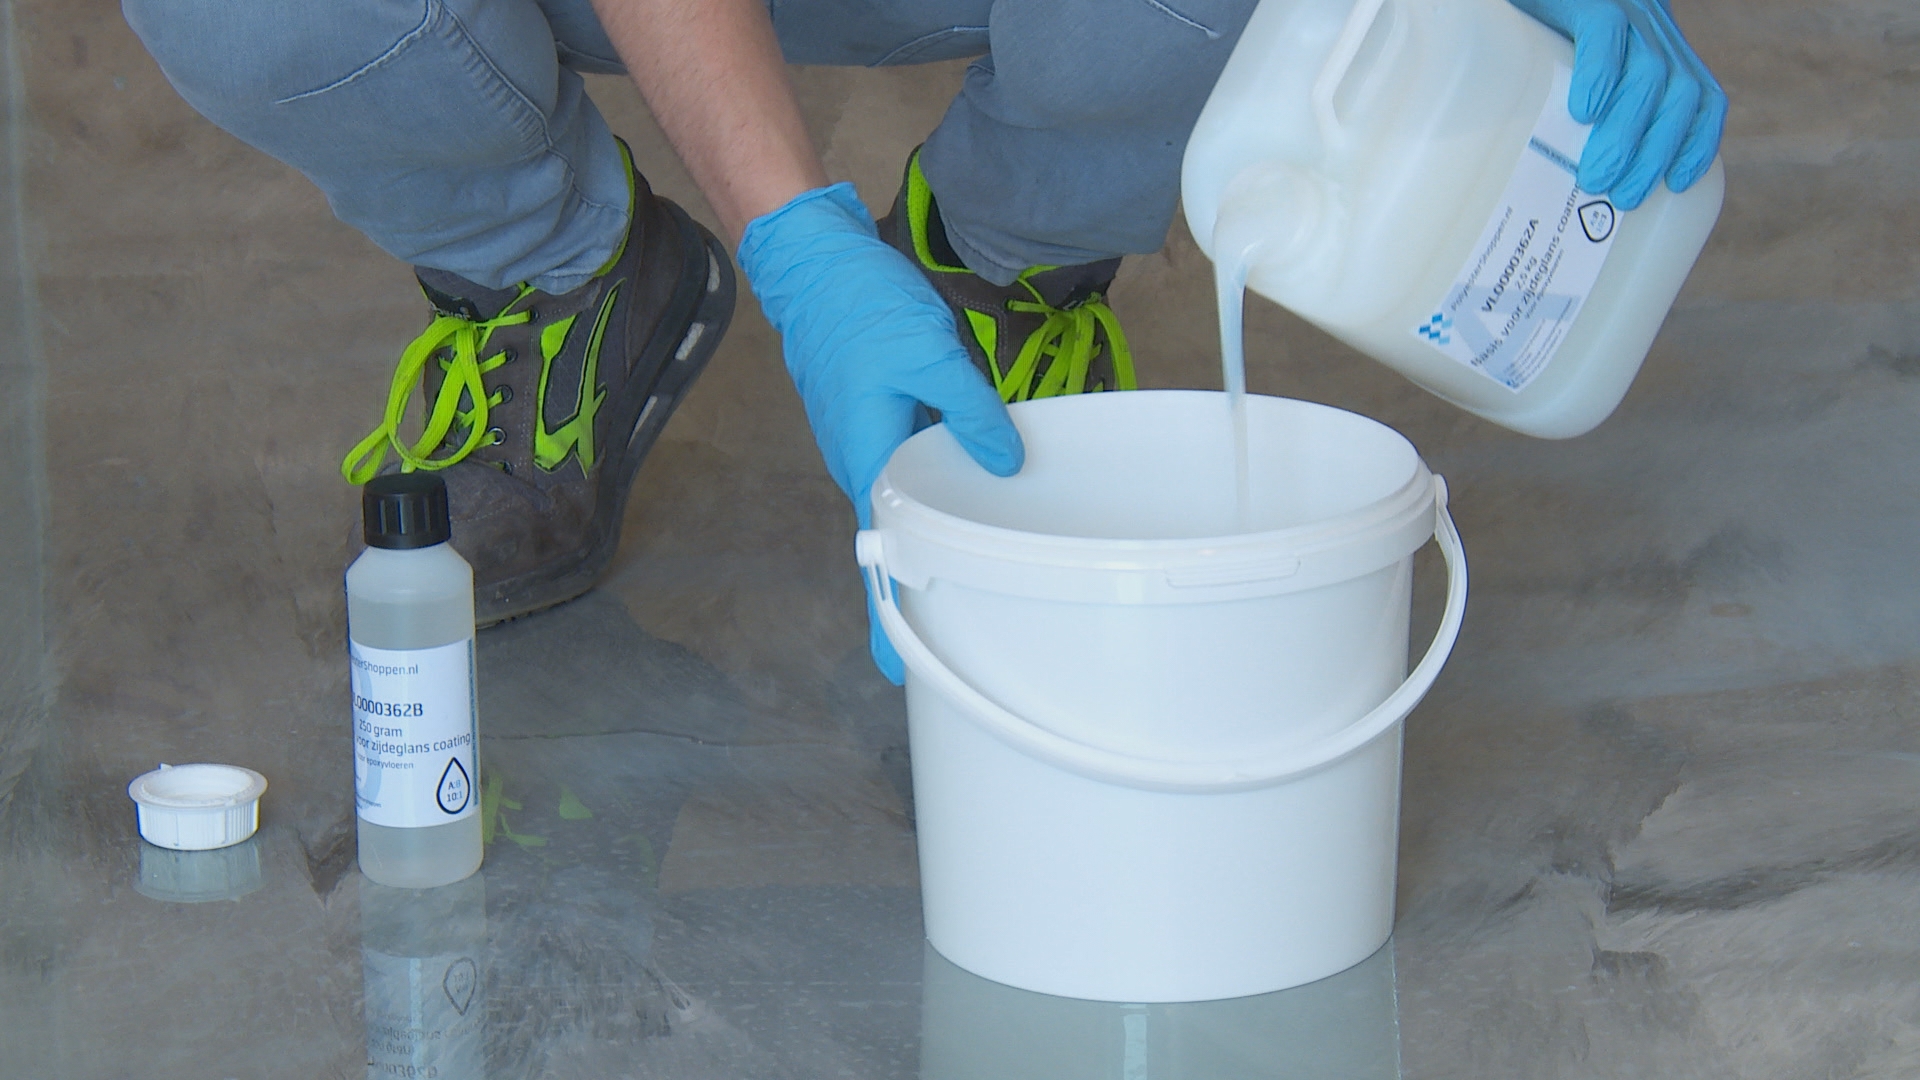
In this step, you are going to create the matt floor coating. The coating consists of 2 components that you need to mix together. Put components A and B in a bucket and use a spiral mixer to mix the components for 3 minutes on low speed. Be sure to go well along the sides and across the bottom of the bucket. Careful mixing, results in a homogeneous mixture, smooth application and perfect curing. After mixing, pour a small amount through a strainer into a paint bucket. Sifting prevents any lumps or particles from entering the coating.
Ensure a pleasant working environment by wearing nitrile gloves and properly ventilating the area during application.
Step 5. Applying floor coating
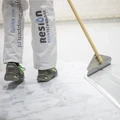
When you're ready to apply the matt gloss coating, there are some crucial steps to pay attention to. Start by pouring the coating into a paint bucket; avoid working directly from the original bucket. Using a paint bucket allows you to more accurately control the amount of coating you apply. Keep in mind that a thin application is essential. This will prevent variations in gloss level. Always make sure to roll out the coating crosswise. This will result in an even and beautiful result.
Tip: be organized in your approach, as it can sometimes be difficult to see where you have already worked. Start on the side where the light is coming from and apply the coating parallel to the window in strips. Looking against the light, roll out the jobs crosswise evenly to see and correct any rolling streaks.
Step 6. Curing
Now it is important to give the screed time to cure properly. Within one to two days, the floor is already walkable. After a period of seven days (at 20°C), the floor reaches its maximum strength, where it is also resistant to moisture and chemical stress. This curing period is essential to ensure a durable end result.
More information about our matt floor coating?
We hope you will enjoy your new cast floor! Do you have any questions about the matt gloss coating or its processing? Feel free to contact our specialists. We will always give you appropriate, professional and personal advice to make your project successful!




![Applying Epoxy Floor Coating [GUIDE]](https://polyestershoppen.ams3.cdn.digitaloceanspaces.com/media/cache/document_icon/documenticon/20a8c71cdc2c326d5d305920dadc0d40e3fc1a56.webp)