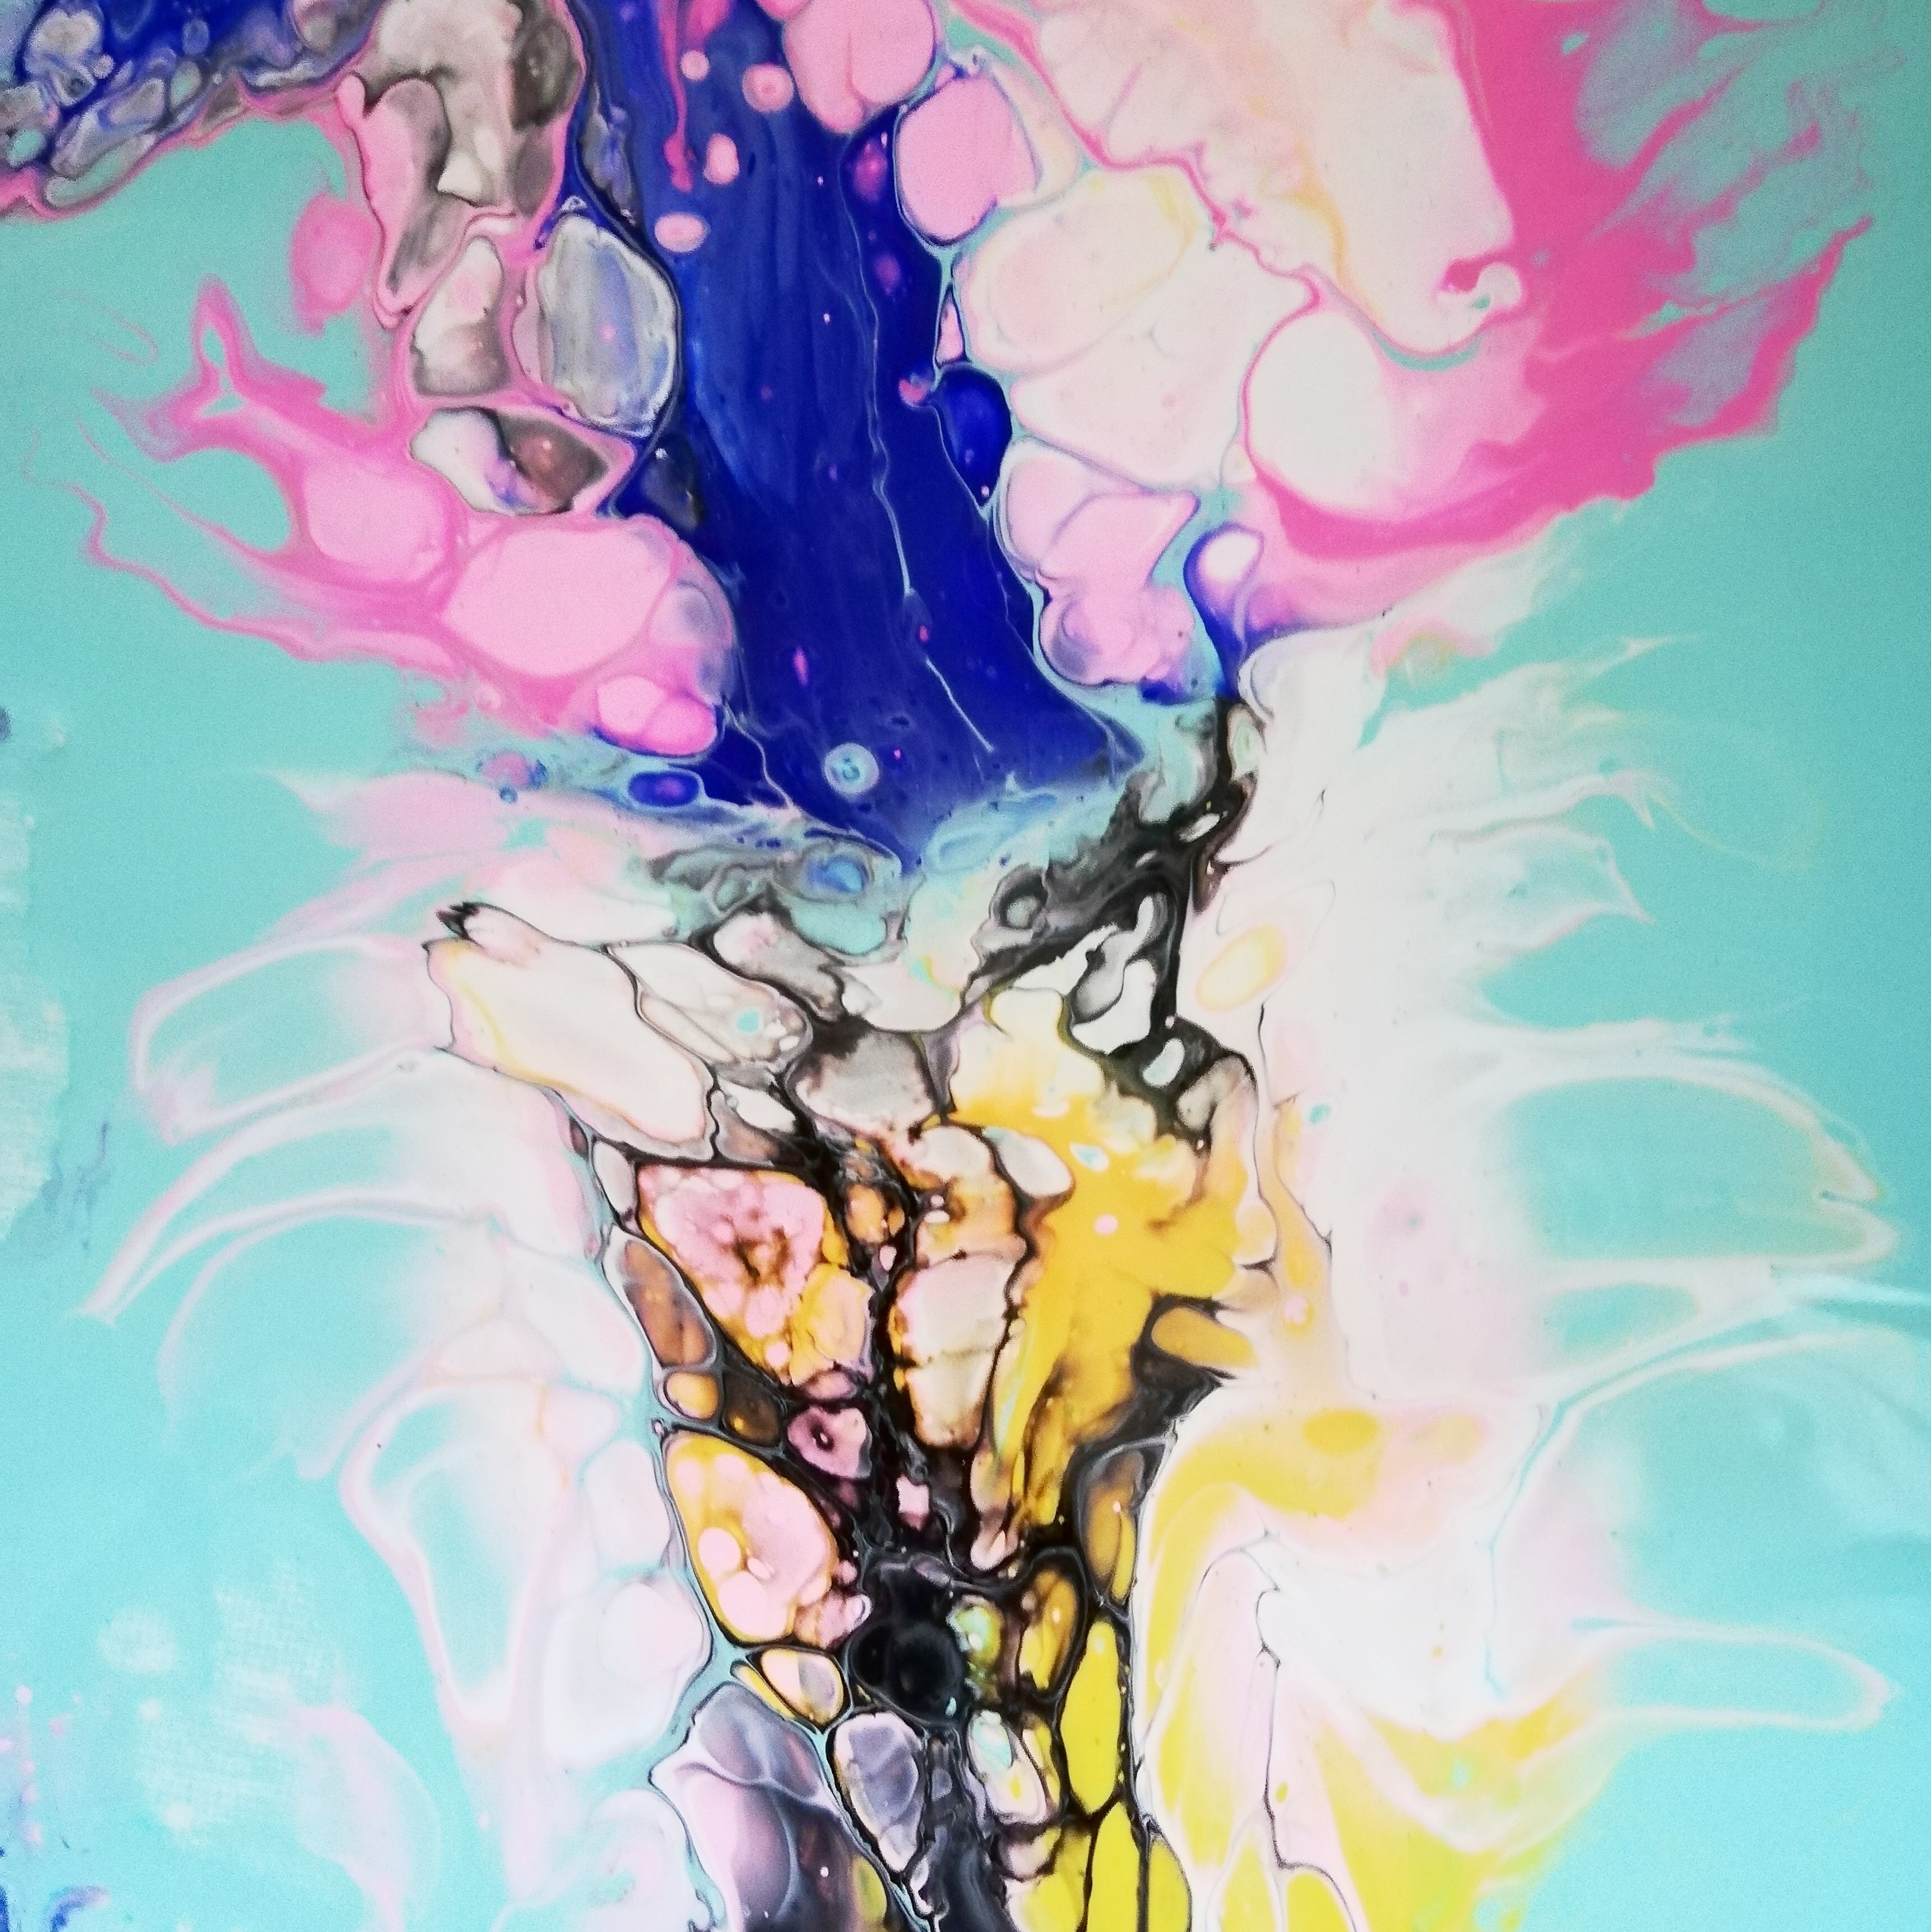
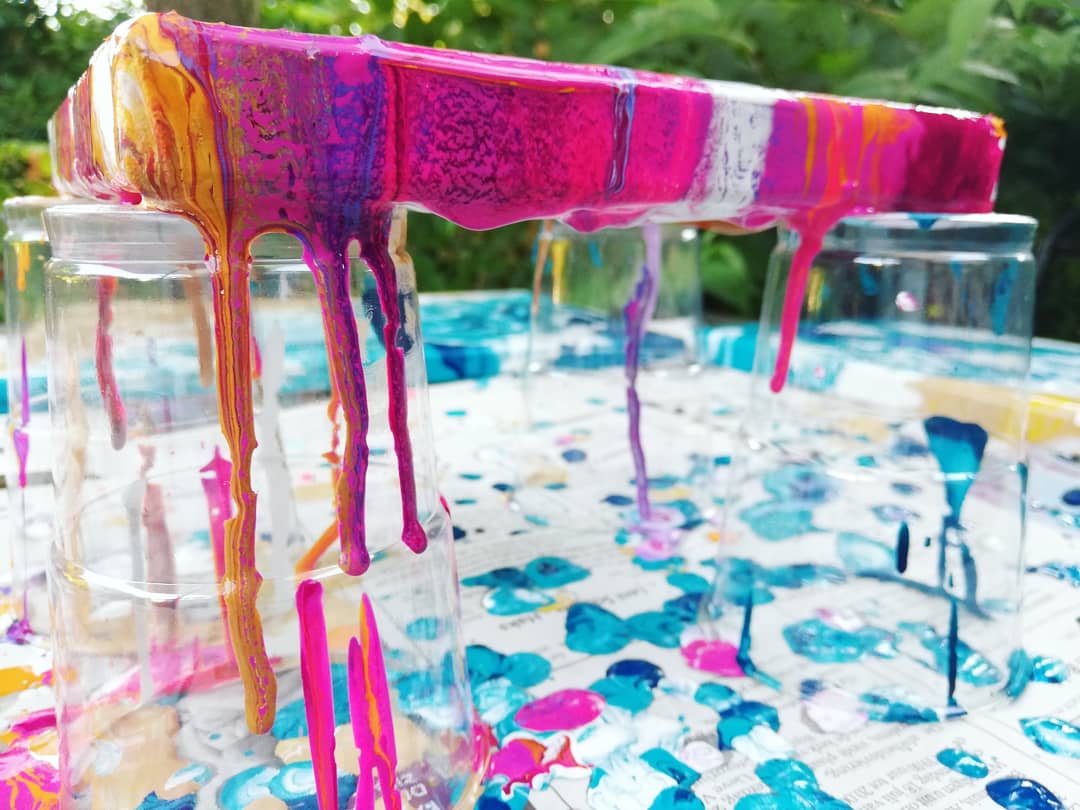
Are you creative and looking for a super fun hobby? Then Resin Art (epoxy art) is really for you! You can use epoxy to make beautiful jewellery, coasters, (river) tables and paintings. Especially for beginners, we have put together a nice and inexpensive starter kit. In this article, we explain how to make epoxy art using the Resin Art starter kit. Polyestershoppen supplies various high-quality epoxy resins.
Want to learn more about Resin Art? Then also read our comprehensive Resin Art beginner's guide packed with tips and information! Of course, you can always ask your questions to our customer service. We will be happy to answer all your questions and give you advice without obligation!
To get started with Resin Art, you need some basics: epoxy, pigments and auxiliary materials (mixing spatulas, gloves, mixing cups, etc.). Other than that, you can go as crazy as you like. In fact, there are plenty of different colours, moulds and pigment types. In the starter kit, we have made a nice selection of 6 different powder pigments, 0.8 kg epoxy of the highest quality and all necessary auxiliary materials. So you can get started right away with a painting of about 0.75 m2. See the starter kit product page for more information on the exact contents. Would you like to try epoxy, but have a slightly smaller budget? Then buy the Resin Art trial pack for only €16.99.
Before you start, it is important to put on old clothes and nitrile gloves. Next, choose a suitable surface to make your painting on. Epoxy adheres to many substrates including MDF, plywood, plastic or wood. Therefore, remember to cover the work area with plastic sheeting so you can easily clean up the splatters later.
Create a raised edge of tape around your substrate so that as little casting resin as possible is lost. Make sure this is secure and at least 1 centimetre high. Then check that the slab is level. If it is not, make sure it is by placing a stirring stick under the surface, for example. It is very important that it is level, otherwise everything will flow in one direction.
Now that you have made the preparations, you can start creating and pouring your epoxy artwork! As told earlier, the starter kit includes all the necessary materials. Are you all set to get started? Then follow the following 4 steps:
1. Mix the epoxy components A and B in the mixing cup. The mixing ratio is shown on the bottle (100:60). Stir it in the same direction for about 3 minutes. Pour it into another cup and mix again. It is very important that you weigh the components carefully and mix them well. So pay close attention to this, because if you make mistakes in this, the epoxy will not cure properly, if at all. We therefore recommend always using a (digital) scale. For more information on mixing epoxy, watch our video o "Mixing epoxy | Important Tips & Tricks".
2. Once you have mixed well, next fill the smaller mixing cups with RESION UV Epoxy Resin. The amount per cup depends on the number of colours you want to use and the amount of the colour you want to use.
3. . Now add the pigments to the cups and stir well. Now you can start pouring! The easiest way is to start with the darkest colour and then work your way lighter and lighter. Make sure the amount of liquid is fairly evenly distributed over the surface. If not, it may be difficult to cover the edges of the artwork. If desired, you can use a spatula to apply the colours last.
4. Once you have poured the desired shapes, you can move the surface slightly to cover the empty spaces and create a 'flow' effect. Make sure you put the artwork back level. You can also use straws or mixing spatulas, for example, to "steer" the pigments. Above all, let your creativity run wild! :-)
When you are satisfied with the result of your artwork, you can brush over the surface with a gas burner (can also be done with a crème brûlée burner). This will remove the air bubbles from your Resin Art painting. You can do this immediately after pouring.
After about a day, the epoxy will be hard enough to remove the tape. Once you have done this, you will notice that the edge is not neatly smooth. By carefully heating the edge with a gas burner, the edge will become neatly smooth. You can also sand the edge and then pour a transparent layer of epoxy over this. Your work of art is now finished! :)


Here you can find all 14 related articles on this topic. Mis je informatie om aan de slag te gaan met jouw klus? Neem dan contact met ons op.
Do you have a specific question? Call one of our specialists for free advice +3185 0220090
