Is it possible to apply an epoxy floor coating over a tiled floor? This is a question we are regularly asked. The answer to this is: yes, it is certainly possible to apply an epoxy coating over a tiled floor! You can do this in 2 ways:
- Sand the tile floor
In some cases, a tile floor is sanded and then cleaned again to ensure that the floor is rough so that the epoxy primer will adhere to the tiles. For (cheap) sanding of the tiles, you can use the FERM angle grinder with accompanying cup wheels for small spaces, such as a toilet or small hall. Please note: always use a good dust mask (this produces a lot of dust), gloves, safety glasses and hearing protection. - Prime the tiles
The second method is to apply a special epoxy primer. With this primer the floor coating will adhere well to the smooth floor. This includes tiles, very finely finished concrete or even ceramic surfaces and glass.
We explain to you in 4 steps how to properly pre-treat a tile floor!
This is how you treat a tile floor with the right primer!
Supplies:
- Epoxy floor primer for smooth surfaces (approx. 150 grams per square metre)
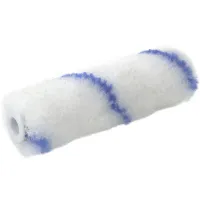
- 18 cm fleece roller + roller holder
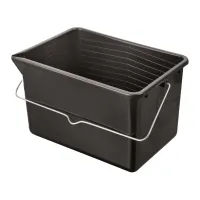
- 8 litre paint bucket or large mixing cups
- Mixing spatulas or spiral mixer
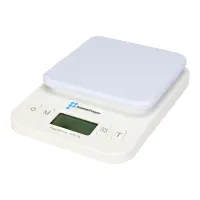
- Weighing scale
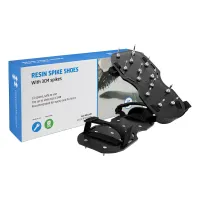
- Spiked shoes
Step 1. Clean the tiled floor thoroughly
Start cleaning the tile floor! Although our primer has good adhesion properties on smooth surfaces, epoxy is generally less resistant to dirt. Clean the floor several times with a non-greasy cleaning agent such as ammonia diluted with water. Let the floor dry thoroughly before continuing.
Step 2. Prepare the primer for use
Prepare the required amount of primer. If you need a small amount (for example 1500 grams, which is good for 10 m2), it is advisable to prepare this in a mixing cup and weigh both components. After dosing the components into the first mixing cup, mix it carefully for a few minutes. Transfer the mixture to a new mixing bowl and mix again. The epoxy primer is now ready for use. Follow the mixing ratio on the packaging.
If the tiled floor is more than 10 square meters, it is better to work in smaller portions of up to 1.5 kg. This means that the processing time of the resin remains acceptable.
Step 3. Distribute and roll out the primer
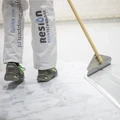
Now that you have mixed the right amount of primer properly, pour it over the floor. Don't pour too much in one spot, you only need 150 grams per square meter. After the resin has been distributed, roll it out crosswise with a fleece roller and ensure that the entire floor is primed. For this step, it is recommended to wear spiked shoes so you can walk on the primer.
Step 4. Curing and follow-up
After you apply the primer, it will take approximately 18 to 20 hours to cure at room temperature. The curing time is very dependent on the temperature. For example, at a temperature of 10°C the curing time is twice as long.
If you no longer want to see the structure of the tiles, continue leveling the floor after applying the primer. If the structure is not a problem. you can immediately finish the floor with an epoxy floor coating. Let the epoxy harden for at least 20 hours before starting the next step. Do not let the epoxy harden for too long and make sure you continue within 48 hours. After this period, the resin has hardened too far and you no longer have optimal adhesion.




![Applying Epoxy Floor Coating [GUIDE]](https://polyestershoppen.ams3.cdn.digitaloceanspaces.com/media/cache/document_icon/documenticon/20a8c71cdc2c326d5d305920dadc0d40e3fc1a56.webp)