Matt floor coating for epoxy cast floors [manual]

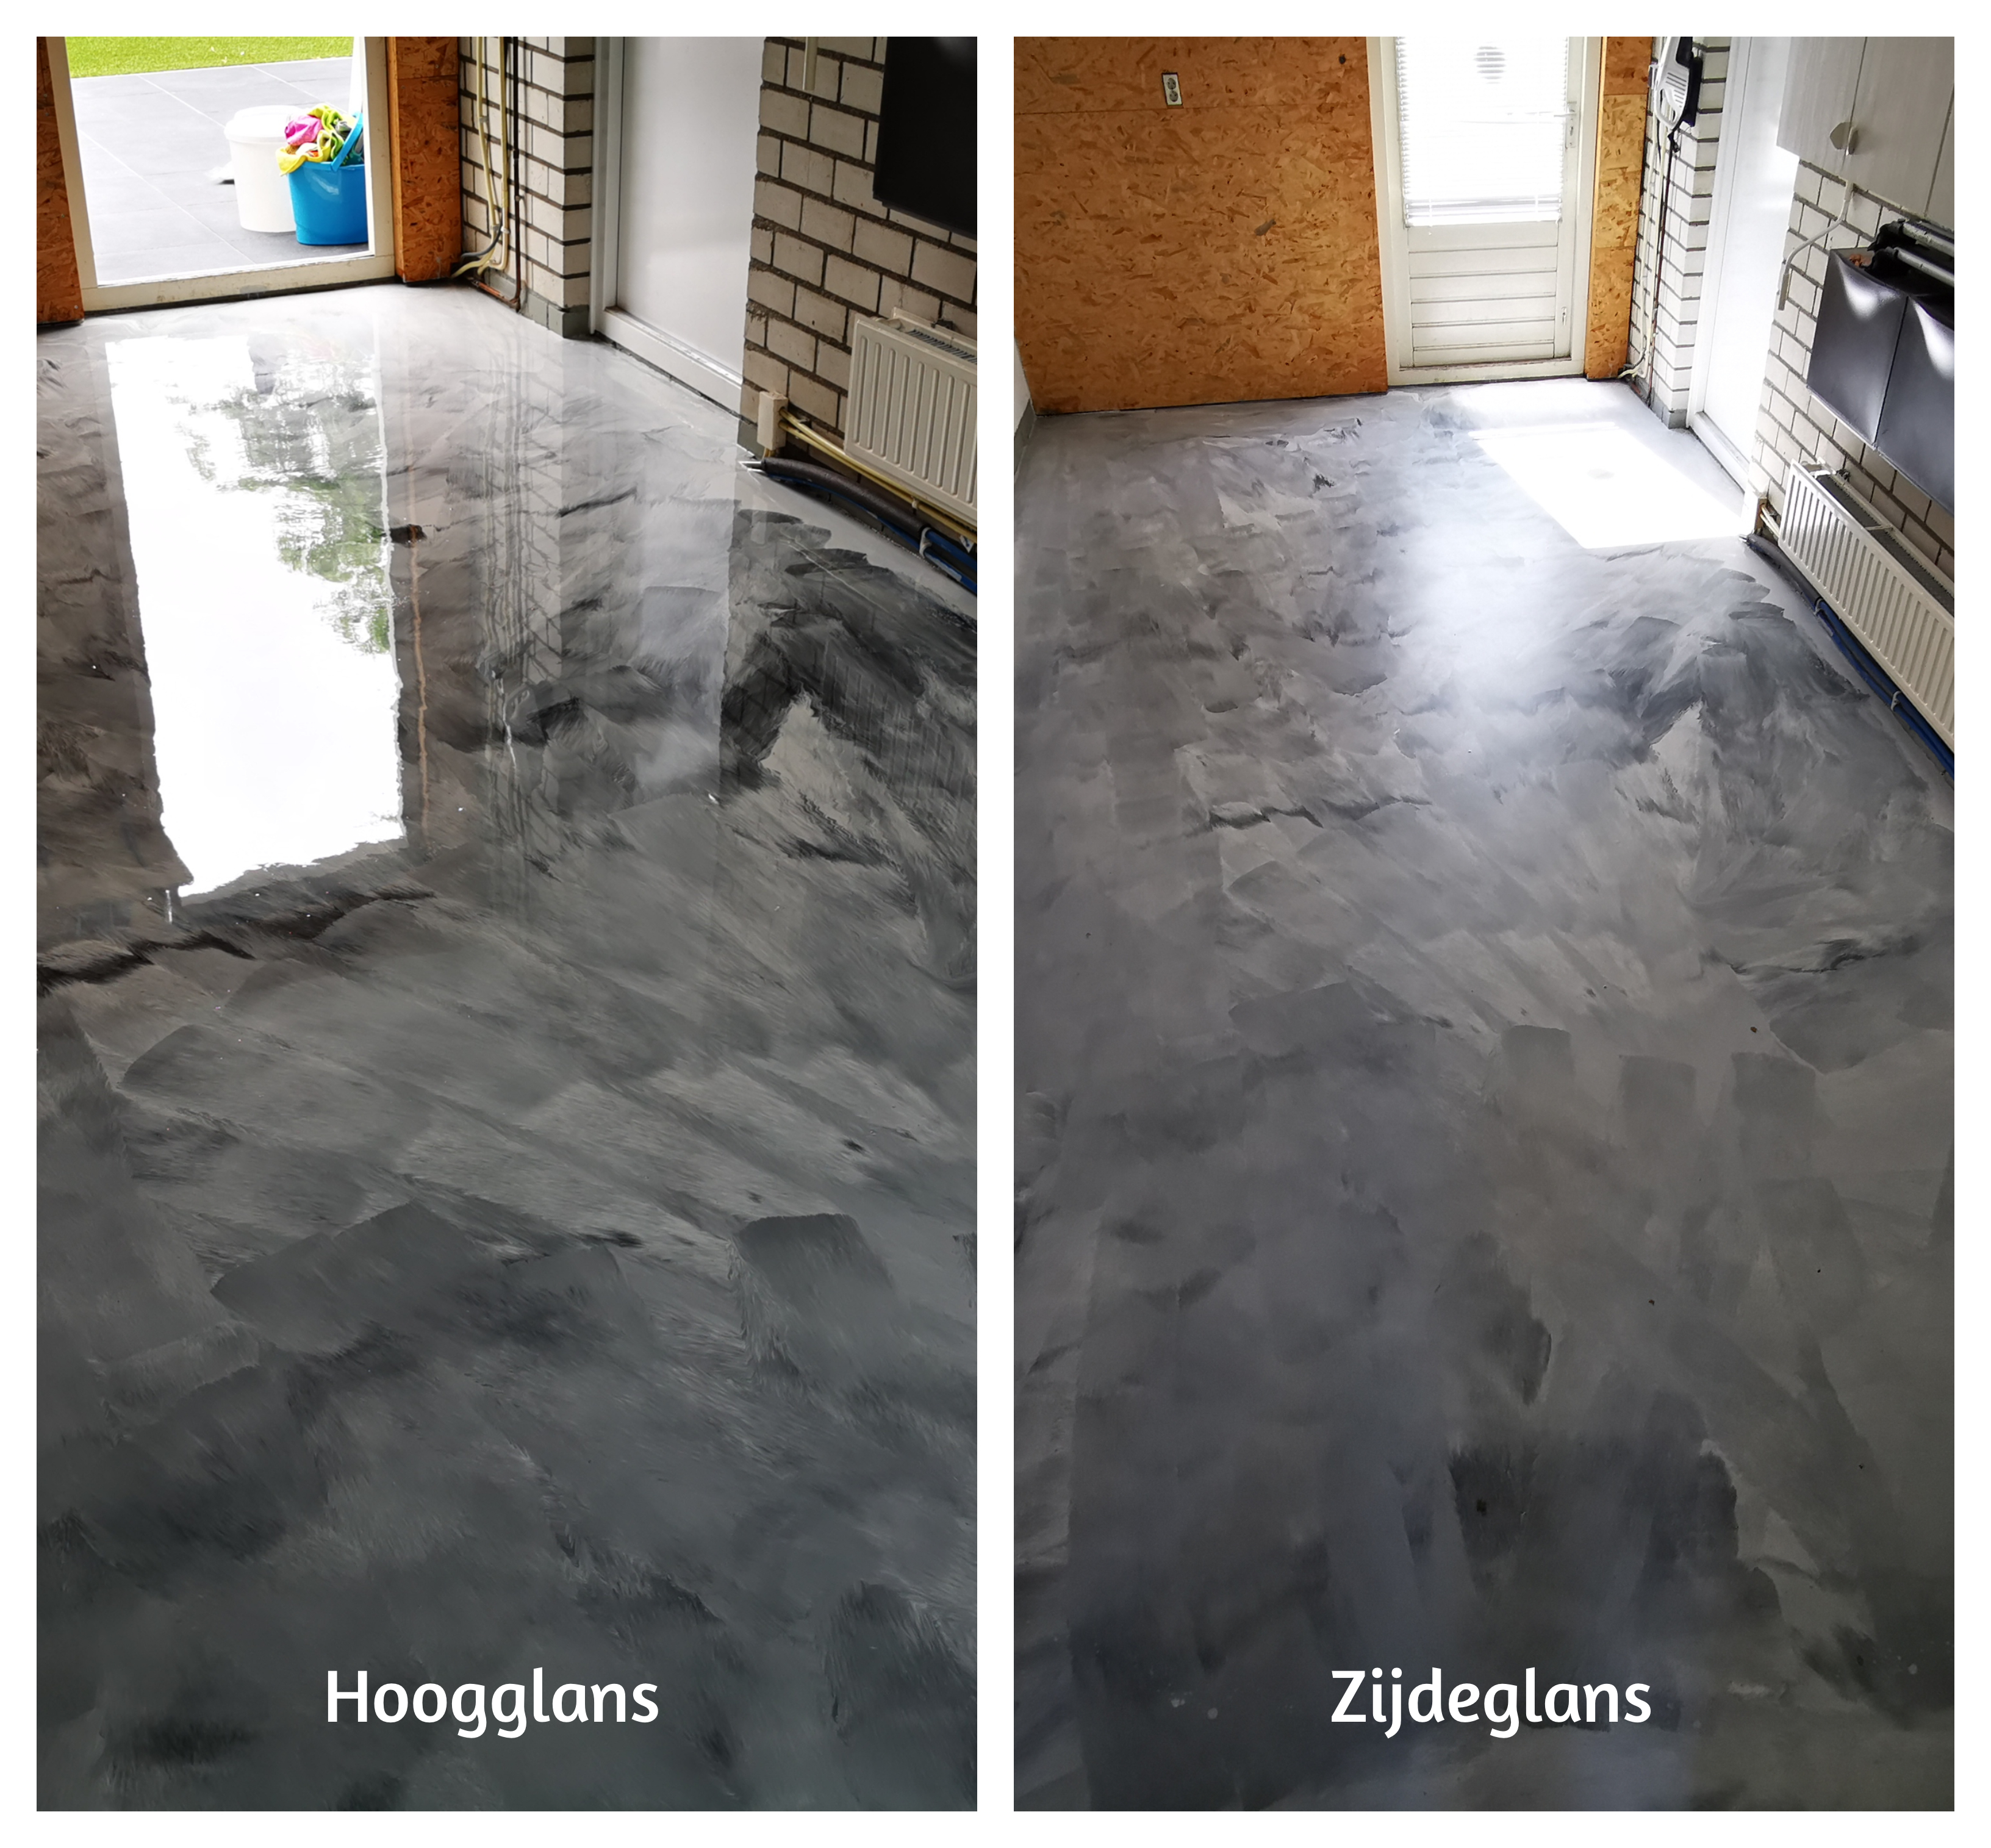
Verschil tussen hoogglans en zijdeglans epoxy vloer

In this article, we will explain how to apply a matt-gloss coating to an epoxy floor. This is an easy-to-apply product with good properties. For example, the product is strong, flexible and resistant to various chemicals. After application, the floor is quickly walkable again; after 7 days, the coating has reached its optimum strength. The matt floor coating is also suitable for PU floors.


What is the point of a matt floor coating?

With a matt floor coating, you give a cast floor a scratch-resistant protective layer and a matt-gloss appearance. That way, you are less likely to experience wear and tear and protect the floor from sunlight. Moreover, a matt-gloss coating gives a slight anti-skid effect.

Benefits of matt floor coating

  • Less prone to wear and tear.
  • Matt appearance.
  • UV protection.
  • Higher scratch resistance.
  • Light anti-skid effect.

Manual for a matt floor coating

RESION matt floor finish coat is easy to apply. We are happy to give you a hand and have written down all the steps in detail for you. This way, you are well prepared for the job. Watch our instructional video where we show you all the steps.

Supplies

To apply matt floor coating, you will need the following products:

  • RESION matt floor coating
    • Set: 1.1 kg (for approx. 10-15 m2)
    • Set: 2.75 kg (for approx. 30-40 m2)
    • Set 5 kg (for approx. 40-60 m2)
Tip: with an auxiliary materials kit for matt gloss coating, you immediately have everything you need to apply the coating (except ammonia, sander and sandpaper).
 

Previously, this product was called 'Silk gloss floor coating'. Therefore, this designation is still used in the video.

Step 1. Allow the screed to cure sufficiently

Before you start applying the matt gloss coating, it is crucial that the epoxy screed (or polyurethane screed) is properly cured. It usually takes about 72 hours for the screed to cure sufficiently. Always consult the technical documentation of the flooring system used for specific guidelines. If the screed is not fully cured, sanding will not be as effective and the sanding pad may quickly become saturated. Therefore, we recommend leaving the floor undisturbed for at least 3 days before proceeding with sanding and applying the floor coating. This will create the ideal foundation for a beautiful result.

Step 2. Sanding the screed

To get a good bond between the screed and the coating, we recommend sanding the floor with a rotary floor sander. Sand the floor with grit P220. For a 20m2 floor, you will need an average of two to three sanding sheets.

Tip: make sure the lever of the rotary sander is low. Usually the machine moves to the right when you raise it and to the left when you lower it.

Step 3. Thorough floor cleaning

After you sand the cast floor, it is important to thoroughly clean and dust the floor. Use a vacuum cleaner to remove residual dust. In addition, we recommend mopping the floor with a solution of water and diluted ammonia. Make sure the floor is allowed to dry completely before proceeding to the next step.
Step 4. Applying matt floor coating

Mengen zijdeglans coating

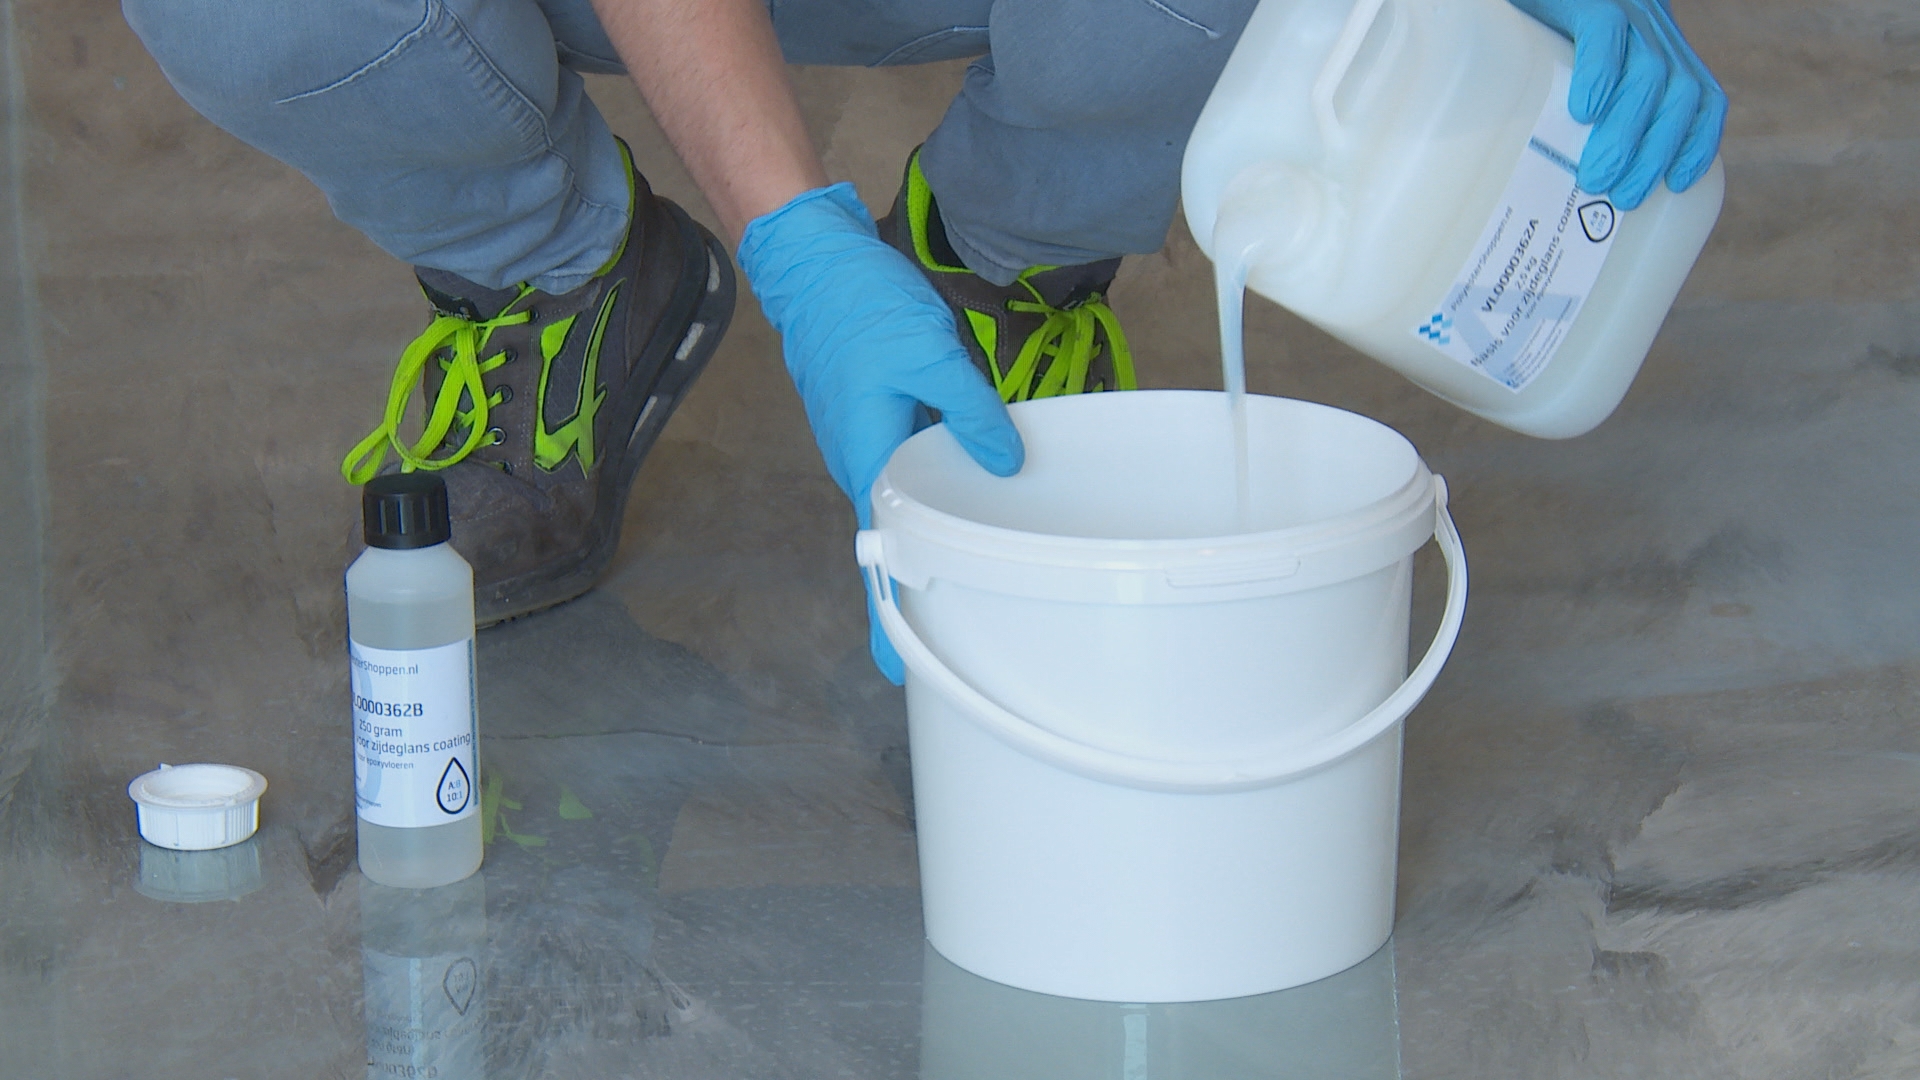
In this step, you are going to create the matt floor coating. The coating consists of 2 components that you need to mix together. Put components A and B in a bucket and use a spiral mixer to mix the components for 3 minutes on low speed. Be sure to go well along the sides and across the bottom of the bucket. Careful mixing, results in a homogeneous mixture, smooth application and perfect curing. After mixing, pour a small amount through a strainer into a paint bucket. Sifting prevents any lumps or particles from entering the coating.

Ensure a pleasant working environment by wearing nitrile gloves and properly ventilating the area during application.

Note: we do not recommend processing matt floor coating at temperatures above 25°C.

Step 5. Applying floor coating

When you're ready to apply the matt gloss coating, there are some crucial steps to pay attention to. Start by pouring the coating into a paint bucket; avoid working directly from the original bucket. Using a paint bucket allows you to more accurately control the amount of coating you apply. Keep in mind that a thin application is essential. This will prevent variations in gloss level. Always make sure to roll out the coating crosswise. This will result in an even and beautiful result.

Tip: be organized in your approach, as it can sometimes be difficult to see where you have already worked. Start on the side where the light is coming from and apply the coating parallel to the window in strips. Looking against the light, roll out the jobs crosswise evenly to see and correct any rolling streaks.

Step 6. Curing

Now it is important to give the screed time to cure properly. Within one to two days, the floor is already walkable. After a period of seven days (at 20°C), the floor reaches its maximum strength, where it is also resistant to moisture and chemical stress. This curing period is essential to ensure a durable end result.

More information about our matt floor coating?

We hope you will enjoy your new cast floor! Do you have any questions about the matt gloss coating or its processing? Feel free to contact our specialists. We will always give you appropriate, professional and personal advice to make your project successful! 

Product advisor
  • Expert advice
  • Superfast delivery with PostNL
  • Pay after delivery

Products used in this article

Product 1 of the 2

Request a step-by-step plan

Request a tailor-made step-by-step plan now! As soon as we have received the information below, we will tell you exactly what you need. Then you can immediately start laying the perfect floor.

How can we help you?

  • 1 We receive your request
  • 2 We make a custom plan and discuss it with you
  • 3 Within a few days you will have all the materials at home
  • 4 We help you step by step with all your questions about your floor

All about installing or repairing epoxy floors

Here you can find all 17 related articles on this topic. Mis je informatie om aan de slag te gaan met jouw klus? Neem dan contact met ons op.

Repairing an epoxy gravel (granular) floor Repairing an epoxy gravel (granular) floor
Decorative gravel floors can become damaged over the years. Pieces may come loose or a piece of flooring may need to be repaired. Epoxy gravel floors then offer… More information
Priming concrete and cement floors with epoxy Priming concrete and cement floors with epoxy
A correct surface is very important for a perfect finish of a floor with epoxy or polyurethane. By treating the surface correctly, you ensure that the surface i… More information
Applying epoxy floor coating [manual] Applying epoxy floor coating [manual]
With this manual, you can easily apply an epoxy floor coating yourself. Advantages of epoxy are that the product is easy to process and resists heavy mechanical… More information
Pre-treating tile floor for epoxy floor coating Pre-treating tile floor for epoxy floor coating
Is it possible to apply an epoxy floor coating over a tiled floor? This is a question we are regularly asked. The answer to this is: yes, it is certainly possib… More information
Preparing wooden floors for epoxy flooring Preparing wooden floors for epoxy flooring
Contrary to popular belief, wooden floors can also be covered with an epoxy coating or with poured epoxy flooring. Follow the steps below to make a wood floor t… More information
Repairing holes and cracks in cement/concrete floors Repairing holes and cracks in cement/concrete floors
You can easily repair concrete with epoxy yourself. Concrete floors can be damaged, which can make it difficult to apply an epoxy coating or cast floor or will… More information
Priming basement floors and walls Priming basement floors and walls
Basements and cellars are often somewhat stuffy and damp spaces. This is often because the floor and walls allow moisture to penetrate. To give the floor and wa… More information
Leveling a concrete floor with epoxy Leveling a concrete floor with epoxy
In some cases it may be necessary to level a concrete floor with leveling epoxy before applying a floor coating or an epoxy cast floor. Concrete floors with a c… More information
Matt floor coating for epoxy cast floors [manual] Matt floor coating for epoxy cast floors [manual]
In this article, we will explain how to apply a matt-gloss coating to an epoxy floor. This is an easy-to-apply product with good properties. For example, the… More information
Epoxy flooring over tiles in the bathroom Epoxy flooring over tiles in the bathroom
Do you no longer like the tiled floor in your bathroom or worse: do you have leaks along the joints? Then an epoxy floor offers an excellent and modern solution… More information
Sleek epoxy residential floor by CreaChick Sleek epoxy residential floor by CreaChick
CreaChick and CreaRick, known from Youtube, took up the challenge and created a super nice epoxy floor in their studio. There was a lot involved, as tiles als… More information
Commercial space with an epoxy floor Commercial space with an epoxy floor
Are you moving to a new commercial building and do you want a rock-solid cast floor in the office right away? Stop searching, Polyestershoppen is the specialist… More information
Installing a sleek epoxy garage floor Installing a sleek epoxy garage floor
Are you completely fed up with that dirty concrete floor in your garage? Are you constantly bothered by dust? Or do you want to use your garage as a utility r… More information
What is the difference between an epoxy screed and epoxy floor coating? What is the difference between an epoxy screed and epoxy floor coating?
We are regularly asked what the difference is between epoxy floor coating and epoxy cast flooring. And what the difference is in price. In this article, we will… More information
5 benefits of an epoxy cast floor 5 benefits of an epoxy cast floor
It is wildly popular: a sleek epoxy cast floor in homes, sheds, garages and office buildings. At Polyestershoppen, you will find all the products you need to la… More information
Do you want to install an epoxy cast floor yourself? Read our manual Do you want to install an epoxy cast floor yourself? Read our manual
Do you want to install an epoxy cast floor yourself? With the help of this manual, we will explain to you in detail how to apply an epoxy cast floor yourself! O… More information
Minimize the risk of slipping: anti-slip solutions for epoxy floors Minimize the risk of slipping: anti-slip solutions for epoxy floors
Epoxy floors are naturally very smooth. For many applications, this is also desirable, for example in living rooms and garages. But what to do when a smooth sur… More information

Do you have a question about this article?

Do you have a specific question? Call one of our specialists for free advice +3185 0220090