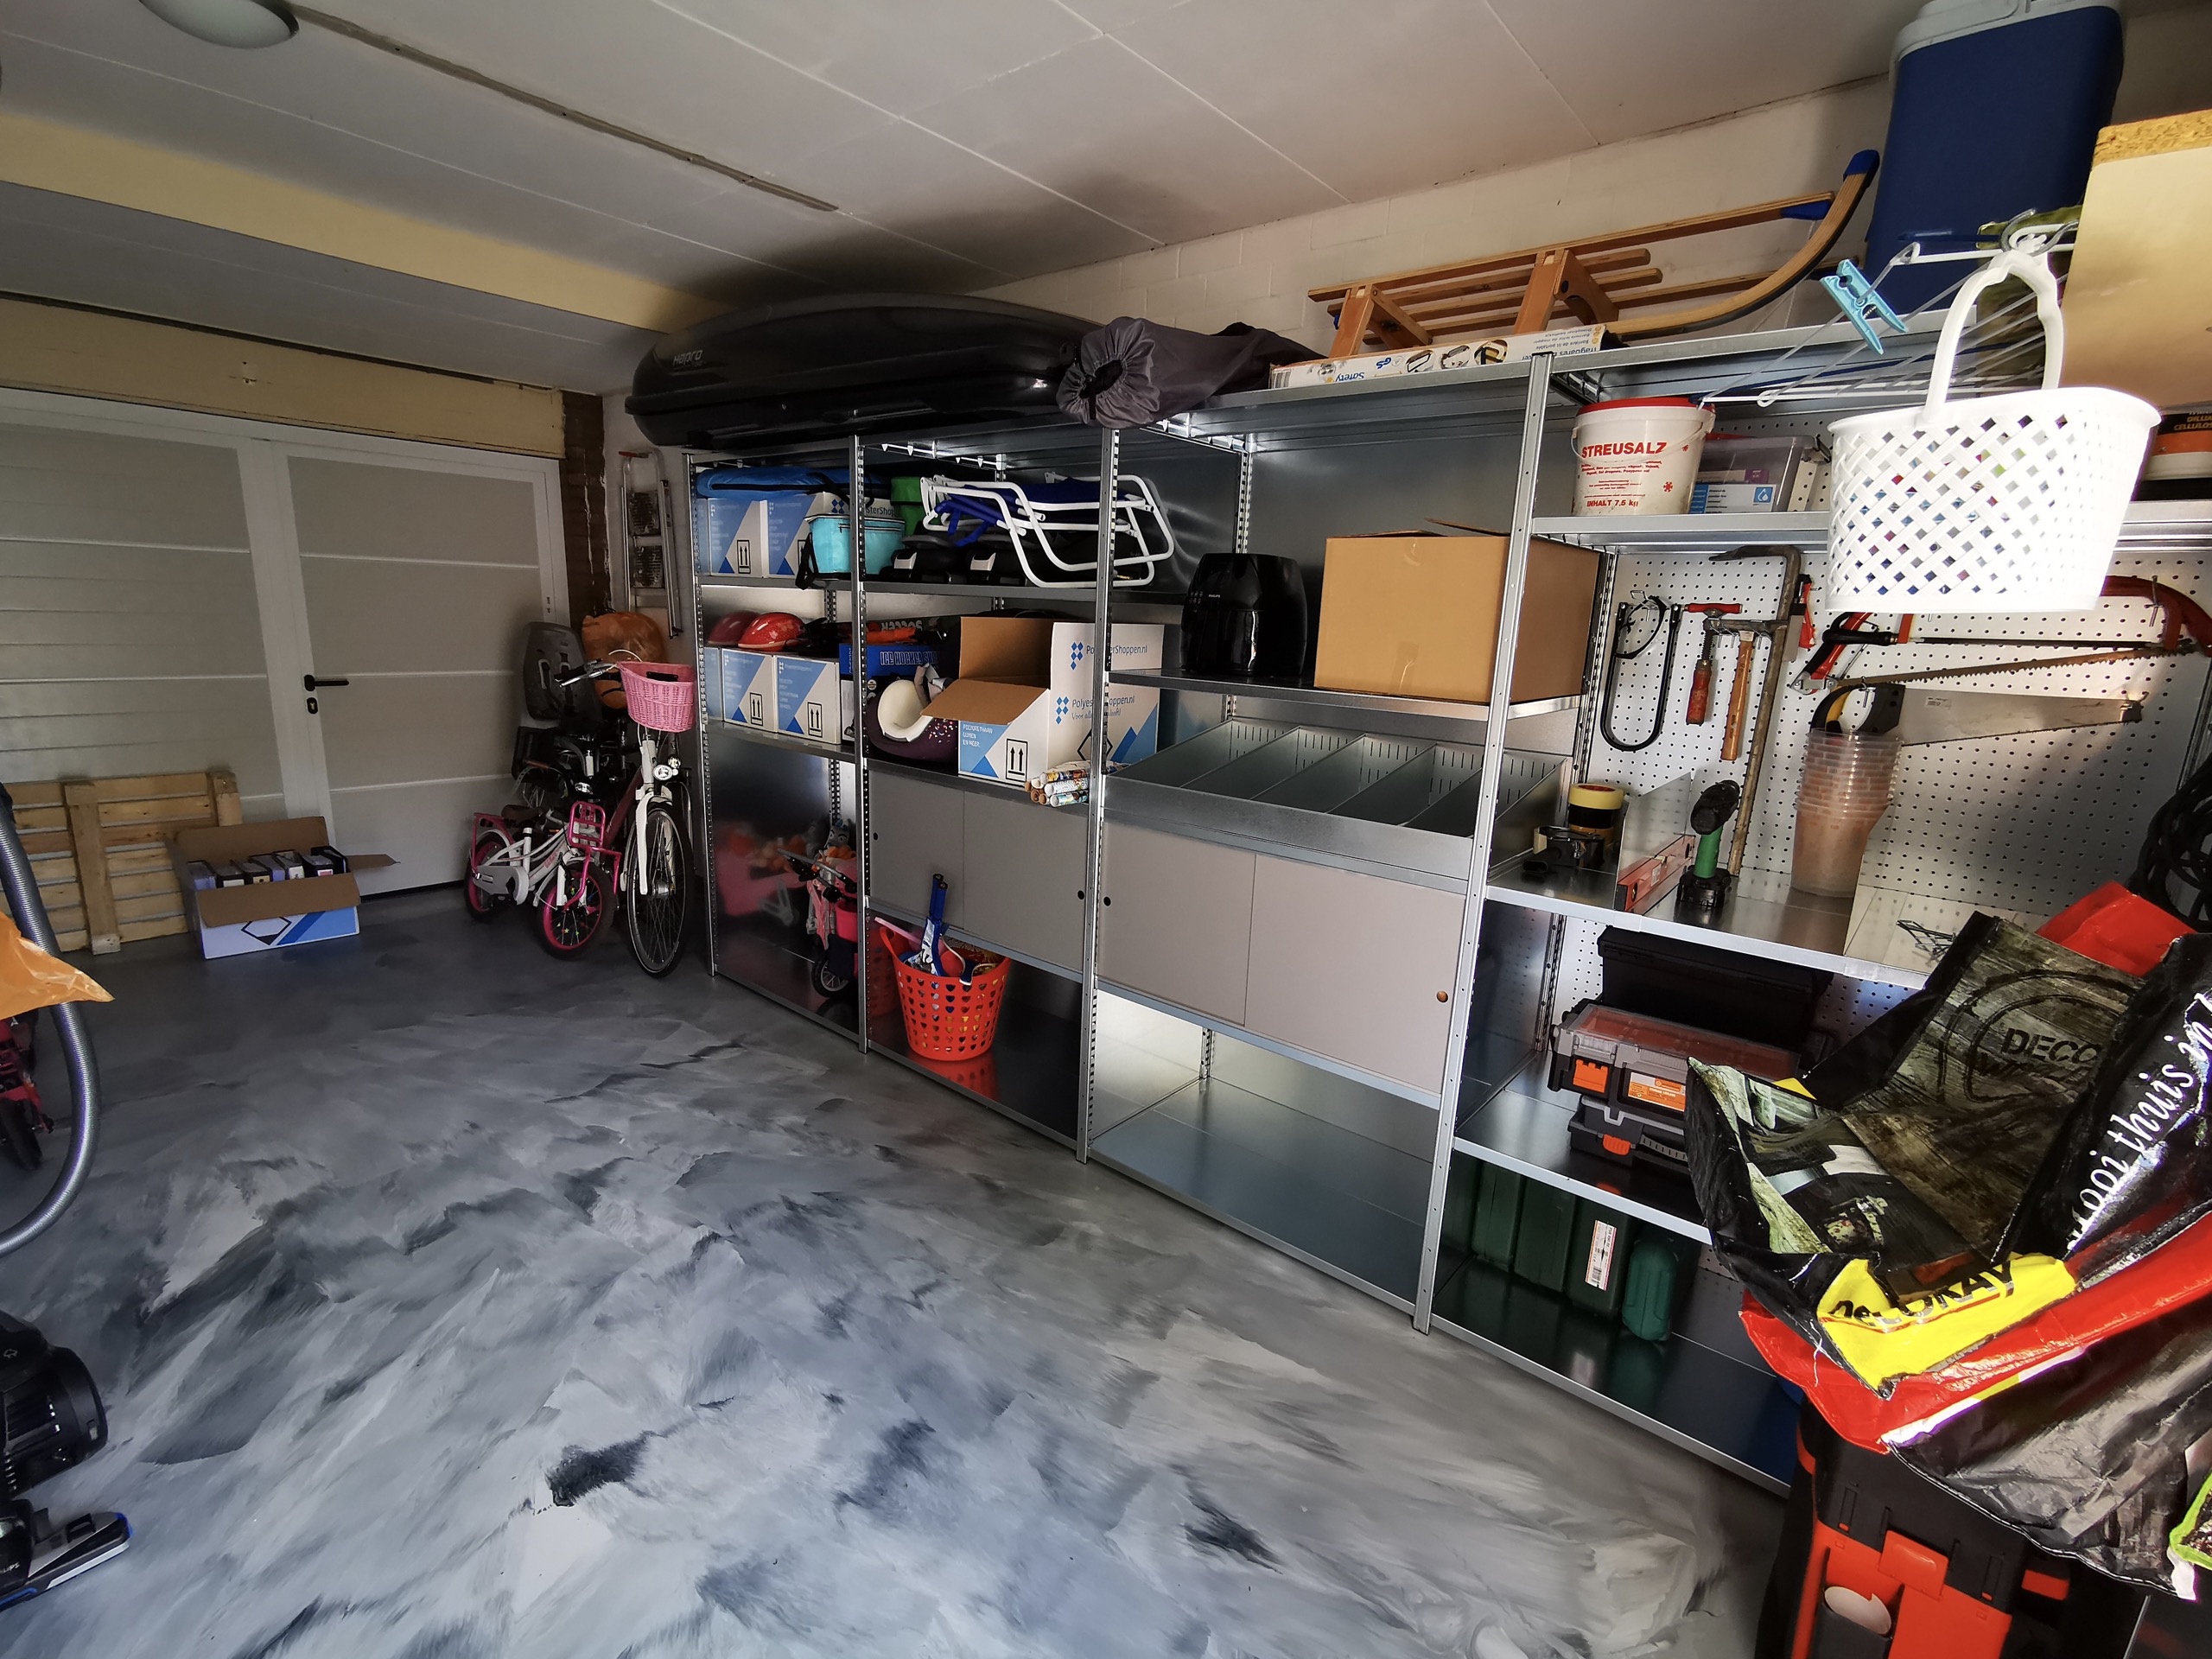
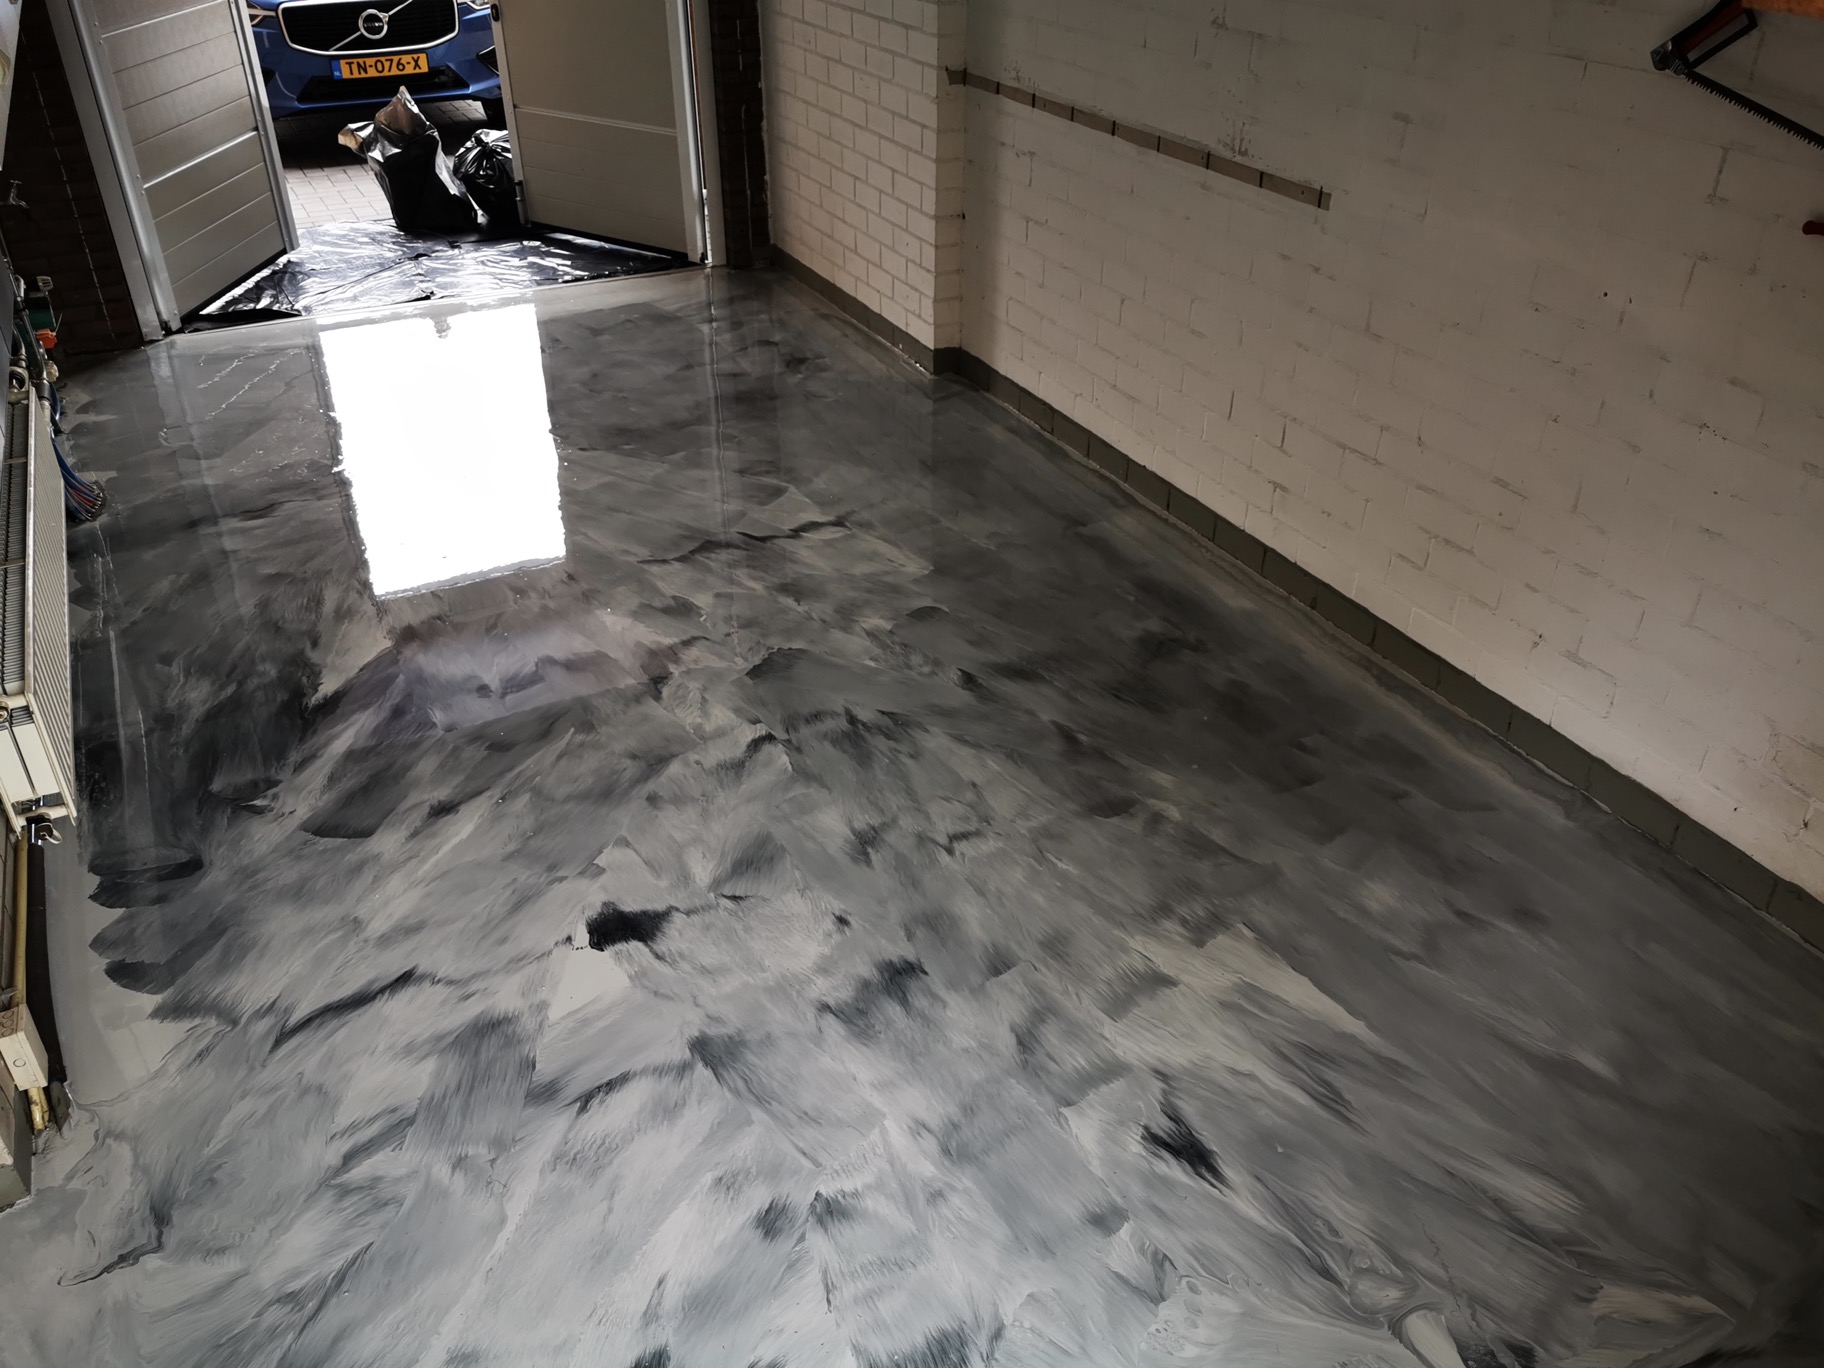
Are you completely fed up with that dirty concrete floor in your garage? Are you constantly bothered by dust? Or do you want to use your garage as a utility room? Then a cast floor in the garage is the solution! In this article, we explain step by step what you need to do and which product you need for this.
Benefits of an epoxy floor in your garage
Are you unsure about installing an epoxy garage floor? We have listed some of the benefits for you:
Gives a sleek and modern look.
Easy to keep clean.
Dust-free.
Moisture resistant.
Install an epoxy cast floor in the garage yourself
Are you a "handy man" and would you like to install an epoxy coated floor in your garage yourself? Below you will find all the information on what you need as well as a clear roadmap of the stages you need to go through to apply an epoxy coating. Is the information not sticking with you? Send us a message and we will help you get started quickly.
Supplies:
Especially for garage floors, we have put together an economical epoxy garage floor package. This package is available for garage floors of approximately 10, 20 and 30 square metres. Of course, larger is no problem either, in which case we will be happy to prepare a customised step-by-step plan for you. For this, please contact our customer service team!
The better you prepare the floor, the nicer the final result. If the floor is very smooth or dirty, you can sand the concrete with P24 grit.
Step 2. Prime the concrete
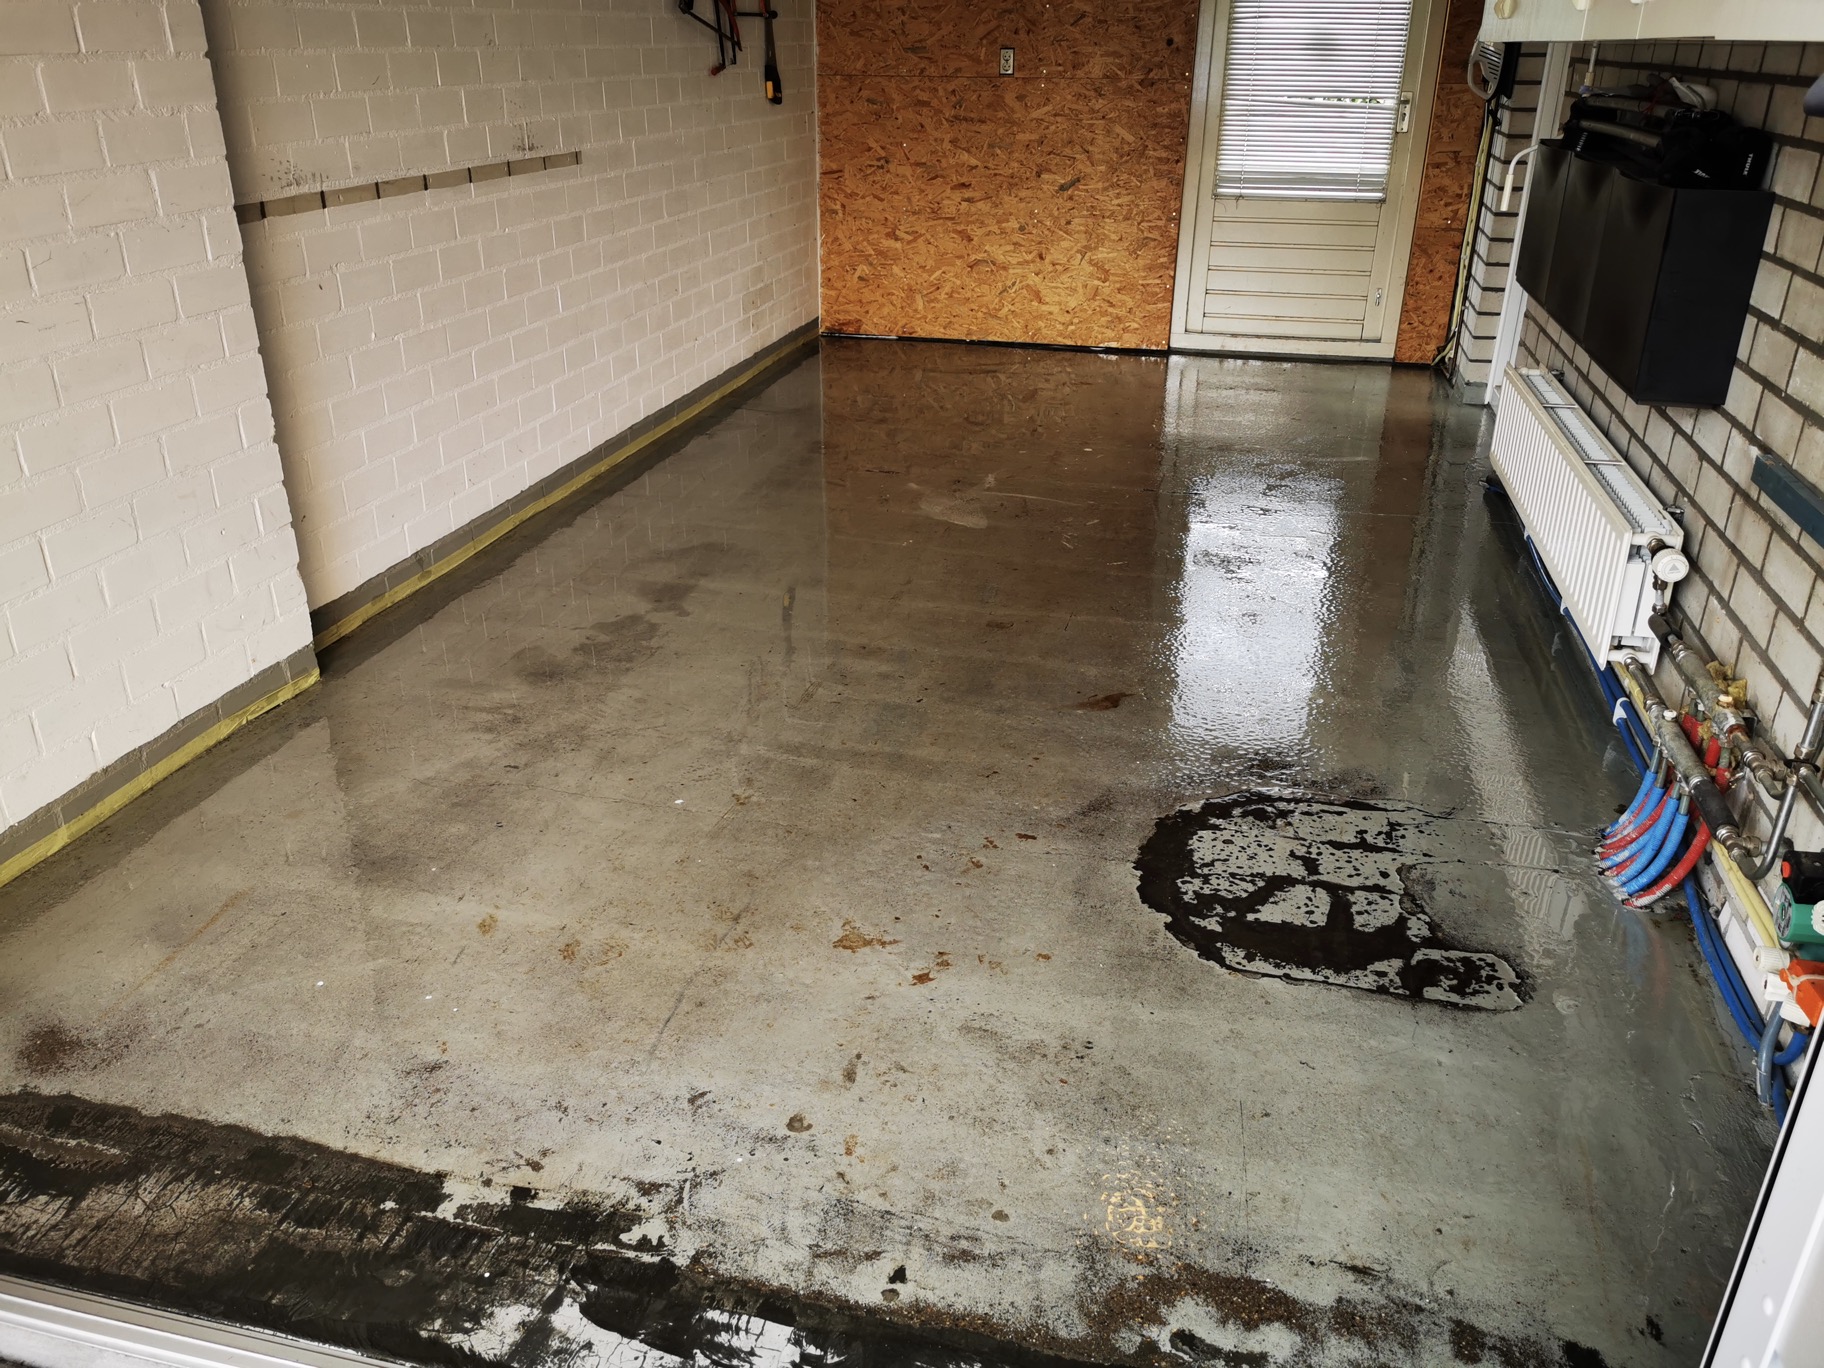
Before you start, clean the floor thoroughly. Vacuum the entire floor and then mop with ammonia diluted with water. This ensures that the floor is free of dust, which promotes adhesion.
To determine which primer you need, you can test the old floor with a cup of water. Does the water soak into the floor? Then you need primer voor dry substrates. Does the water stay on the floor? Then you can use RESION epoxy floor primer. Pour the entire contents of the hardener into the tin of floor primer base. Then use a spiral mixer to mix both components for a few minutes until homogeneous. Remember to scrape well along the edges and bottom of the tin. RESION epoxy floor primer is still made with 1 component water.
After mixing, pour the floor primer directly over the garage floor. First finish the edges with a wide flat brush (50 mm). Then use a floor squeegee to spread the primer easily over the entire floor. Roll the primer crosswise with a fleece roller.
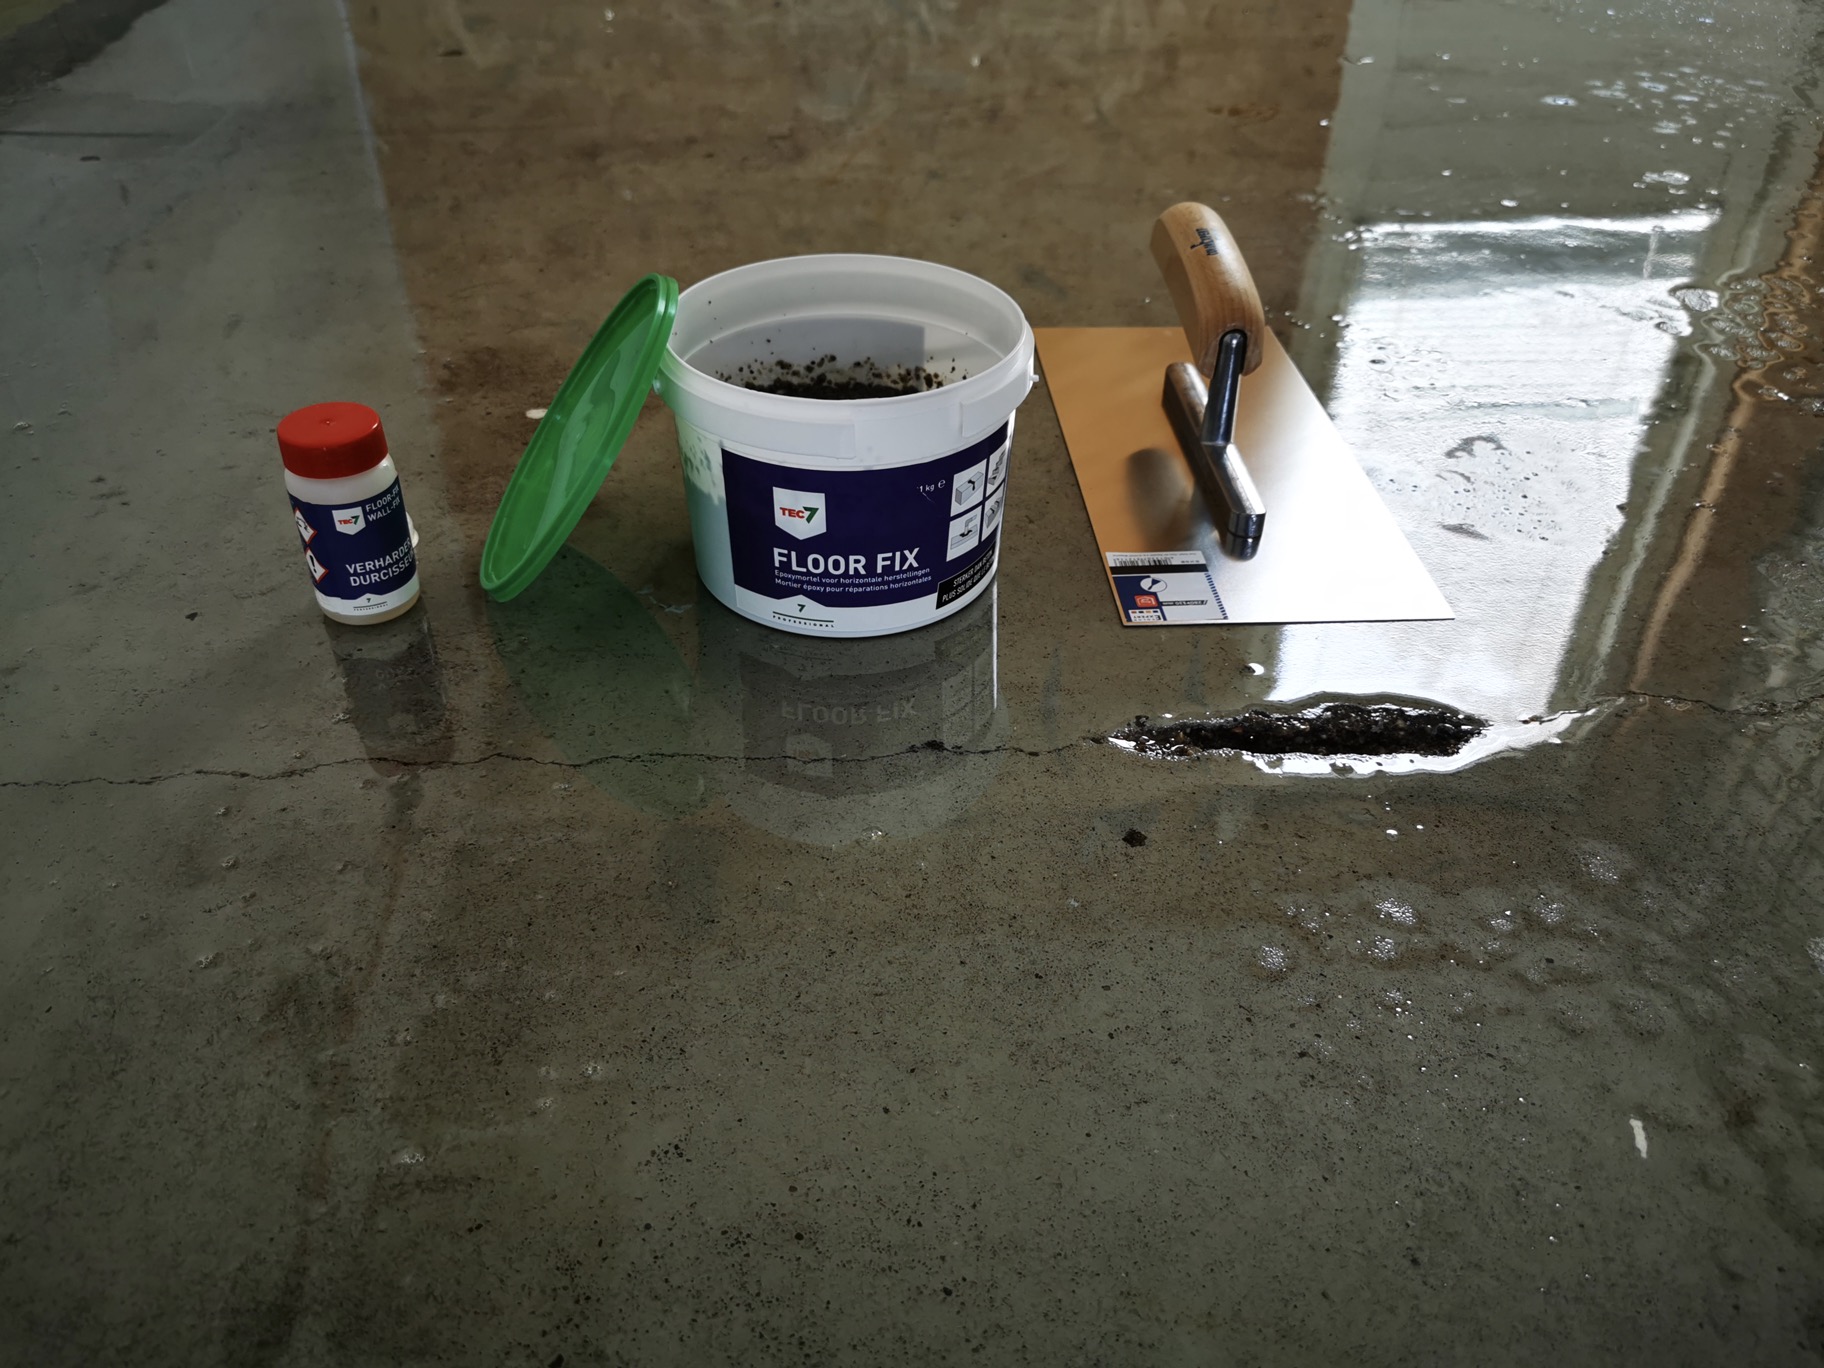
Step 3. Repair cracks or holes in your garage floor
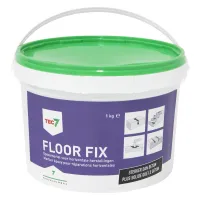
Do you have cracks or holes? Then you can repair them approximately 20 hours after priming. You can do this easily with the Tec7 FloorFix ready-made kit from FloorFix. You can also make your own mixture of epoxy and Stewathix. Repair the holes and cracks with a large putty knife or a smooting trowel. Allow Tec7 FloorFix to cure for at least several hours.
Step 4. Apply the epoxy floor coating
Within a maximum of 48 hours after priming, the epoxy floor coating should be applied. If you wait longer, first sand the garage floor with P80 grit and then clean it well with ammonia diluted with water. If you have repaired holes and cracks, it does not matter if the repair mortar is not yet fully cured (provided it is epoxy).
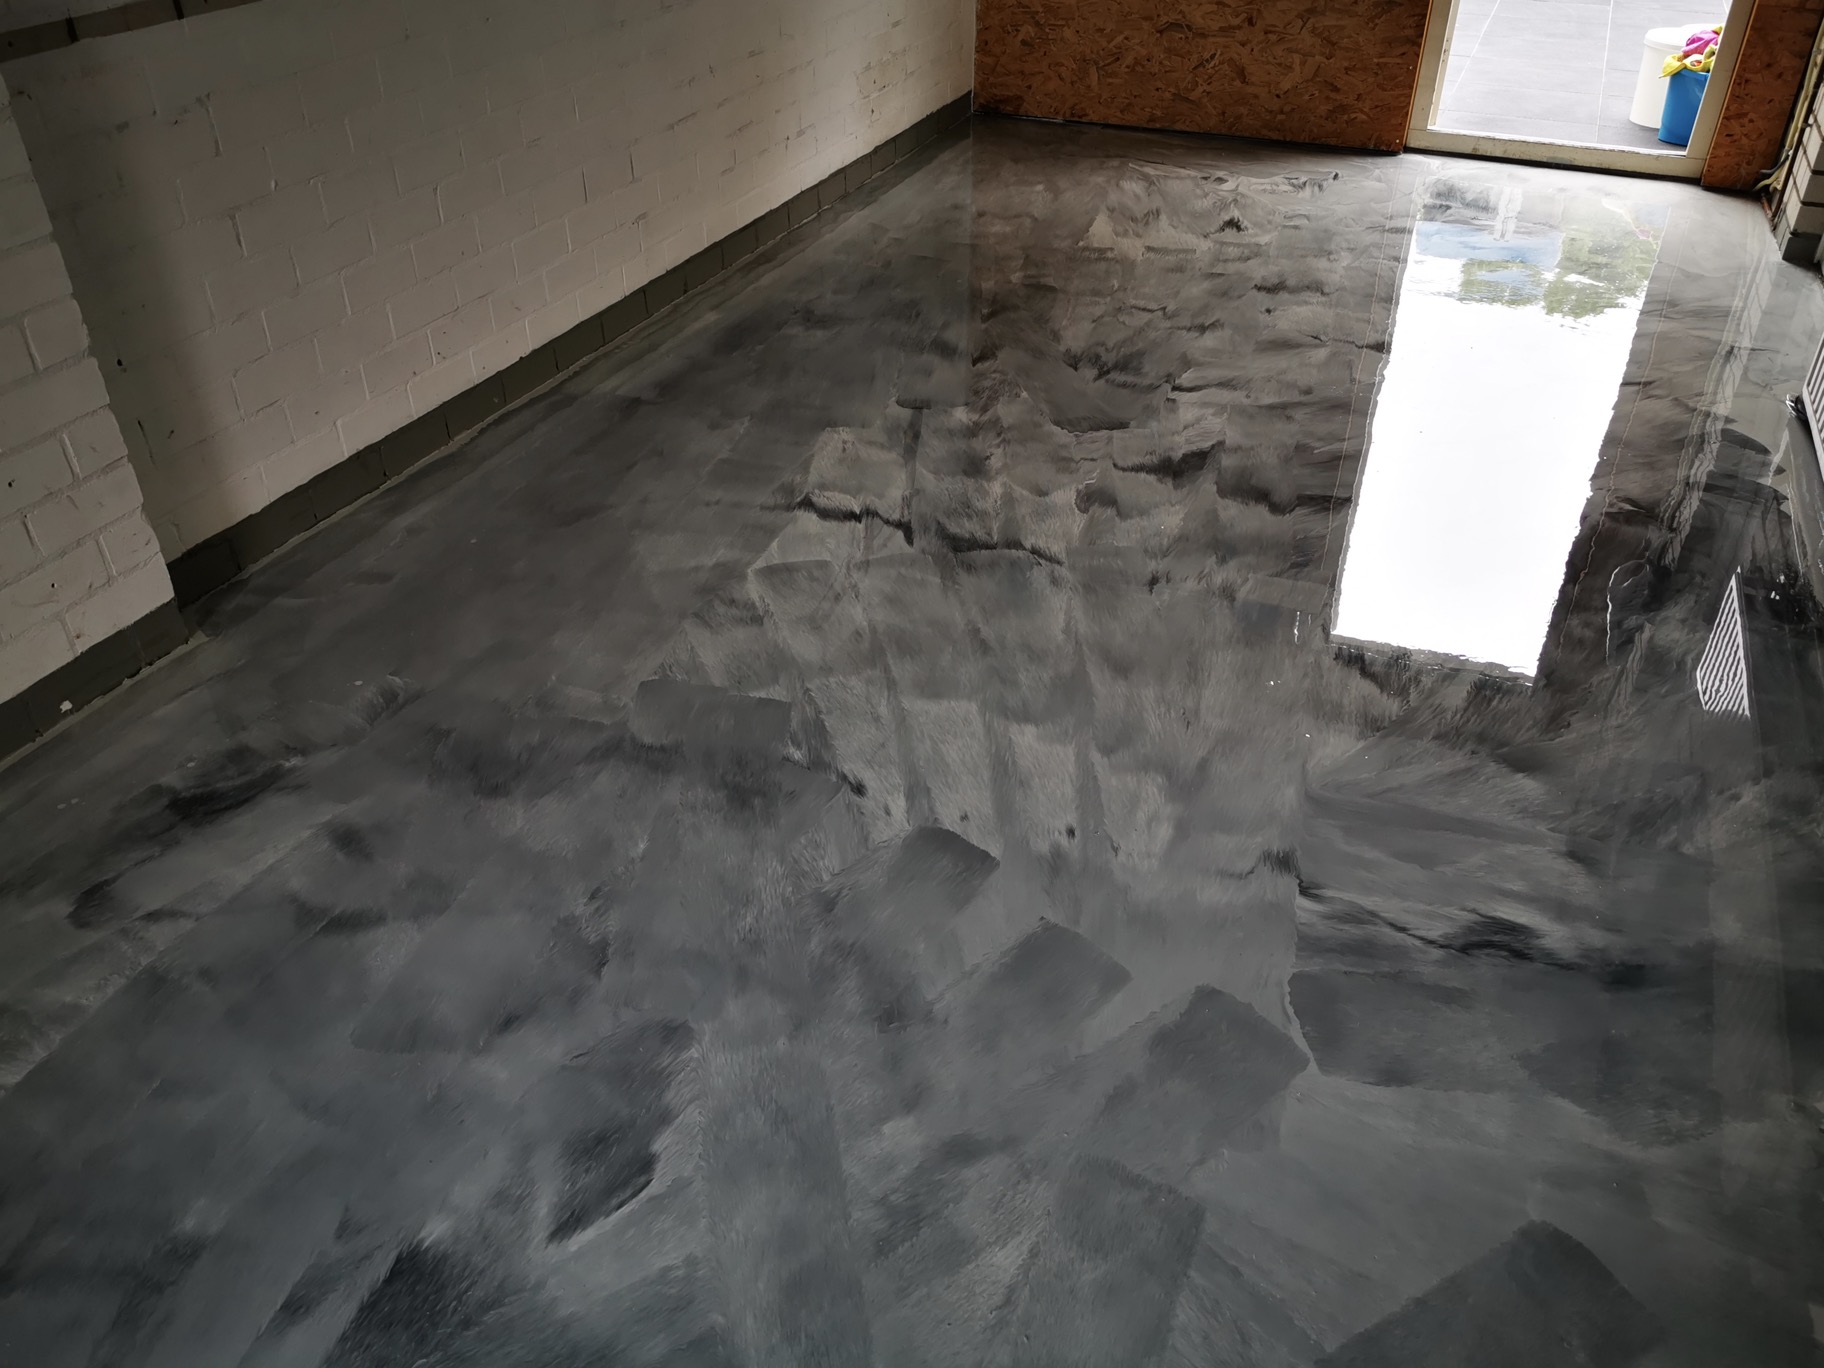
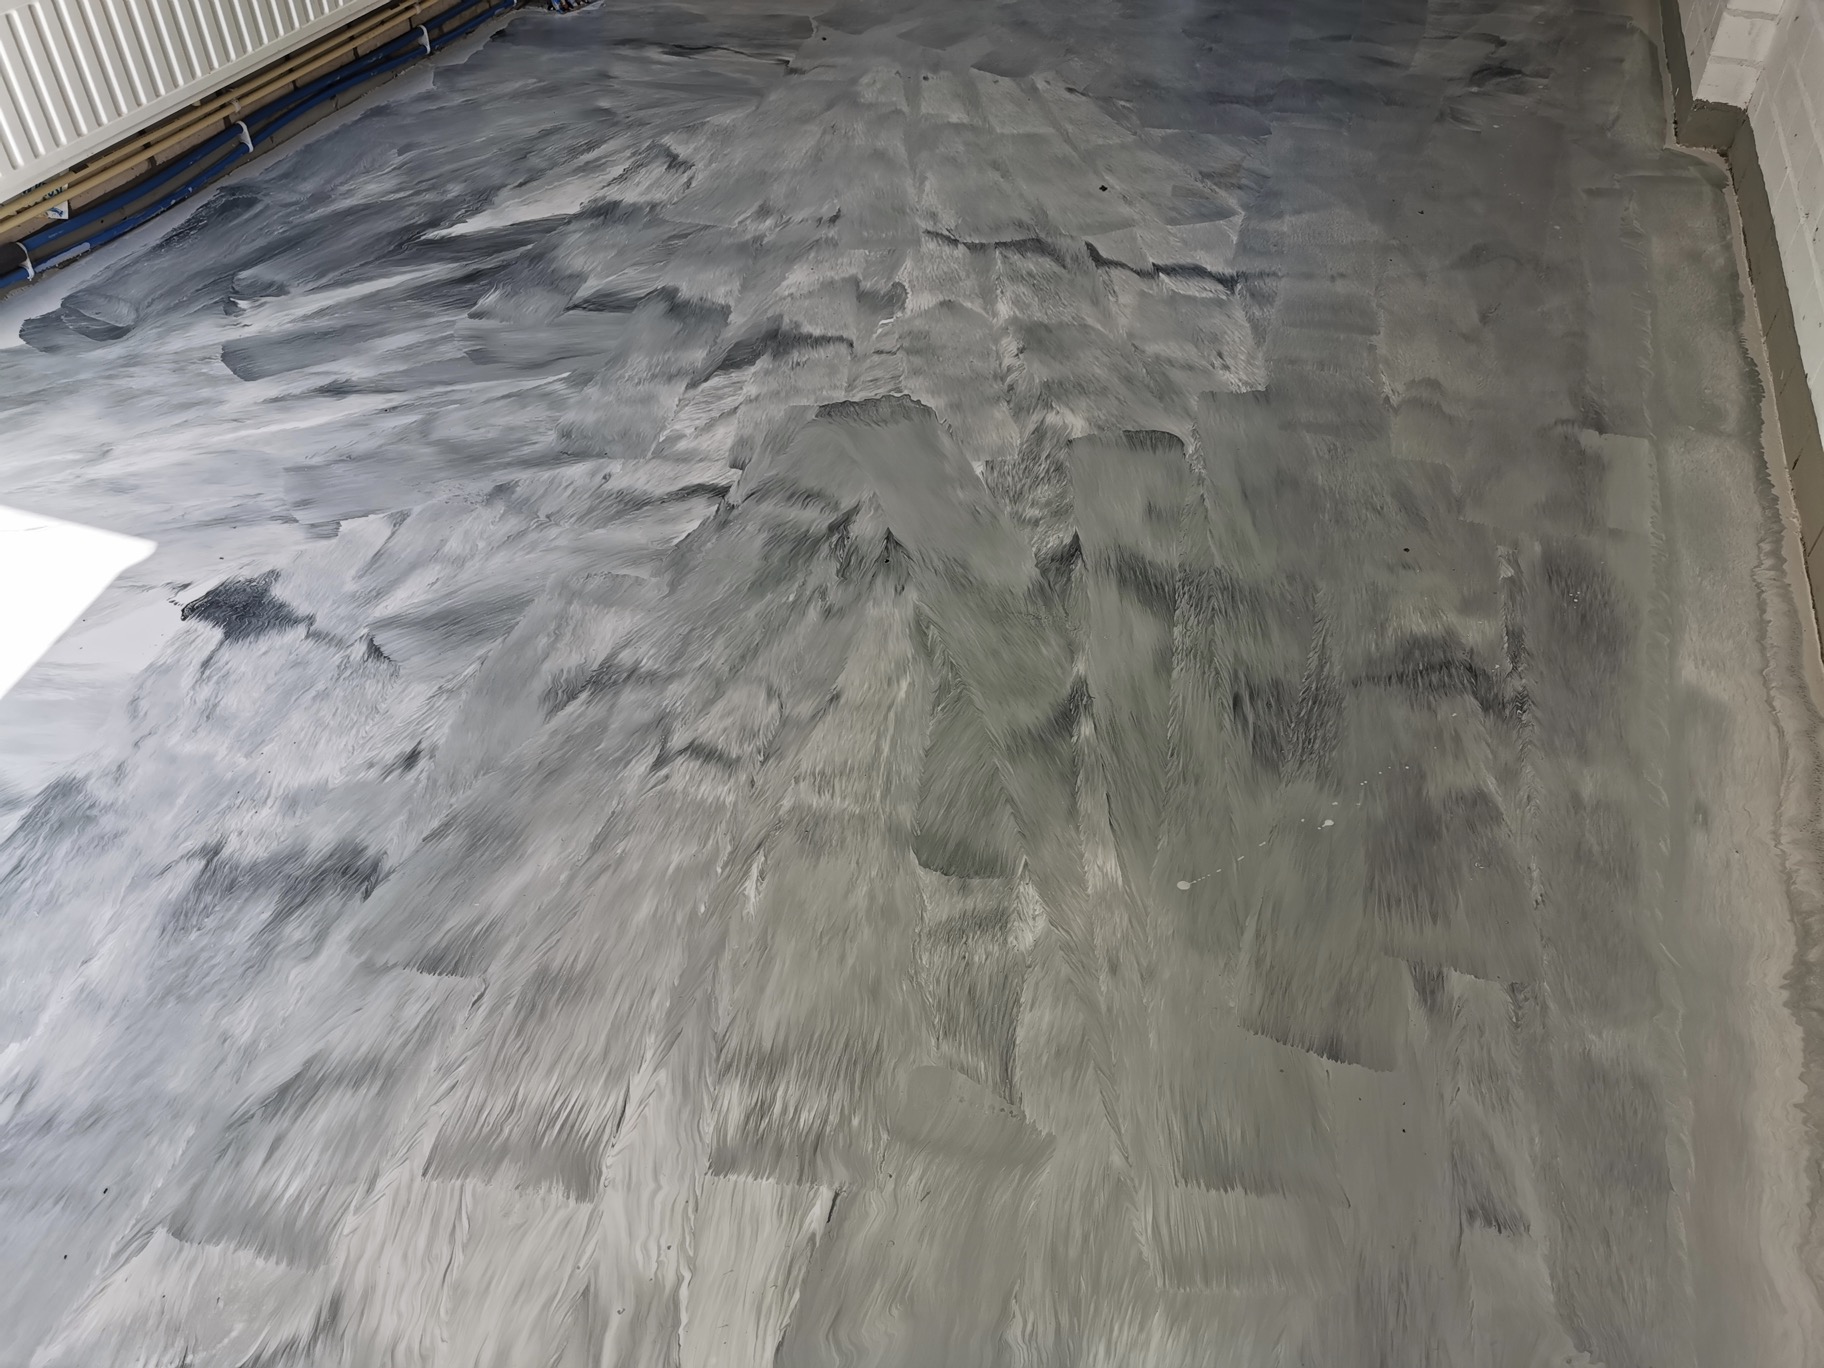
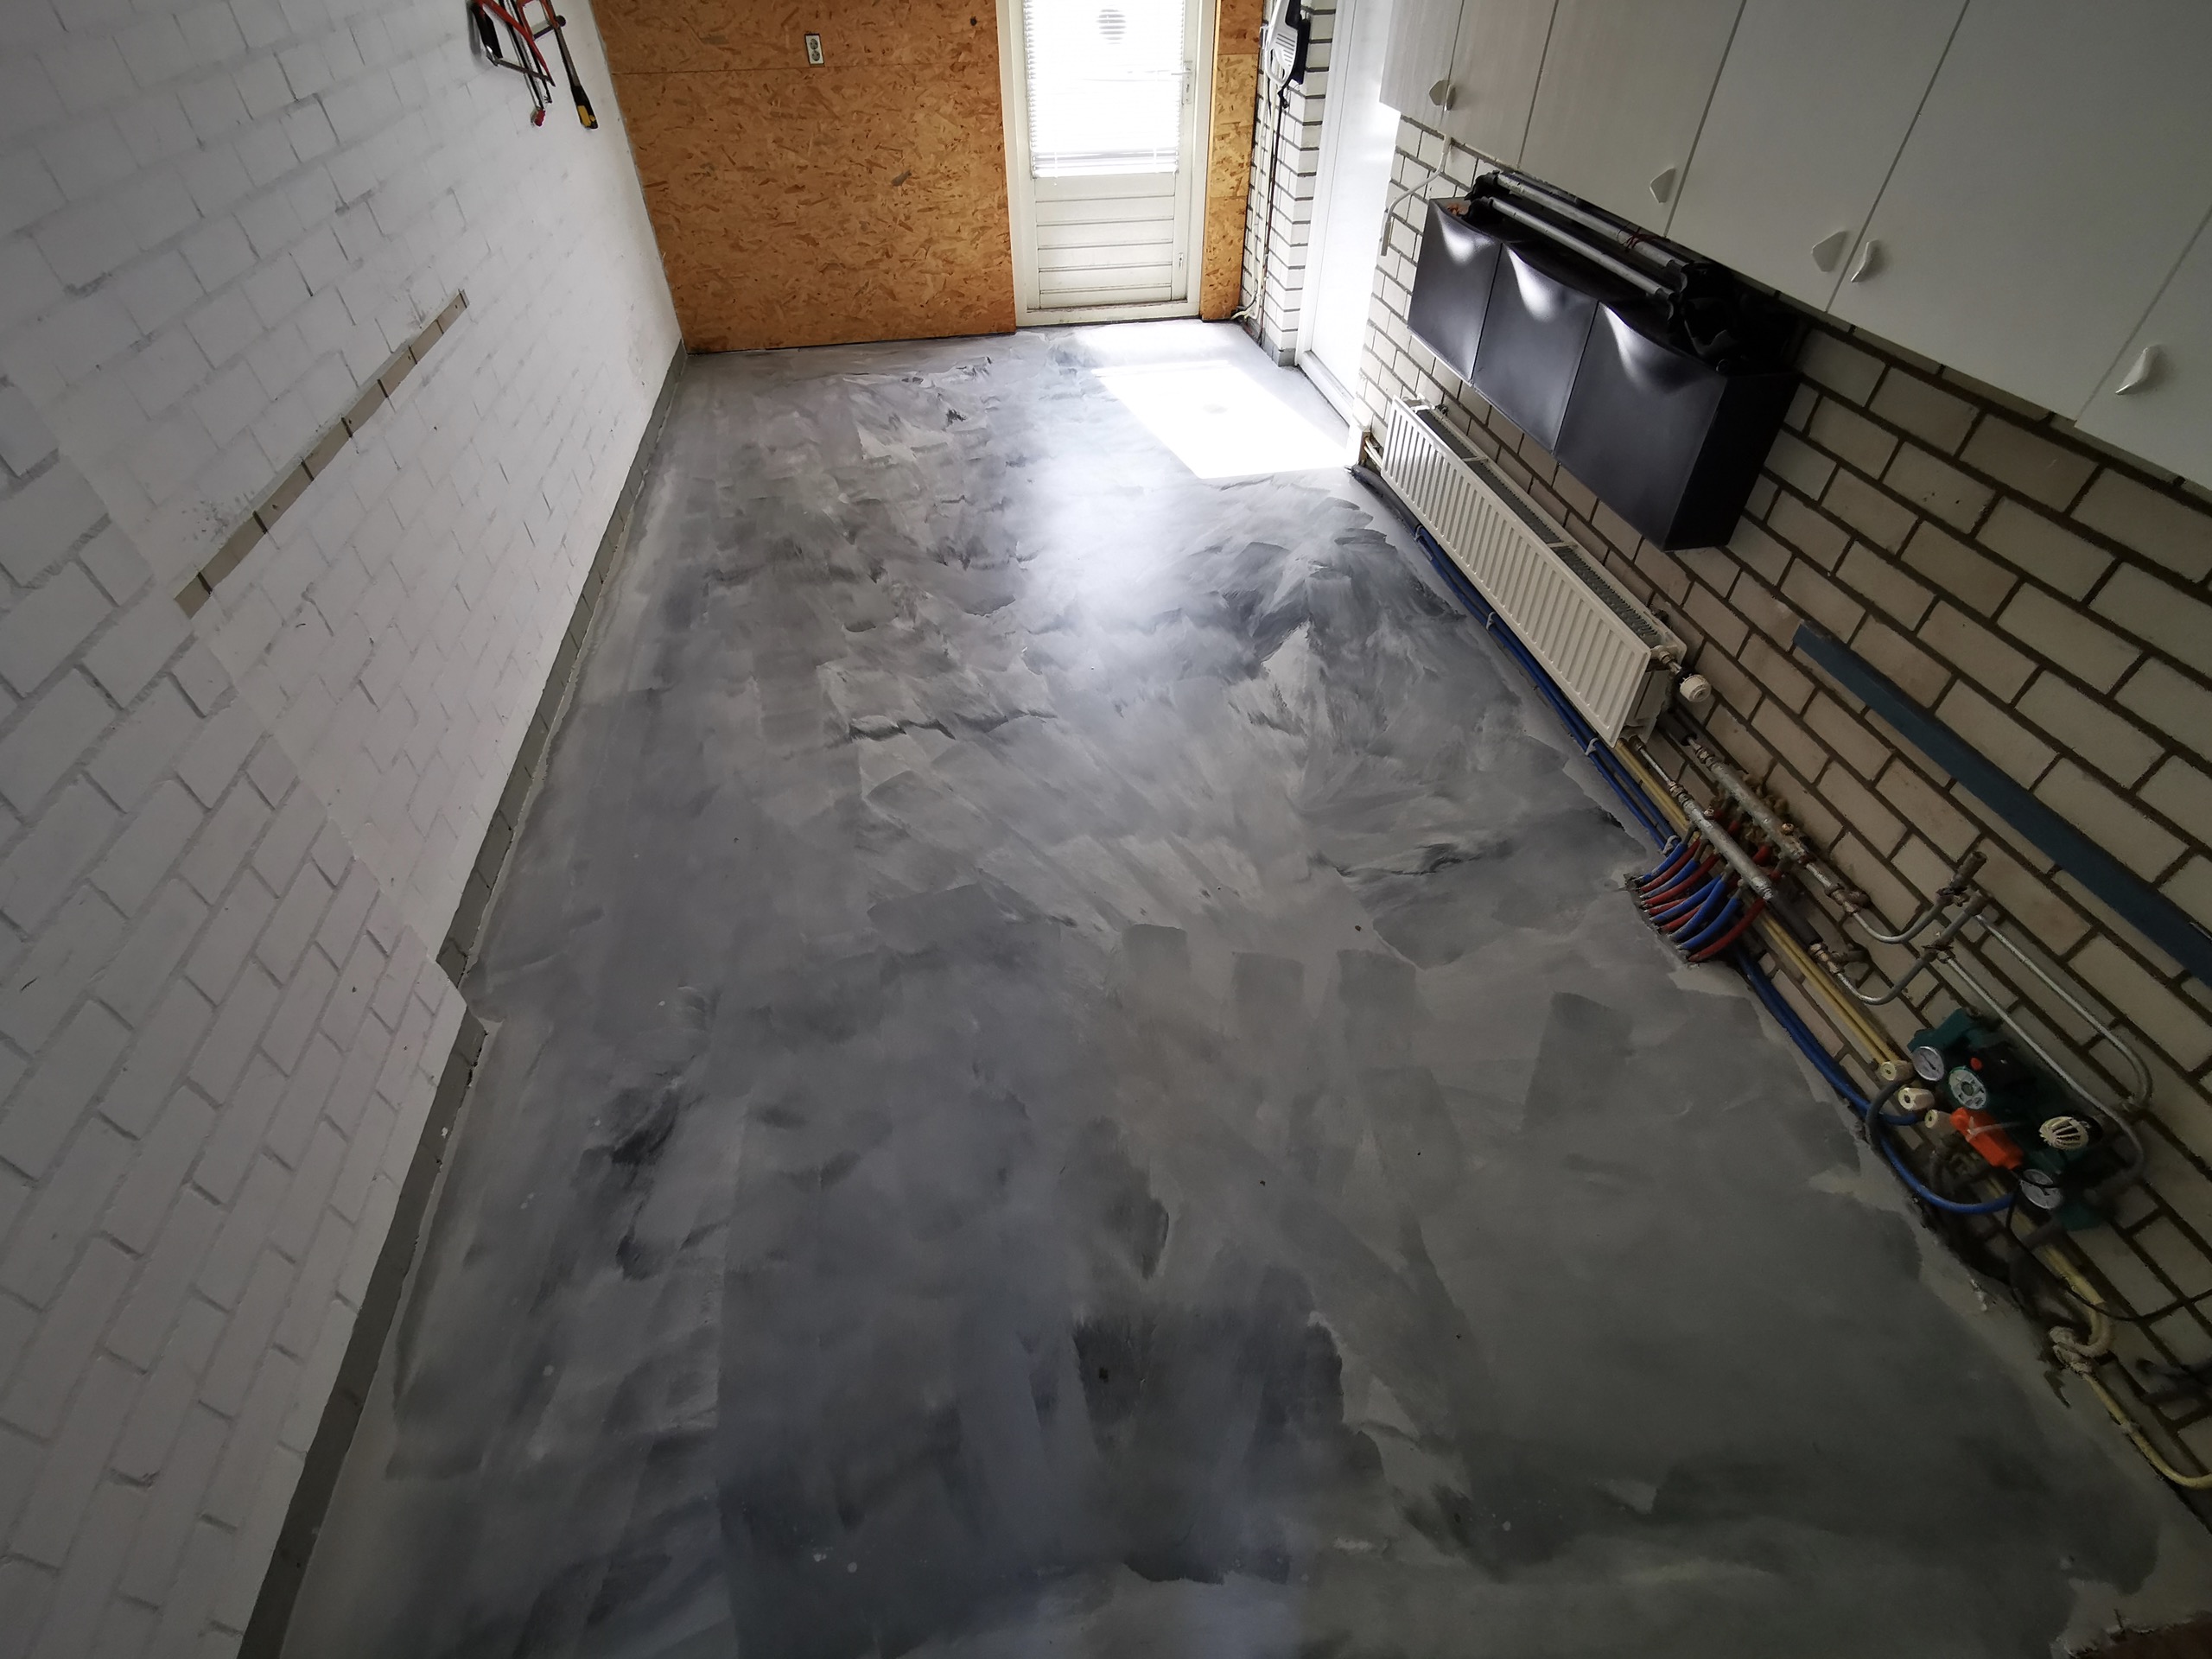
Epoxy floor coating from Polyestershoppen consists of 3 components: the base, the pigment paste and the hardener. First add the hardener to the base. Drain the can well. Then add the pigment paste. Use the spiral mixer to scrape out the jar of pigment paste well. Then mix all components with a spiral mixer on a drill. Mix for at least 5 minutes, scraping well along the edges and bottom of the can.
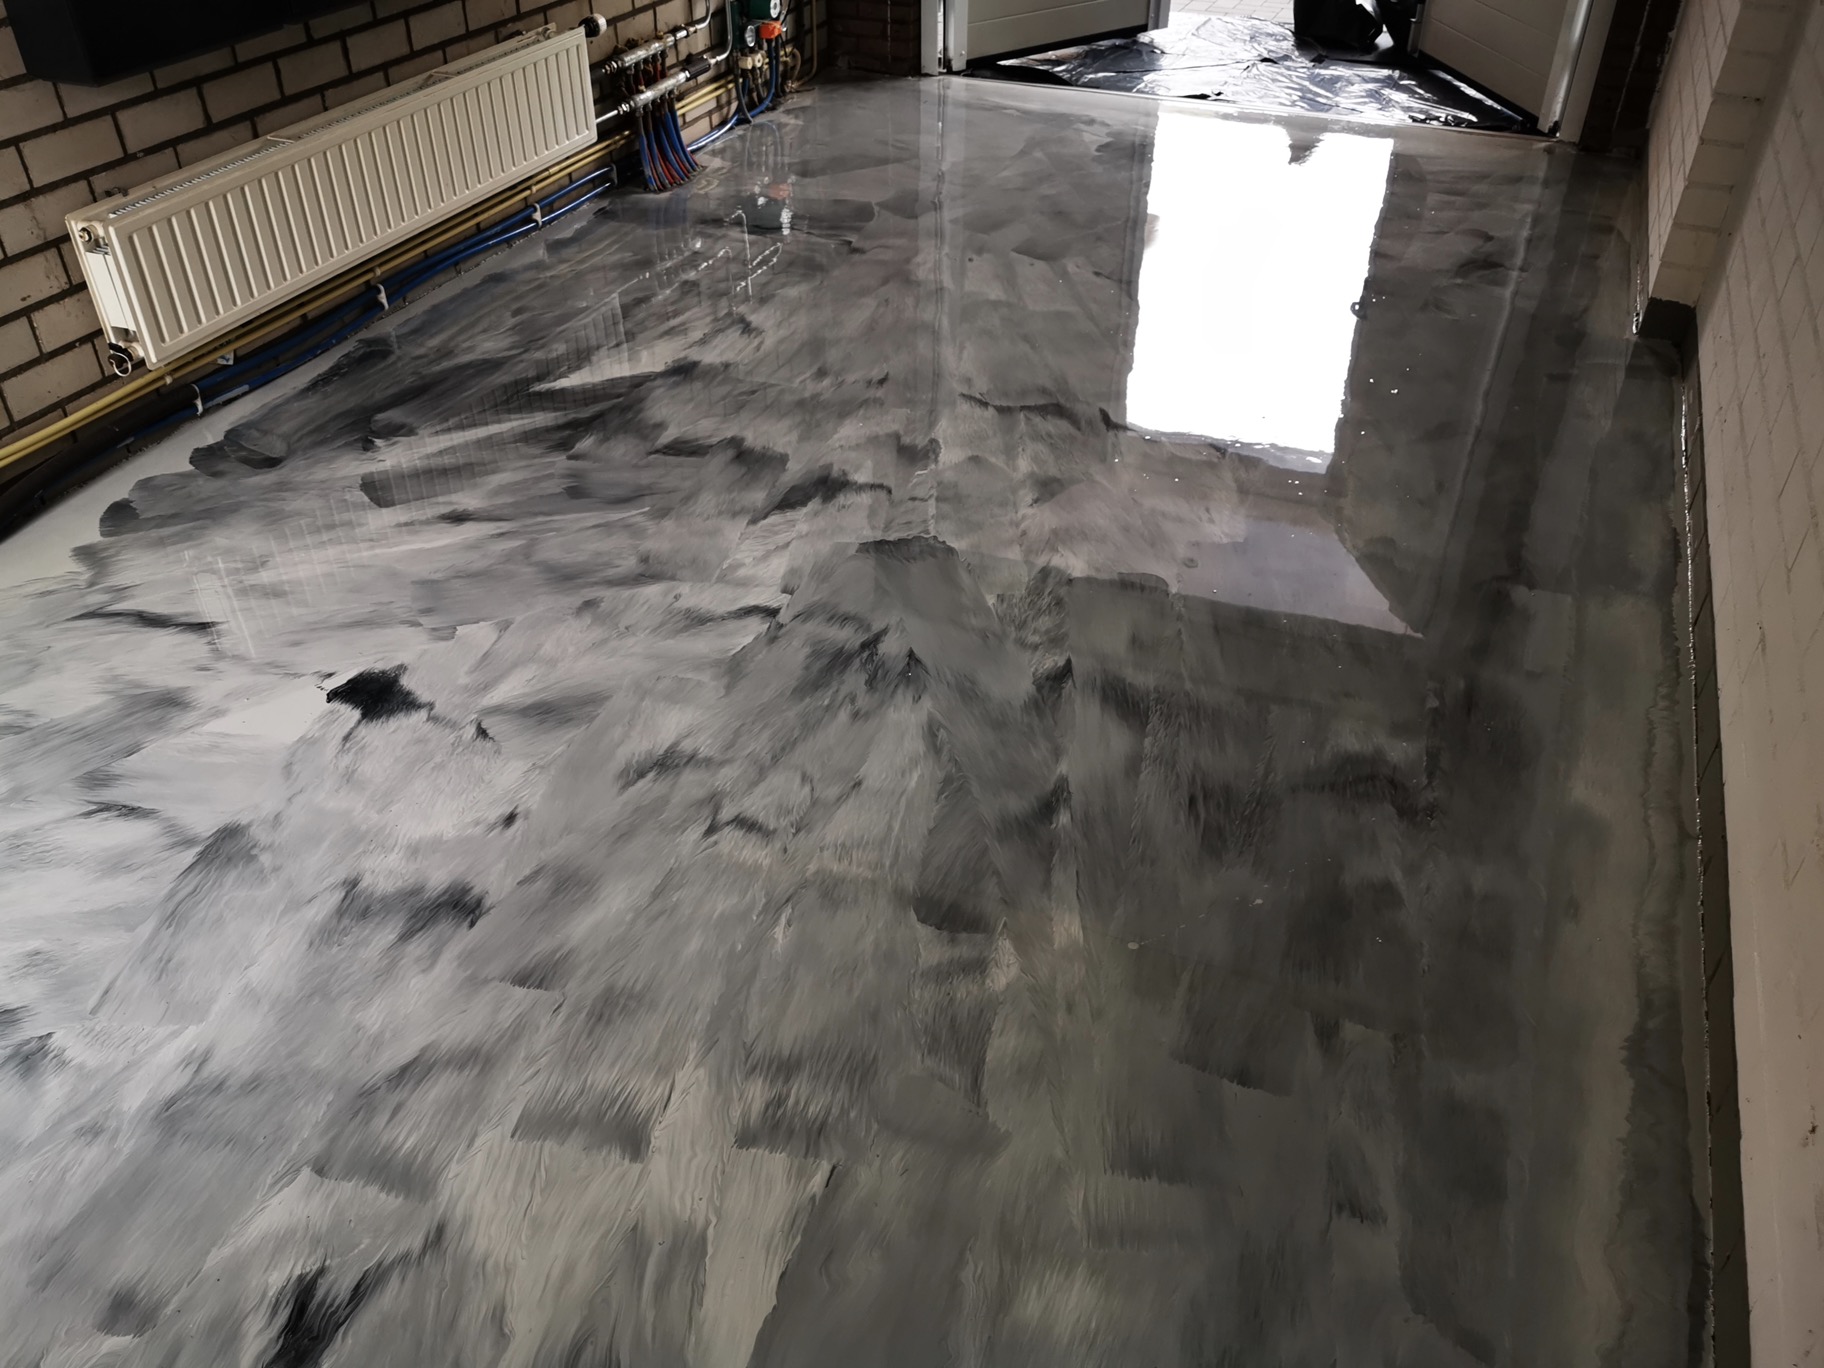
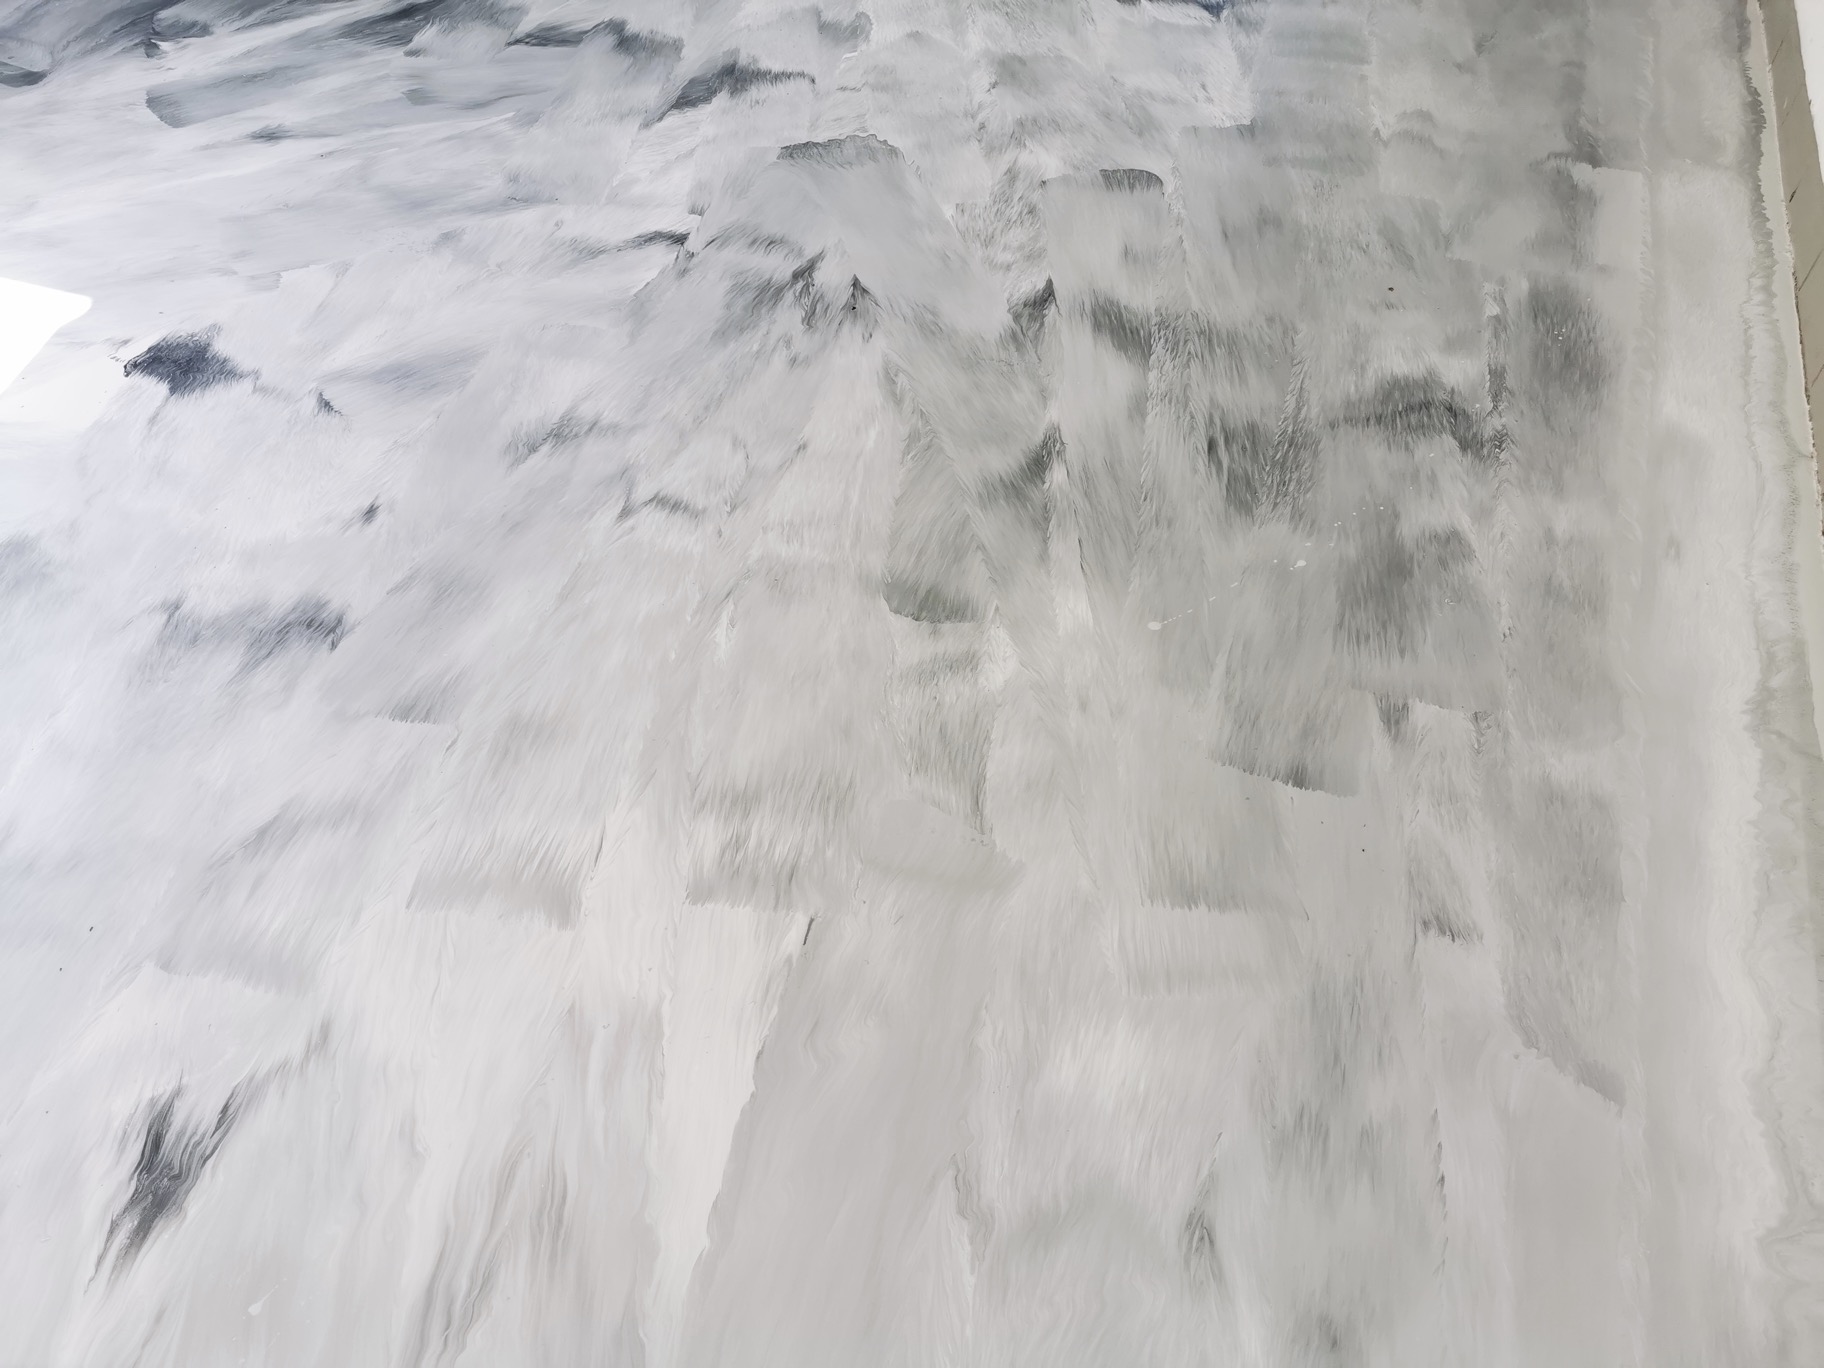
After mixing, pour the floor coating directly over the garage floor. First finish the edges with a large flat brush. Then roll out the floor coating crosswise with a fleece roller. Work in a structured manner to avoid walking over wet areas.
Anti-skid epoxy floor (optional)
Do you want to apply an anti-skid layer to your garage floor? Then it is advisable to sprinkle leveling sand over the floor. Do this with spiked shoes on by throwing a handful of sand from a bucket over the floor each time. It is best to do this generously. After 48 hours, vacuum up the loose sand. One of the advantages of scattering sand is that it further increases the wear resistance of the floor.
Let the floor harden for at least 72 hours before using it. Only after 7 days will the floor be damp-proof and chemically resistant.
Step 5. Finish with matt floor coating (recommended)
Your floor is now finished! Epoxy floor coating is high gloss as standard. A disadvantage of this is that dirt and scratches are quickly visible. This is why epoxy floors are often finished with a matte floor coating. We have a step-by-step guide to applying the matt-gloss coating.
Common problems with an epoxy floor in the garage
Problem
Cause
Solution
Floor doesn't harden
No hardener added.
Remove the floor and reapply with all components.
Incorrect mixing ratio.
Remove the floor and reapply with the correct components and mixing ratio.
Too low temperature
Ensure a temperature of at least 15 degrees, warm up the room and give it some extra time to cure.
Soft spots
Insufficient mixing.
Mix the casting compound for at least 5 minutes with a high-powered mixer until it is a homogeneous mass. Remove spots and apply a new coat.
Unmixed components got on the floor.
Do not scrape out cans or let them leak out on the floor. Remove soft spots and apply new coat.
Floor does not adhere/draws away
Wrong primer used.
Remove floor and apply appropriate primer.
Moisture in the floor
Remove floor, solve moisture problem and start over.
Contaminated substrate.
Sand and degrease with ammonia diluted with water. Apply new coat.
Product cured in the can
Got too hot.
After mixing, pour out the product as soon as possible for optimal application time. Around 15 to 20 degrees is the best processing temperature.
If in doubt, always contact our specialists, they will be happy to help you!
Any questions?
Do you still have questions about applying an epoxy coated garage floor? Or do you need advice on laying your floor? Get in touch with us. You can call us at +3185 0220090 or send an email to support@polyerstershoppen.com. We are at your service!
Request a tailor-made step-by-step plan now! As soon as we have received the information below, we will tell you exactly what you need. Then you can immediately start laying the perfect floor.
How can we help you?
1We receive your request
2We make a custom plan and discuss it with you
3Within a few days you will have all the materials at home
4We help you step by step with all your questions about your floor
Decorative gravel floors can become damaged over the years. Pieces may come loose or a piece of flooring may need to be repaired. Epoxy gravel floors then offer…
More information
A correct surface is very important for a perfect finish of a floor with epoxy or polyurethane. By treating the surface correctly, you ensure that the surface i…
More information
With this manual, you can easily apply an epoxy floor coating yourself. Advantages of epoxy are that the product is easy to process and resists heavy mechanical…
More information
Is it possible to apply an epoxy floor coating over a tiled floor? This is a question we are regularly asked. The answer to this is: yes, it is certainly possib…
More information
Contrary to popular belief, wooden floors can also be covered with an epoxy coating or with poured epoxy flooring. Follow the steps below to make a wood floor t…
More information
You can easily repair concrete with epoxy yourself. Concrete floors can be damaged, which can make it difficult to apply an epoxy coating or cast floor or will…
More information
Basements and cellars are often somewhat stuffy and damp spaces. This is often because the floor and walls allow moisture to penetrate. To give the floor and wa…
More information
In some cases it may be necessary to level a concrete floor with leveling epoxy before applying a floor coating or an epoxy cast floor. Concrete floors with a c…
More information
In this article, we will explain how to apply a matt-gloss coating to an epoxy floor. This is an easy-to-apply product with good properties. For example, the p…
More information
Do you no longer like the tiled floor in your bathroom or worse: do you have leaks along the joints? Then an epoxy floor offers an excellent and modern solution…
More information
CreaChick and CreaRick, known from Youtube, took up the challenge and created a super nice epoxy floor in their studio. There was a lot involved, as tiles also…
More information
Are you moving to a new commercial building and do you want a rock-solid cast floor in the office right away? Stop searching, Polyestershoppen is the specialist…
More information
Are you completely fed up with that dirty concrete floor in your garage? Are you constantly bothered by dust? Or do you want to use your garage as a utility r…
More information
We are regularly asked what the difference is between epoxy floor coating and epoxy cast flooring. And what the difference is in price. In this article, we will…
More information
It is wildly popular: a sleek epoxy cast floor in homes, sheds, garages and office buildings. At Polyestershoppen, you will find all the products you need to la…
More information
Do you want to install an epoxy cast floor yourself? With the help of this manual, we will explain to you in detail how to apply an epoxy cast floor yourself! O…
More information
Epoxy floors are naturally very smooth. For many applications, this is also desirable, for example in living rooms and garages. But what to do when a smooth sur…
More information
Are you planning to install a resin cast floor yourself, but still unsure whether to choose an epoxy or a polyurethane (PU) floor? Then you’re in the righ…
More information
Do you have a question about this article?
Do you have a specific question? Call one of our specialists for free advice
+3185 0220090