Are you moving to a new commercial building and do you want a rock-solid cast floor in the office right away? Stop searching, Polyestershoppen is the specialist in epoxy and cast floors. We are happy to help you get started. We share all the information you need to get started. An epoxy cast floor for an office in a business hall or seating area gives a sleek, professional look and is easy to keep clean. After reading this article you will know everything about a cast floor for the office.
There are various reasons for every entrepreneur to choose a cast floor in a commercial space. For example, consider creating a calm, even appearance where employees can work comfortably or even feel at home in the workplace. In addition, a commercial space with a cast floor gives a great first impression to customers passing by. Whatever your reason, we are happy to help you. Are you opting for a quiet cast floor or do you want more colour in the office? Then choose a concrete cast floor with lots of colour. Feel free to get advice from one of our employees.
We are happy to list all the benefits for you:
Before you start installing a screed in the office, it is also important to know exactly what you need. These are:
Are you ready to install a cast floor in your commercial space? Carefully follow the steps below. Are you unsure or do you still need help? No problem, we'll be happy to help!
We will assume in this article that it is a concrete floor. These come in different conditions. Sometimes floors are smoothly floored. Then we recommend a speciale primer for that. The best method is always to sand the floor with a rotary floor sander with grit P24. This greatly increases the mechanical adhesion with epoxy. You can rent a rotary floor sander.
Before sanding, make sure the floor is completely empty. This prevents you from possibly damaging or dirtying items. After the floor is empty, you can start sanding. After sanding, the floor should be cleaned properly by first vacuuming it and then cleaning it with ammonia diluted with water. For large floors, a scrub/suction machine is recommended.
After the floor has been sanded and is completely clean, it is time to apply the epoxy floor primer in the industrial hall. For larger surfaces (> 200m2), it is wise to apply the primer with two people. One person mixes the primer and pours it and the other person distributes the primer with a squeegee and rolls it on.
Add the jerry can of hardener to the can of primer base. Then mix the base and hardener thoroughly with a spiral mixer on a drill. Scrape well along the bottom and edges of the can. After mixing, pour the primer directly over the floor.
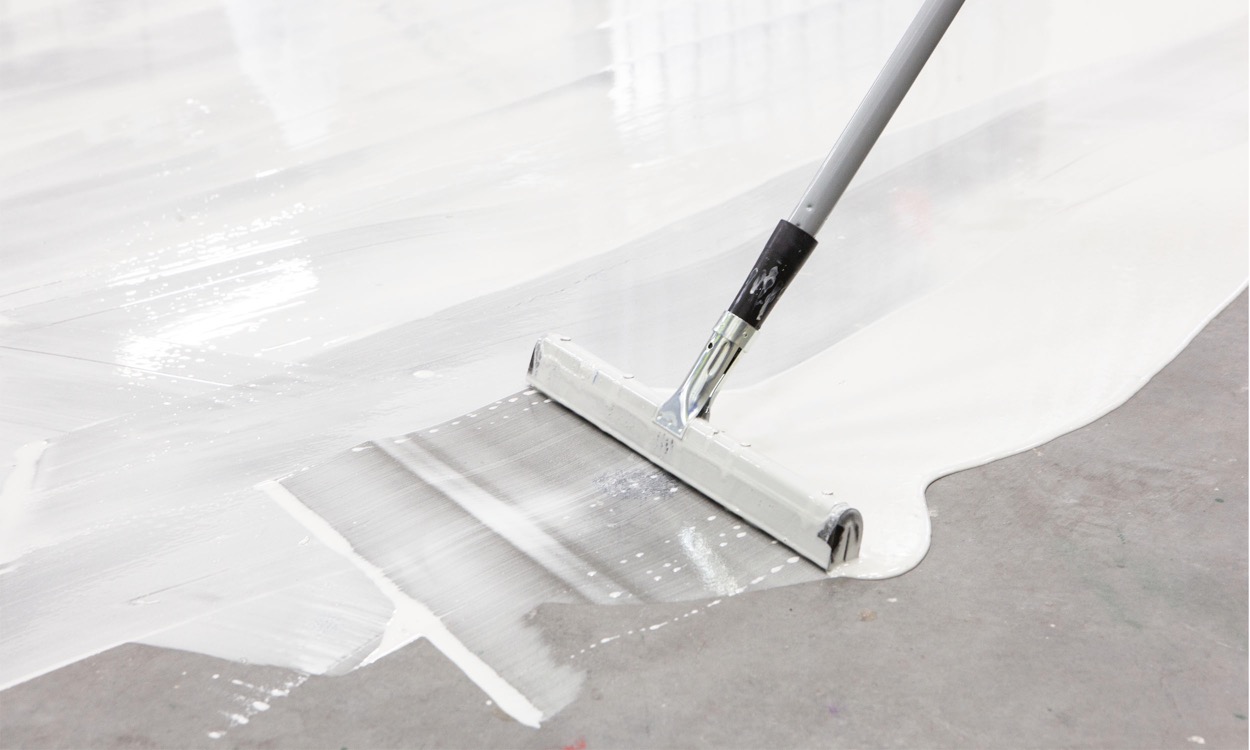
Using a floor squeegee, spread the primer over the floor. For large floors, we also have an extra wide floor squeegee so you can work faster. After spreading the primer, roll with a fleece roller. Roll crosswise in two directions. Let the primer cure for about 24 hours before moving on to the next step.
To give the mechanical and chemical resistance a significant boost, an epoxy scraping layer is recommended. A scaping layer increases the strength of the floor. This is highly recommended, especially for warehouse floors where pallet trucks or forklift trucks are used. In addition, the epoxy scraping layer fills small imperfections and makes the floor sleek.
Add the bottle or jerry can of hardener to the can of scraping layer base and mix both components thoroughly with a spiral mixer. Do this for about 3 minutes and scrape the bottom and edges well. After mixing the epoxy, pour the scraping compound over the floor and spread the mass with a floor squeegee. Scrape it over the primer. After spreading the epoxy, allow it to harden for 24 hours before moving on to the next step.
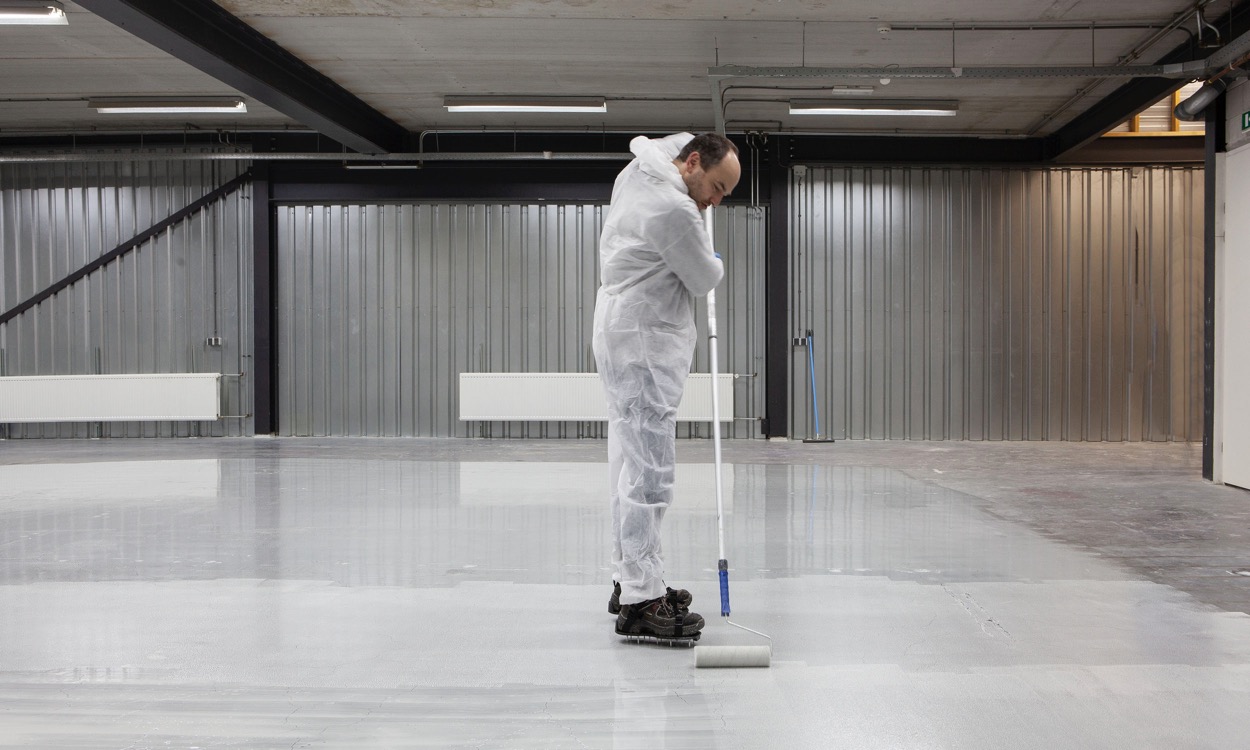
You can now start applying the floor coating. For larger floors (> 200m2) it is advisable to put on spiked shoes in advance. This allows you to walk over the wet coating without damaging it. For larger surfaces, work with at least 2 people.
Add all the hardener to the floor coating base. Then immediately add the pigment paste. Scrape out the can and mix the mass thoroughly for at least 3 minutes with the spiral mixer on a drill. Scrape well along the bottom and edges of the can.
After mixing, pour the floor coating directly over the floor. Do not place the can upside down on the floor. This can cause poorly mixed portions to spill onto the floor and give sticky spots in the final result.
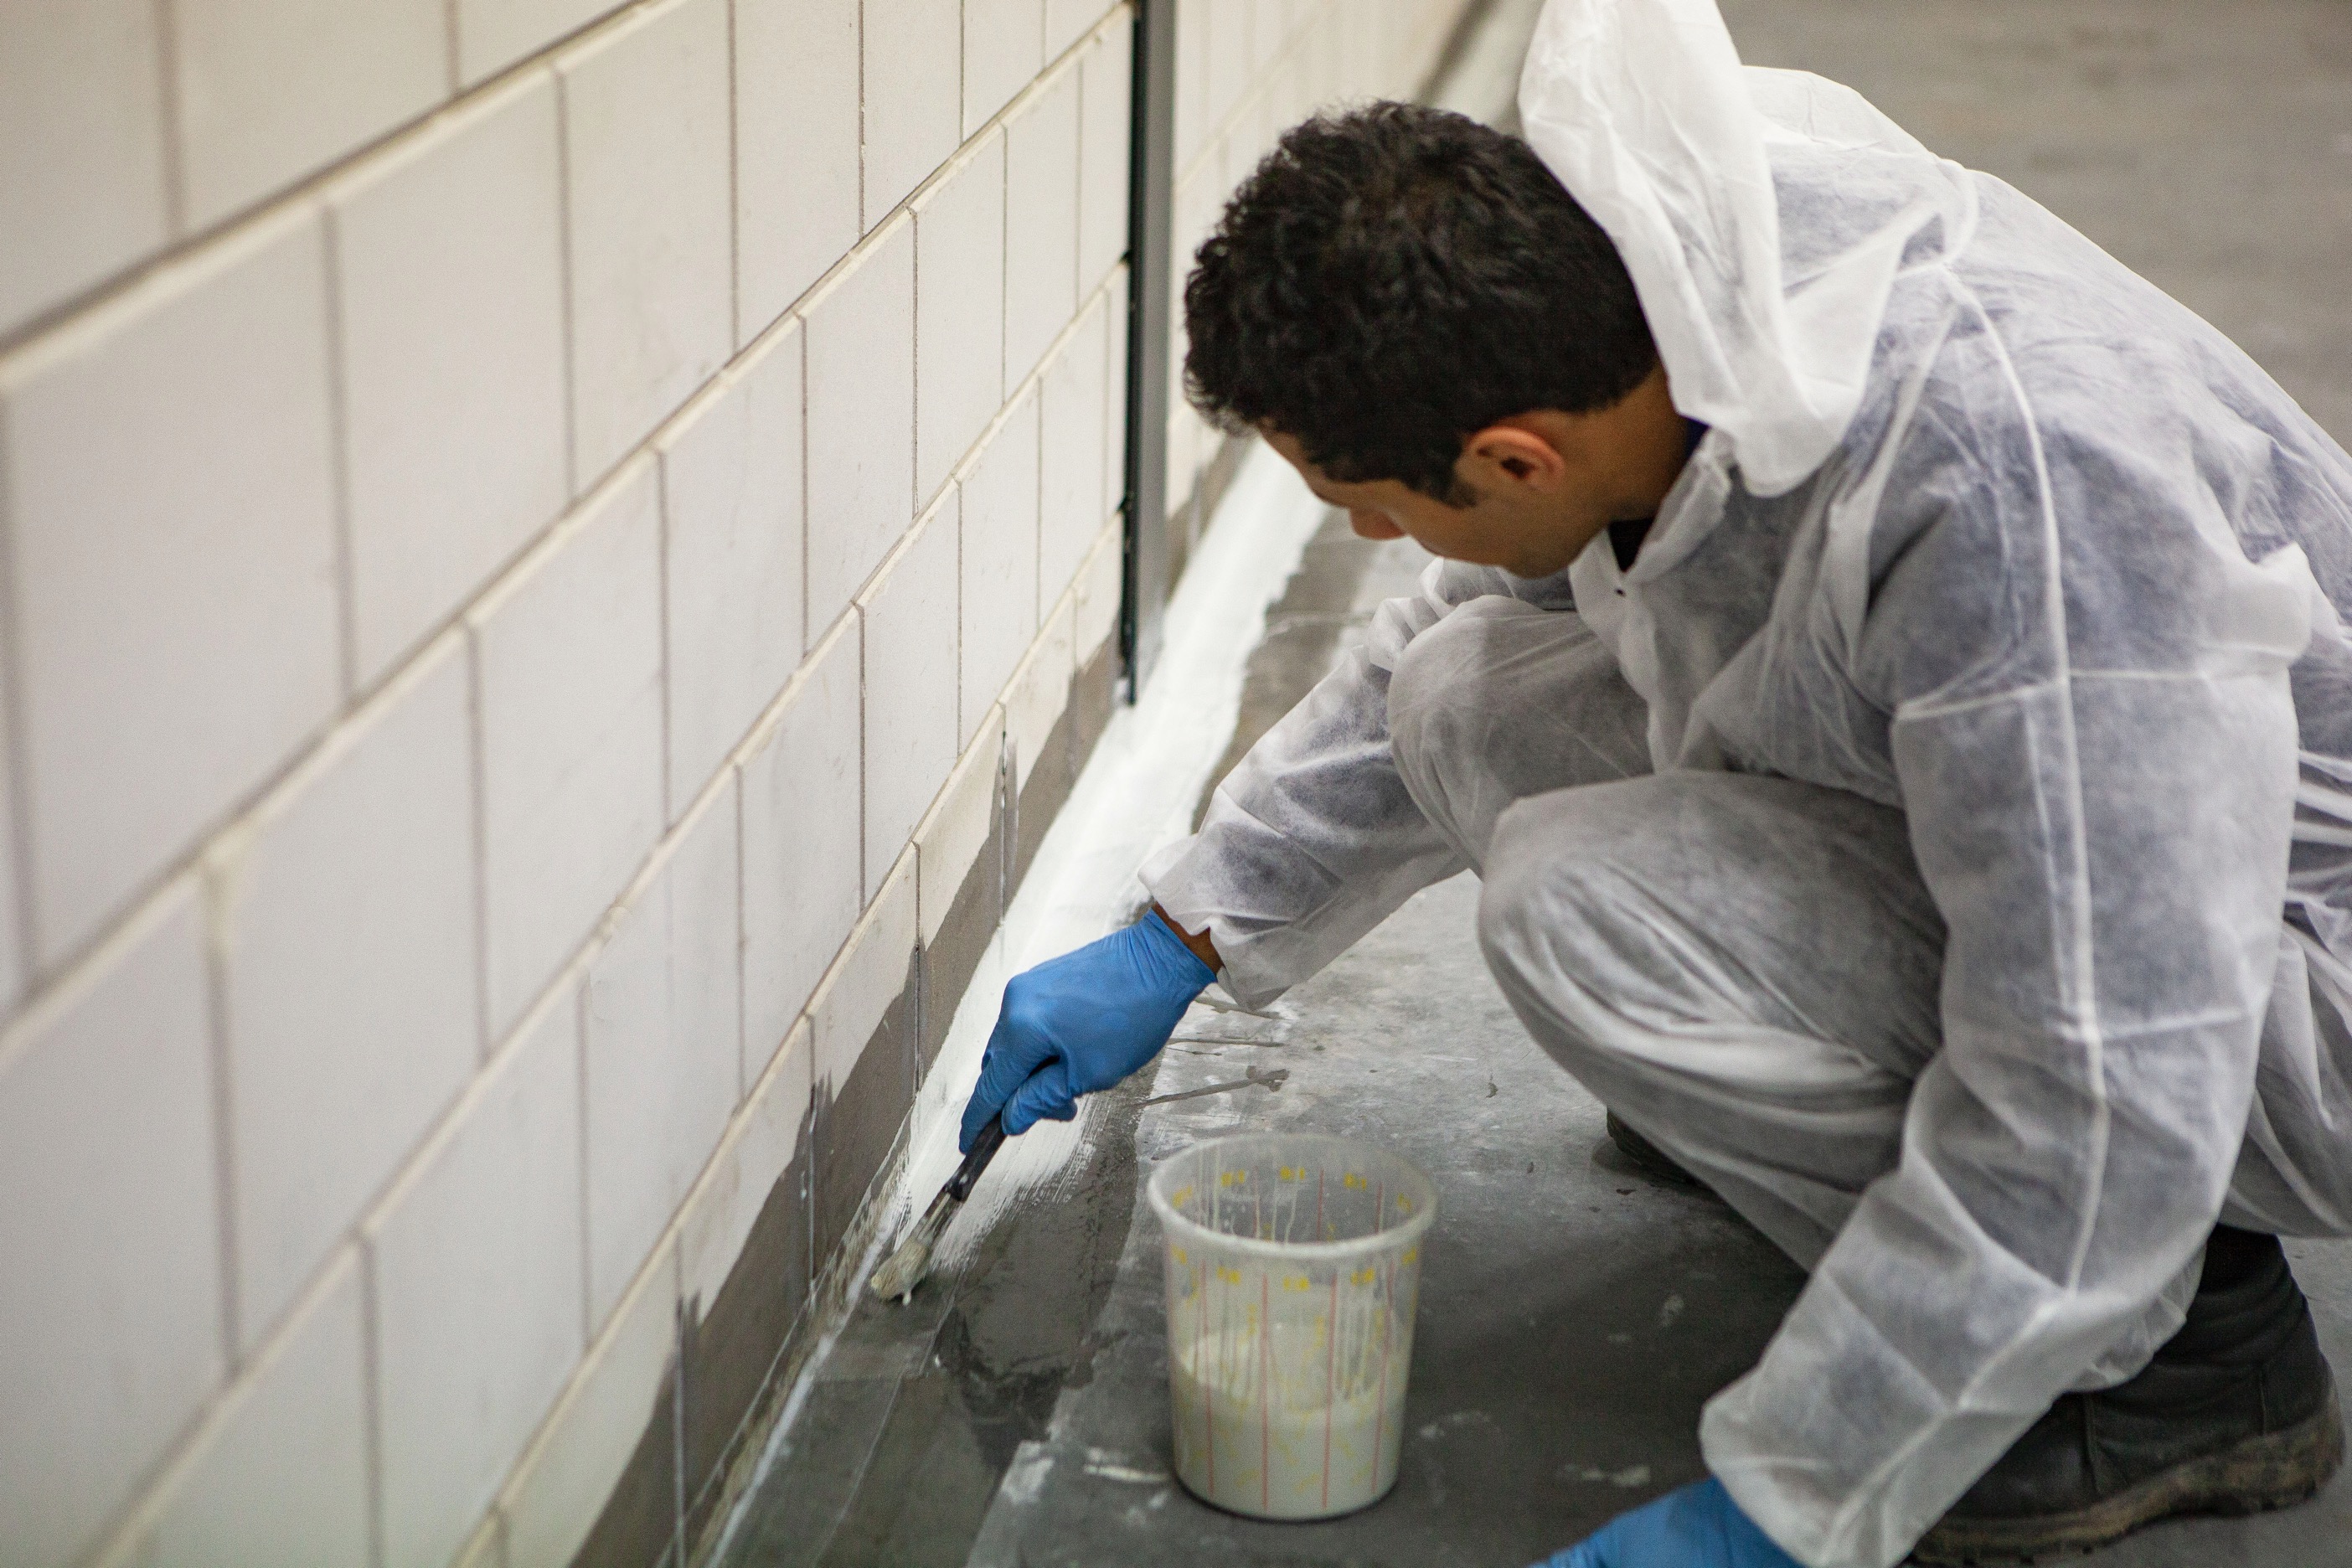
Immediately do the edges with a 50 mm flat brush. For larger floors, spread the floor coating with a floor squeegee. Then roll the coating crosswise with a 25 cm fleece roller. Try to use the entire contents of the can within approximately 30 minutes. After processing the coating, immediately sprinkle sand in the floor for anti-slip. Put on spiked shoes and sprinkle the sand from your hand over the floor. You may do this generously. You can wipe away excess grains later.


48 hours after the floor has hardened, you can remove the excess sand. This can be done, for example, with a broom. For large floors, it can also be done with a suitable scrub/suction machine, if necessary. Allow the coating to harden for at least another 2 days before putting any load on the floor.
Sometimes another layer of floor coating is applied over the anti-slip layer. This again makes the surface slightly smoother but still has sufficient anti-slip. However, the advantage is that dirt will not easily adhere to the anti-slip layer and the floor is easier to clean.
Request a tailor-made step-by-step plan now! As soon as we have received the information below, we will tell you exactly what you need. Then you can immediately start laying the perfect floor.
Here you can find all 18 related articles on this topic. Mis je informatie om aan de slag te gaan met jouw klus? Neem dan contact met ons op.
Do you have a specific question? Call one of our specialists for free advice +3185 0220090
