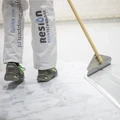
A correct surface is very important for a perfect finish of a floor with epoxy or polyurethane. By treating the surface correctly, you ensure that the surface is prepared as much as possible. This way, the next layer (epoxy floor coating, epoxy cast floor or PU cast floor) adheres well and you can apply it neatly. You also minimize the consumption of the material.
Due to the fillers in a floor coating, this product adheres poorly when you apply it directly to concrete or cement. An epoxy floor primer can change this. Epoxy floor primer is a thin resin that penetrates well into the concrete or cement and also makes the concrete waterproof after the epoxy has hardened.
In this article we will help you apply an epoxy floor primer for a perfect surface. After this, you continue with laying an epoxy or PU floor in the desired finish.
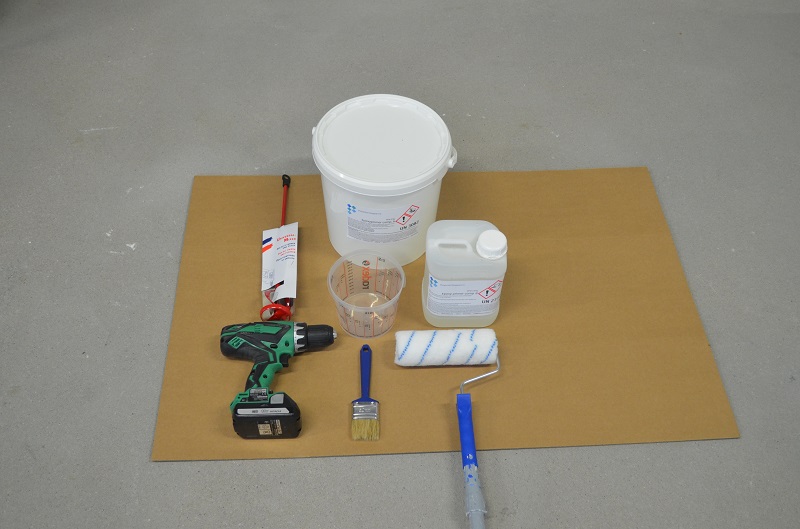
Supplies
- RESION Epoxy floor primer (approx. 100-500 grams per m2)
- Spiral mixer
- 18 cm fleece rollers + roller bracket
- Paint buckets 8 litre (optional)
- Mixing cups (2 to 4)
- Spiked shoes
- Disposable overall
- Nitrile gloves
Conditions:
- Clean and dust-free floor (vacuum clean).
- Ambient temperature of at least 8 degrees, maximum 25°C.
Instruction video
In the video below, Kees and Arne show how to correctly process the floor primer. We will then explain all the steps in more detail.
Please note: the primer for smooth surfaces and the primer for damp surfaces have been replaced by RESION Epoxy floor primer.
Step 1. Determine which epoxy floor primer you need
Polyestershoppen has 2 different types of floor primers that are suitable for use on concrete and cement floors:
- Epoxy floor primer for dry surfaces
Use this primer if you are going to treat a dry floor and the concrete is at least 4 weeks old. - RESION Epoxy floor primer (new)
Are you looking for a quick-drying primer for smooth, dry and damp surfaces? Then use RESION Epoxy floor primer. The water-based epoxy floor primer is dust-dry after 6 hours and has a high efficiency.
Step 2. Clean and prepare the concrete or cement
If the floor is made of very smooth concrete or is very contaminated, it is important to promote mechanical adhesion. You do this by sanding the floor with a rotating floor sander. Sand the floor with grit P24. For small spaces (1-3 m2) you can use an angle grinder with cup wheels to sand the floor. Please note, this releases a lot of dust!
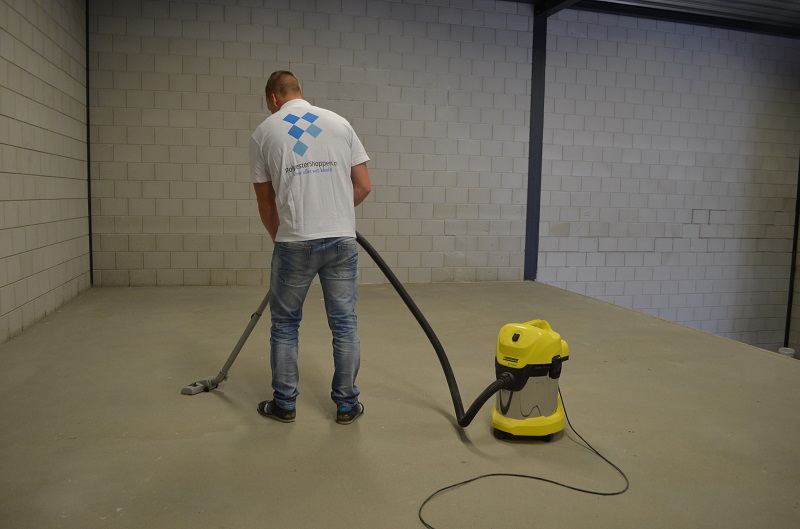
Before you proceed with applying the primer, it is important that you clean the floor thoroughly. So vacuum the floor well so that it is free of loose dirt and dust. Also include the edges on the wall if you are going to treat them as well. Then cover the parts that need to be separated with masking tape.
Step 3. Prepare the epoxy resin
Once the floor is clean, you are ready to prepare the epoxy primer and then apply it to the concrete floor. With epoxy it is important that the resin and hardener are carefully mixed in the correct ratio, because this largely determines the curing.
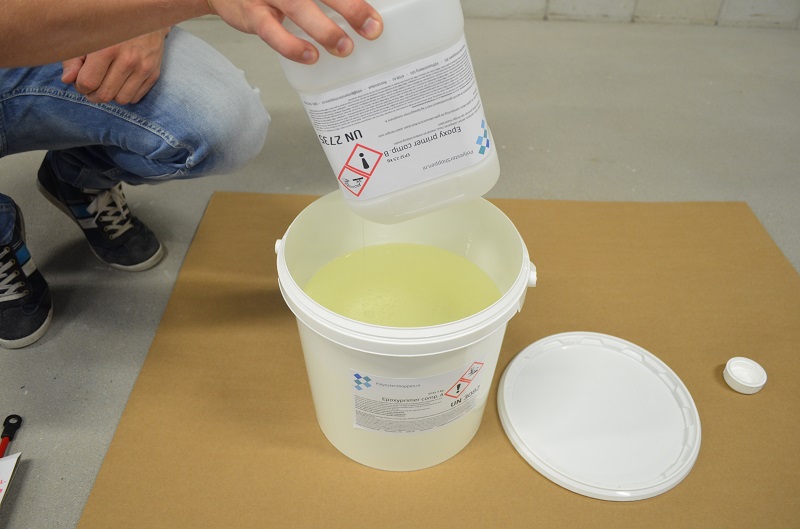
Please check the packaging received with your order. You need Epoxy floor primer component A (base) and B (hardener). Add both components together and mix the resin for at least 2 to 4 minutes with a spiral mixer, mounted on a drill. It is important that you scrape the bottom and sides of the buckets thoroughly while mixing.
The processing time of the primer depends on the quantity and the ambient temperature. We therefore recommend always working with at least two people. After mixing, ensure that the primer is processed quickly or divided into smaller buckets. In larger quantities the resin hardens many times faster. If necessary, pour the mixed epoxy (partly) into an 8 liter paint bucket.
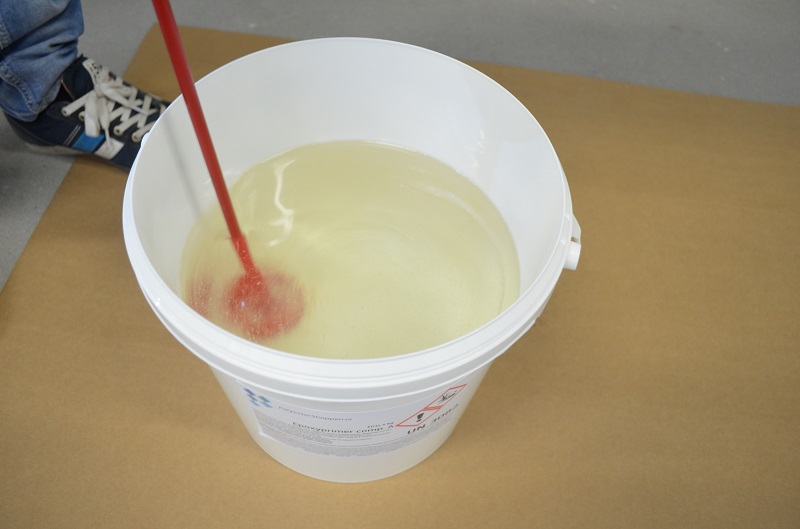
Step 4. Pour and distribute
We recommend performing this step with two people. First, pour a small amount of primer into a mixing cup. Apply this with a paint brush along the edges of the floor and in places that are difficult to reach with the roller. This can be done by 1 person while the second person does the large areas.
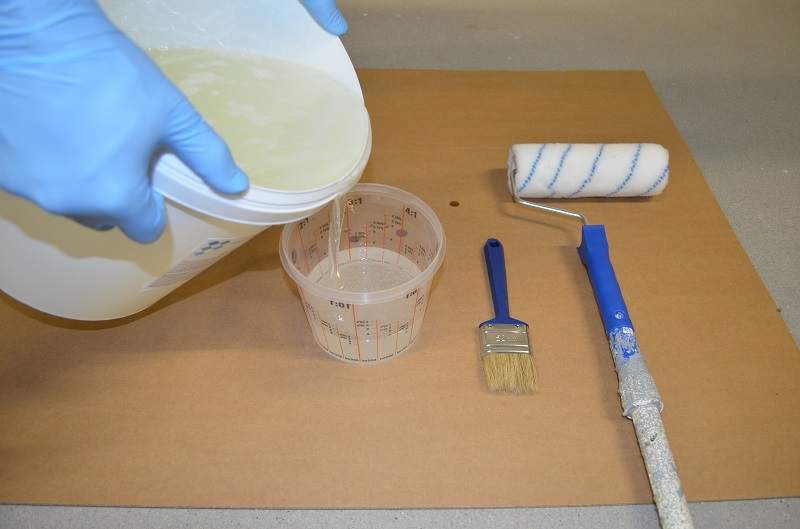
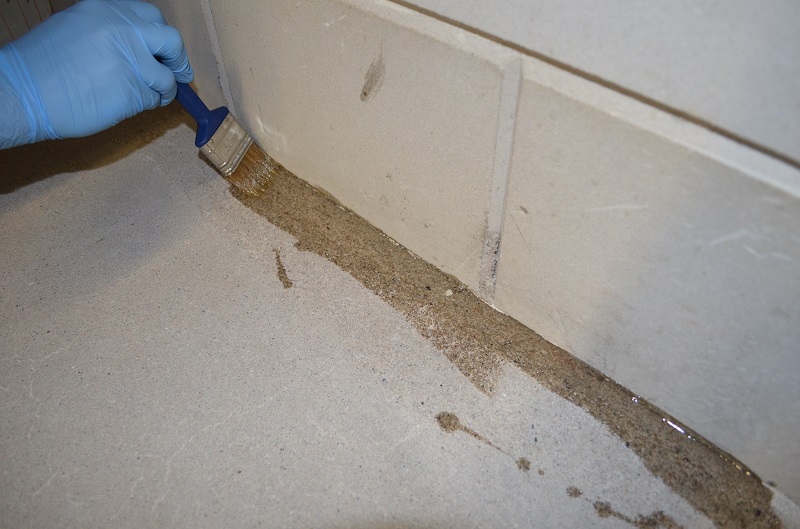
After you have mixed the epoxy floor primer, spread it over the floor. Do this by pouring the contents of the buckets over the floor. Work efficiently so that you can distribute the resin over the floor in one go. Is it a larger surface area? Then do it in parts. Spread the resin and roll it out. Be careful not to pour too much resin over the floor. Take into account approximately 250 grams per square metre.
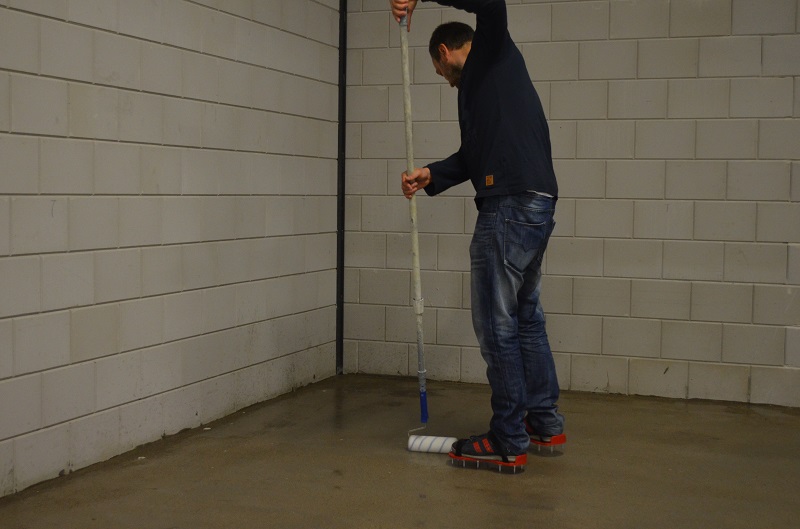
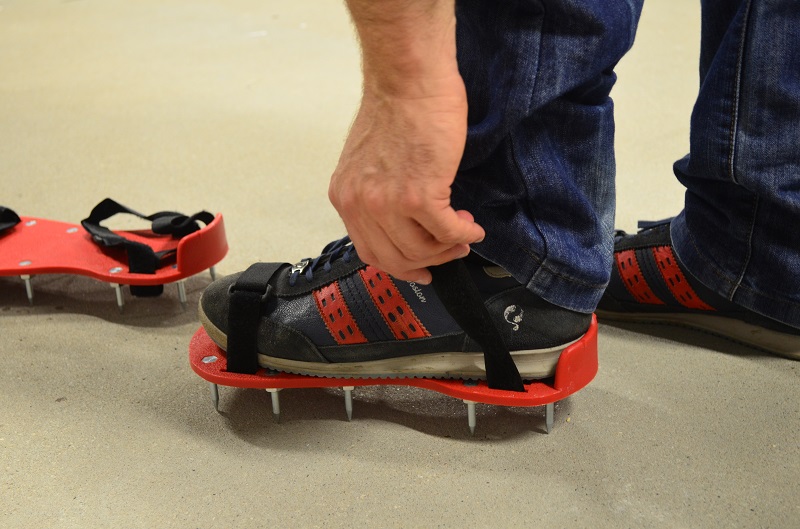
Once the resin has been spread over the floor, roll it out with a fleece roller. Roll out the primer crosswise and iron in complete strips in one direction. For this step we recommend wearing spiked shoes (with old shoes) and a disposable overall. With the spiked soles you can walk on the floor and you do not have to re-treat the areas that have been walked on.
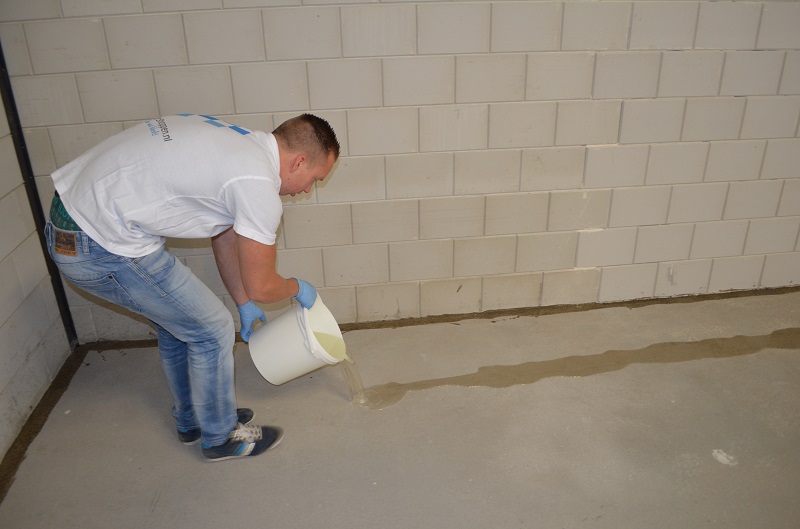
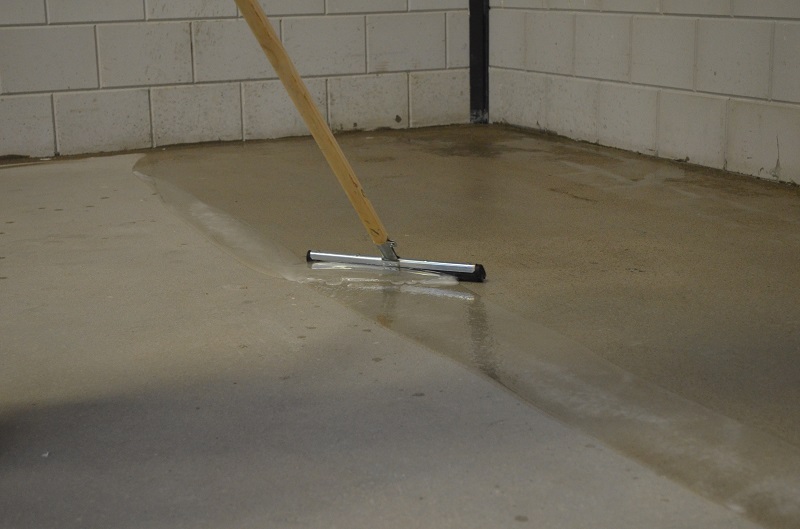
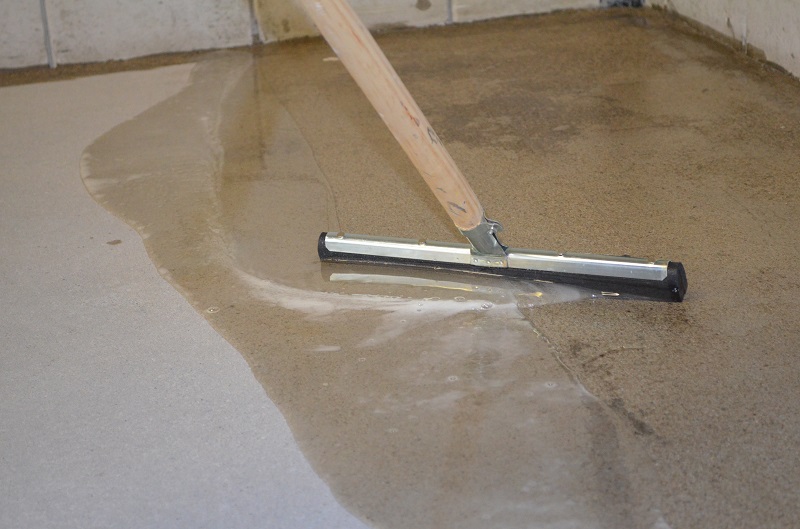
For large surfaces you can also use a floor squeegee to distribute the primer. This can be done by pushing the squeegee diagonally in front of you, pushing a wave of primer in front of the squeegee. This way you distribute the primer from left to right and from right to left. You then also need to roll this out crosswise and roll it in one direction.
Stap 5. Curing and follow-up
After you have applied the primer everywhere, remove the masking tape and allow the primer to cure for approximately 8-16 hours at 20°C. Do you use RESION EP floor primer? Then it will be hardened after 3-4 hours! This may take a little longer at colder temperatures and a little shorter at higher temperatures. Are you going to use an epoxy floor coating over the primer? We then advise you to apply this within 48 hours, so that you still have the best possible chemical adhesion.
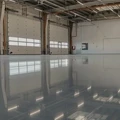
After the primer has hardened, you can move on to repairing cracks or holes or leveling the floor. If this is not necessary, continue immediately with laying the cast floor or floor coating!



![Applying Epoxy Floor Coating [GUIDE]](https://polyestershoppen.ams3.cdn.digitaloceanspaces.com/media/cache/document_icon/documenticon/20a8c71cdc2c326d5d305920dadc0d40e3fc1a56.webp)