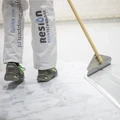
Decorative gravel floors can become damaged over the years. Pieces may come loose or a piece of flooring may need to be repaired. Epoxy gravel floors then offer a solution. In this informative article, we explain step by step how to repair gravel floors using epoxy. This job is easy and relatively inexpensive for a handy do-it-yourselfer.
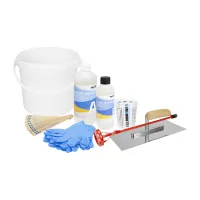
Supplies for repairing a gravel floor:
- Gravel in the right colour. Perhaps the floor installer left a bag of gravel behind. Or alternatively, try purchasing gravel of the same colour or colour mix from the flooring installer or manufacturer.
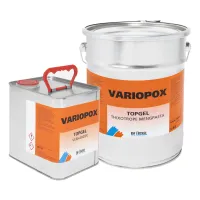
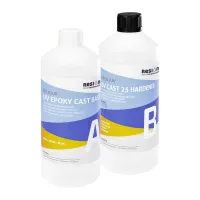
- Transparent epoxy coating (delivered as a set).
- Kitchen scale for weighing the epoxy.
- Mixing cups.
- 5 litre bucket without lid.
- Nitrile disposable gloves.
- Mixing spatulas.
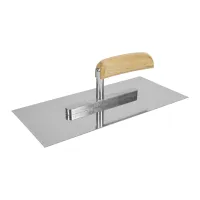
- Flat trowel.
Step 1. Preparing the gravel floor
The first step in repairing a gravel floor is to remove loose parts in the floor. After that, make the surface dust-free with a vacuum cleaner, for example.
Then mix a small amount of epoxy in the mixing ratio 100 to 60 (by weight parts). Brush a thin layer onto the substrate and allow it to cure for at least 8 hours.
Step 2. Repairing the gravel floor
Mix enough epoxy resin in the proper mixing ratio. Of the epoxy coating, this is 100 to 60 parts by weight. If necessary, add UV-stabiliser if the floor will be exposed to a lot of UV light. After the epoxy is properly mixed, the decorative gravel can be mixed in. For every 10 grams of epoxy, add 100 grams of decorative gravel. Spoon it in well.
When the gravel is well mixed with the epoxy, you can repair or refinish the gravel floor. To do this, use the flat trowel to apply the gravel and then tap and smooth it. A bright lamp can provide ironing light so you can get the floor nice and flat.
Consumption (at 8 mm floor thickness)
- 2-3 mm grit approx. 13 kg/m2, epoxy approx. 1.3 kg/m2
- 3-4 mm grit approx. 15 kg/m2, epoxy approx. 1.5 kg/m2
Step 3. Curing and follow-up
After 24 hours, the epoxy has largely hardened and the epoxy gravel floor can be walked on carefully. Only after a few days has the epoxy fully hardened and the floor can be fully loaded.
You can the seal the gravel floor with a special epoxy sealer. One of the major advantages is that the grains will no longer loosen and it is much easier to clean the floor. Do you have any questions about the procedure or about the products in this article? Feel free to contact our customer service via phone, email or live chat!

![Applying Epoxy Floor Coating [GUIDE]](https://polyestershoppen.ams3.cdn.digitaloceanspaces.com/media/cache/document_icon/documenticon/20a8c71cdc2c326d5d305920dadc0d40e3fc1a56.webp)