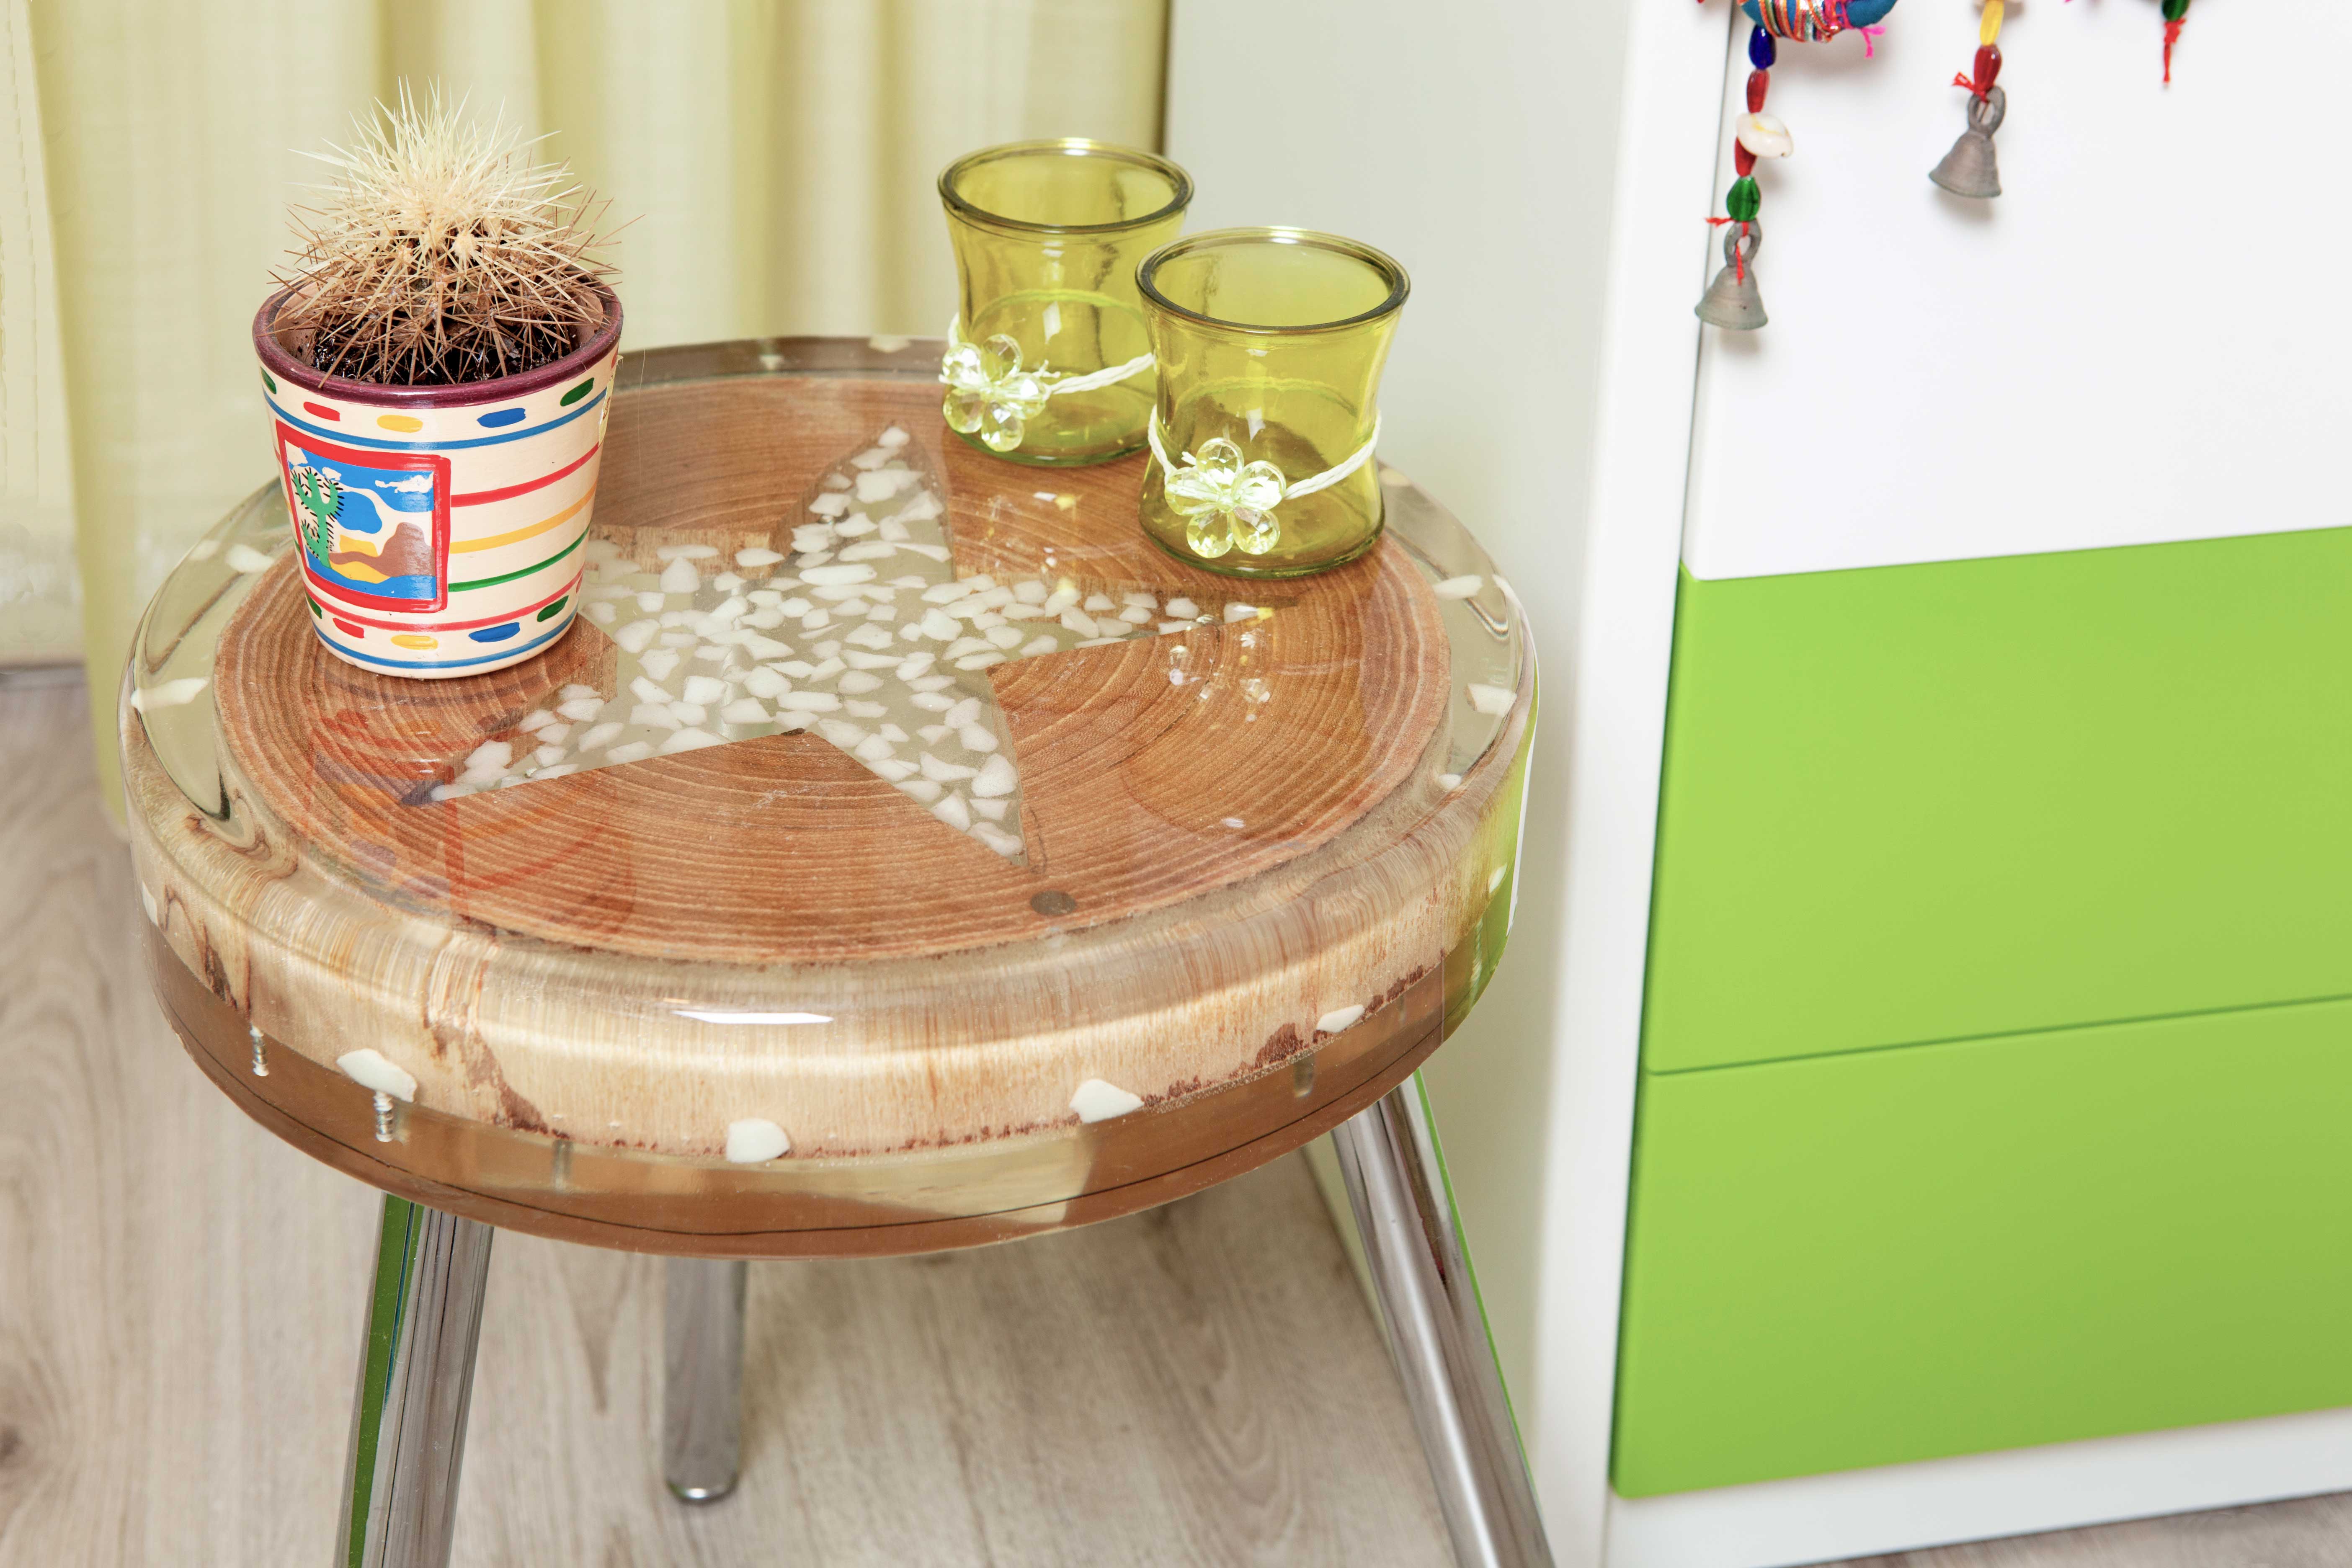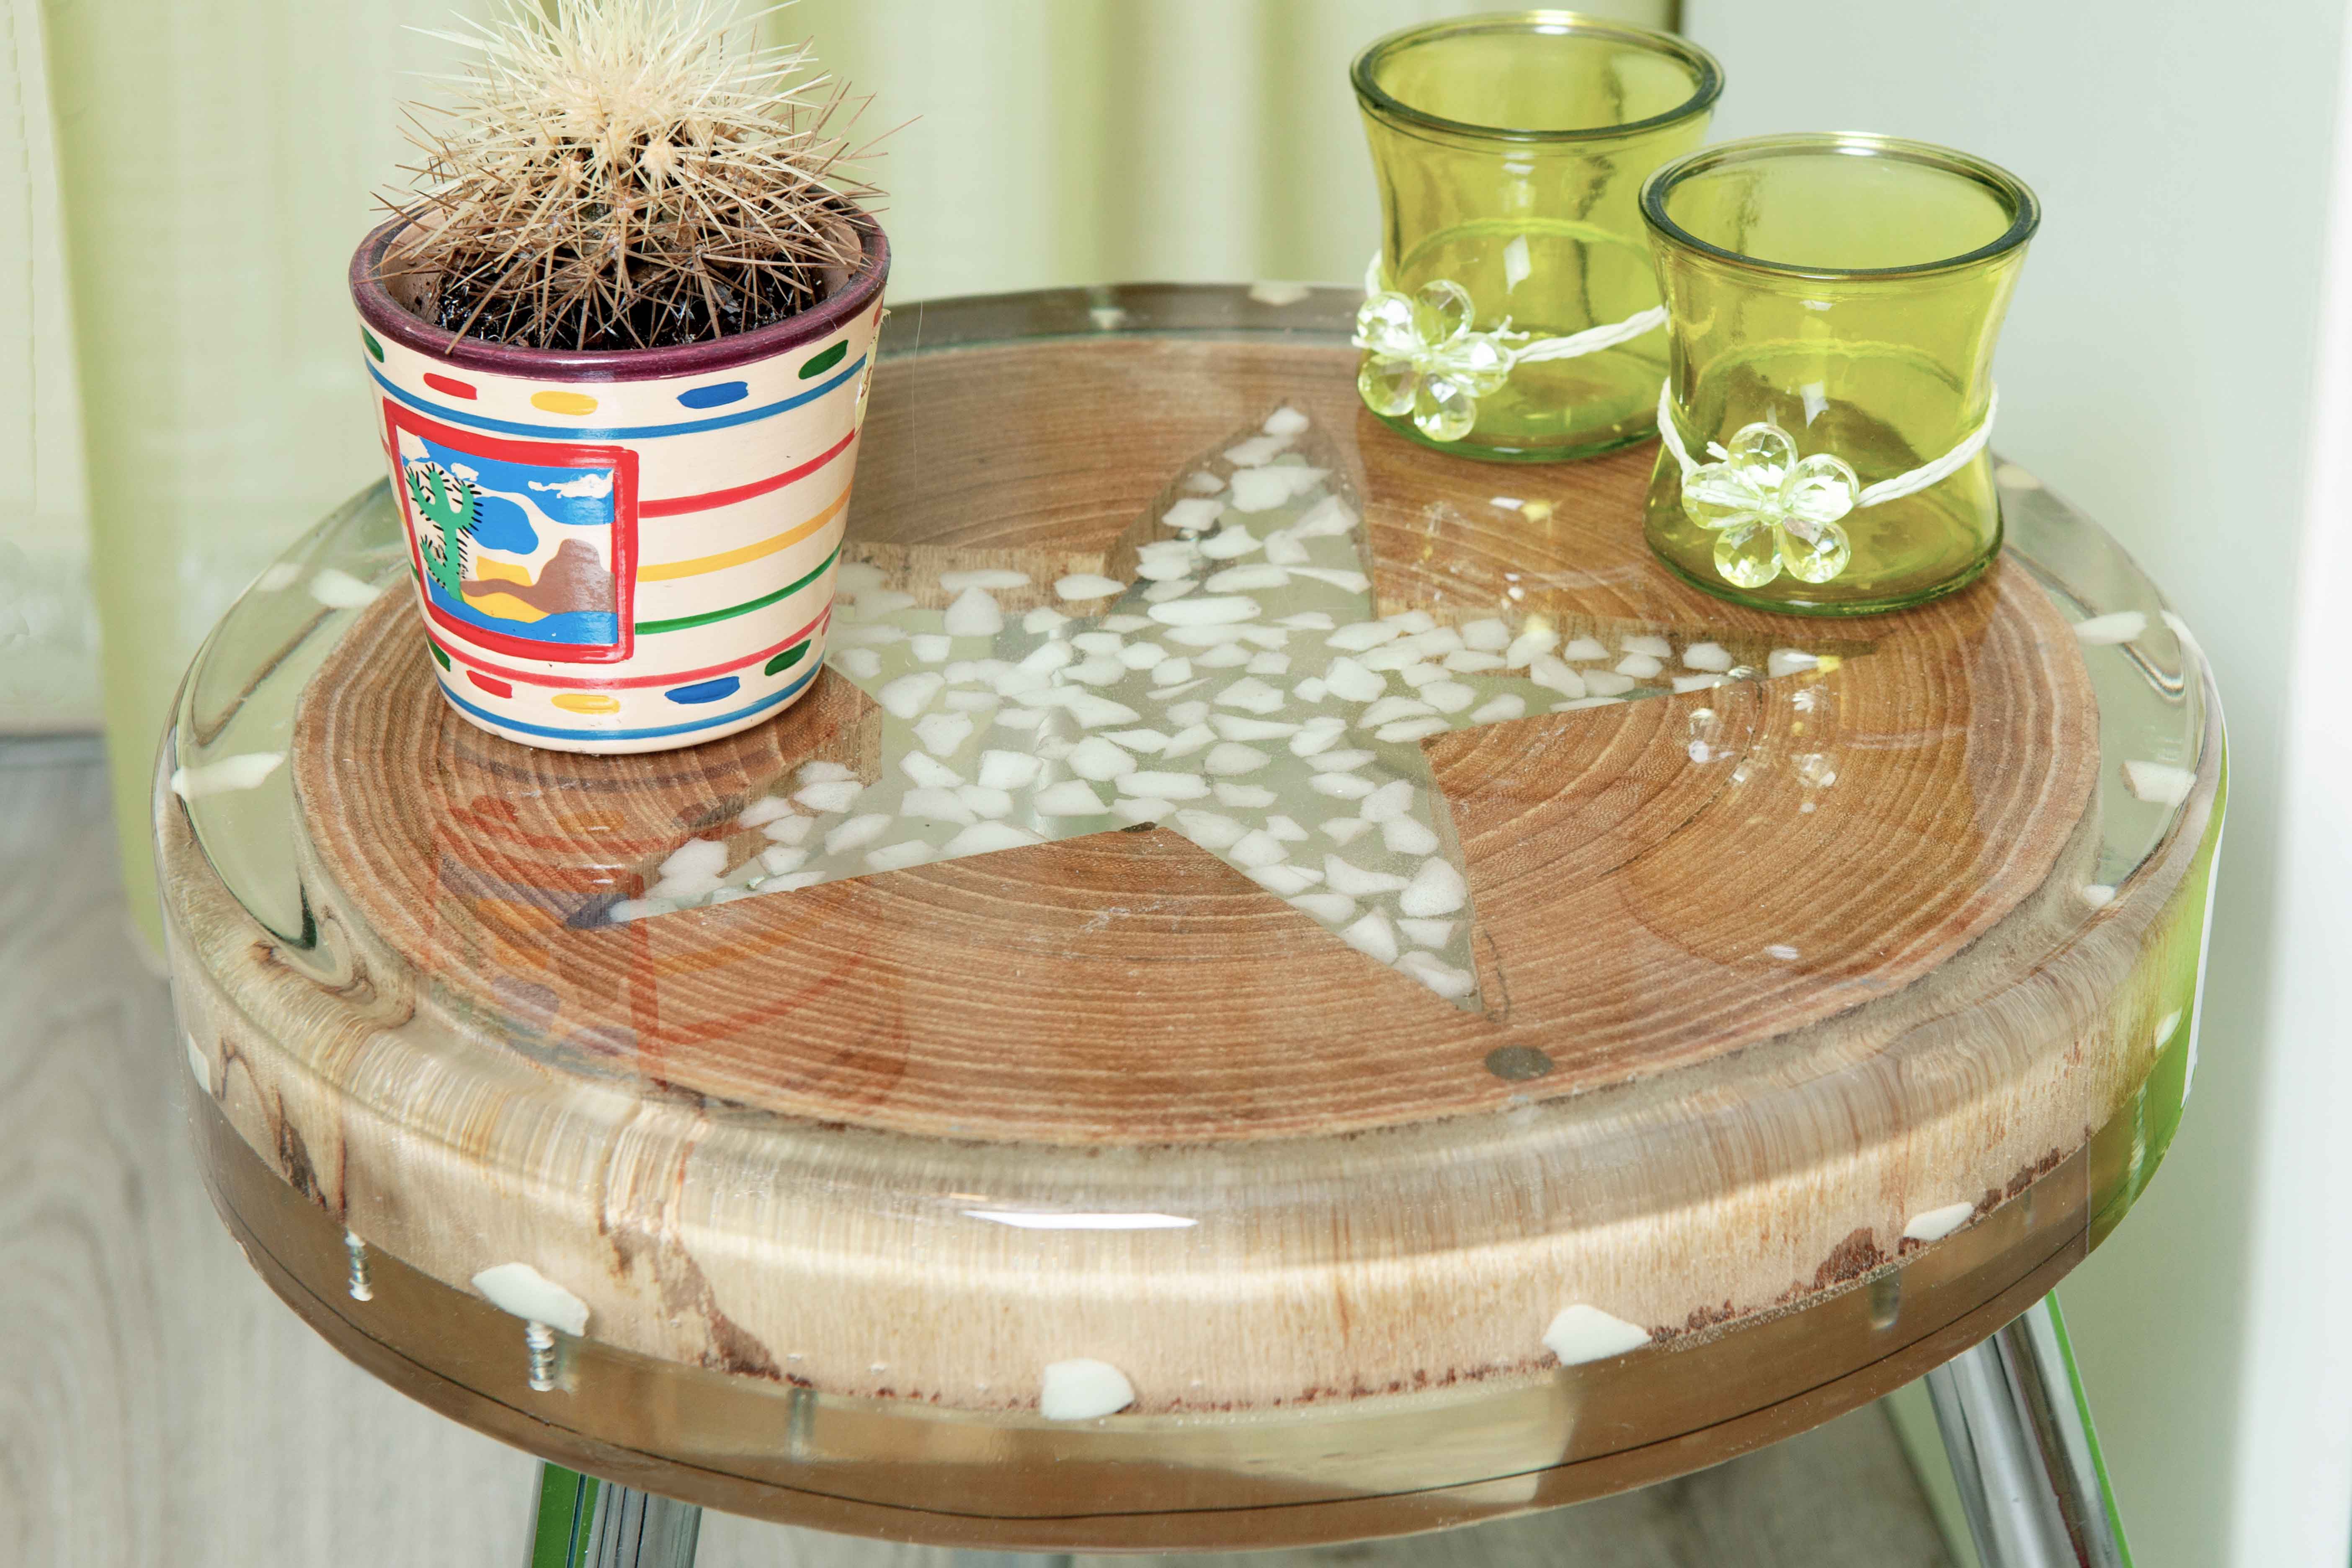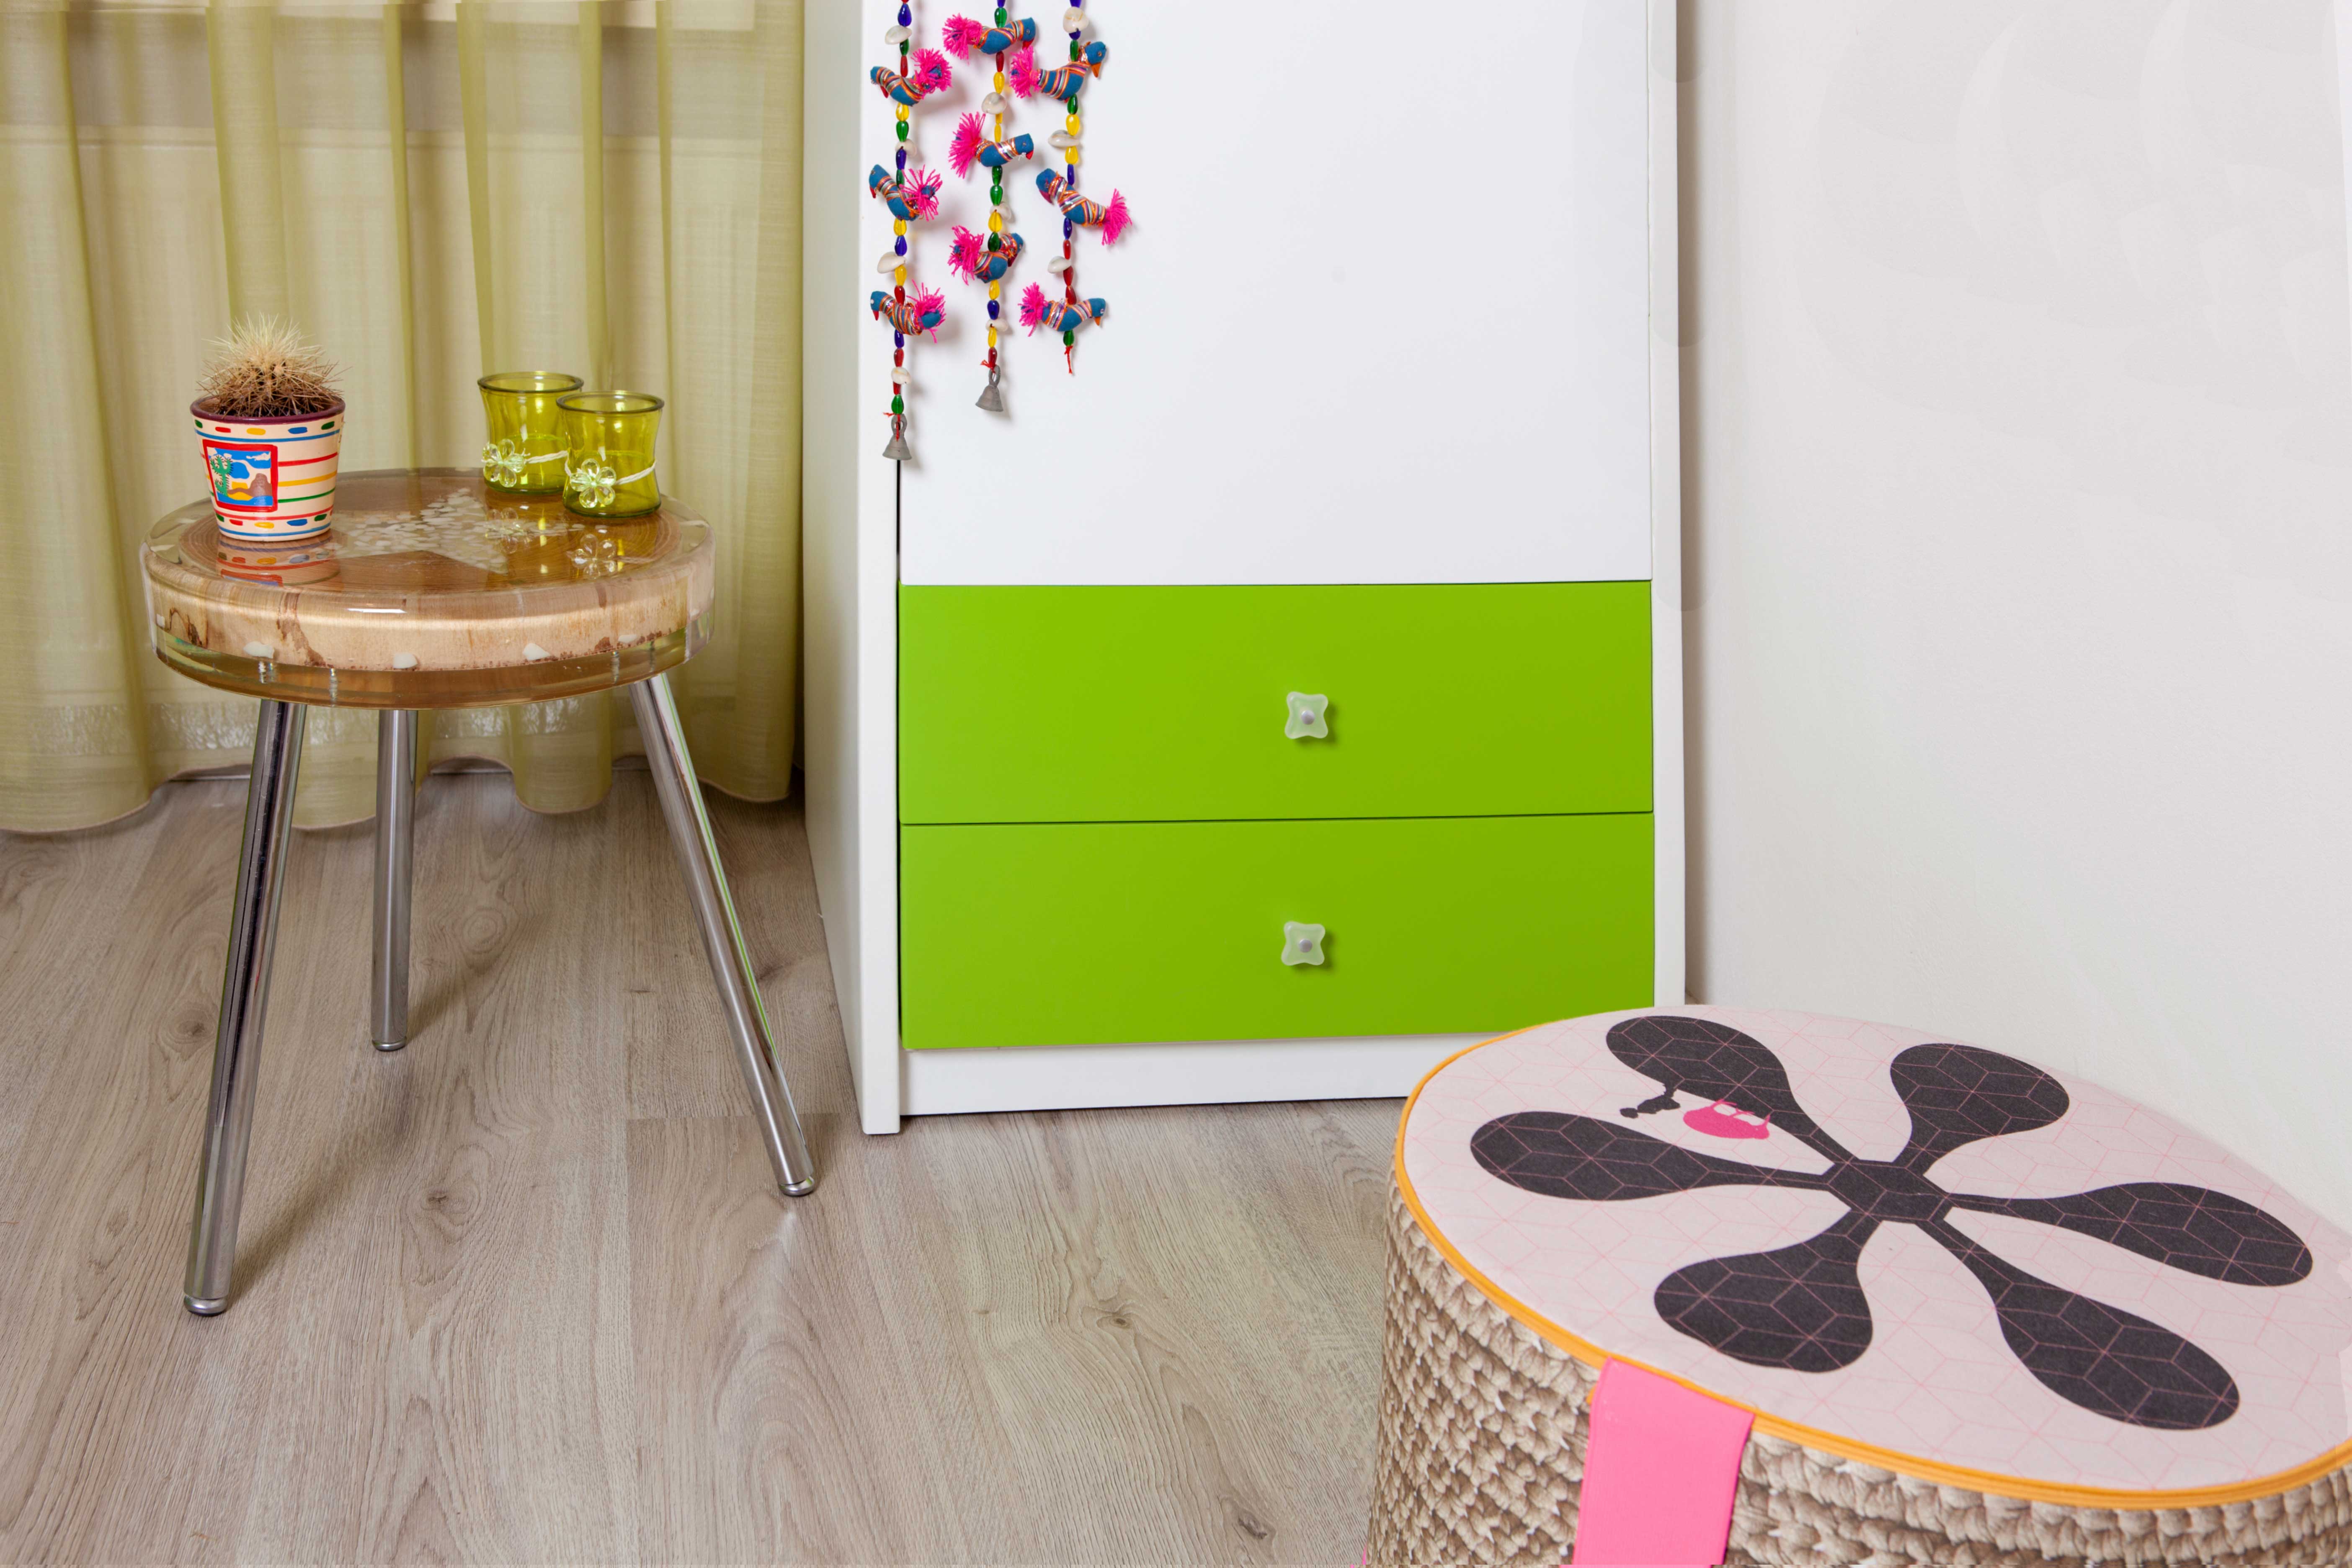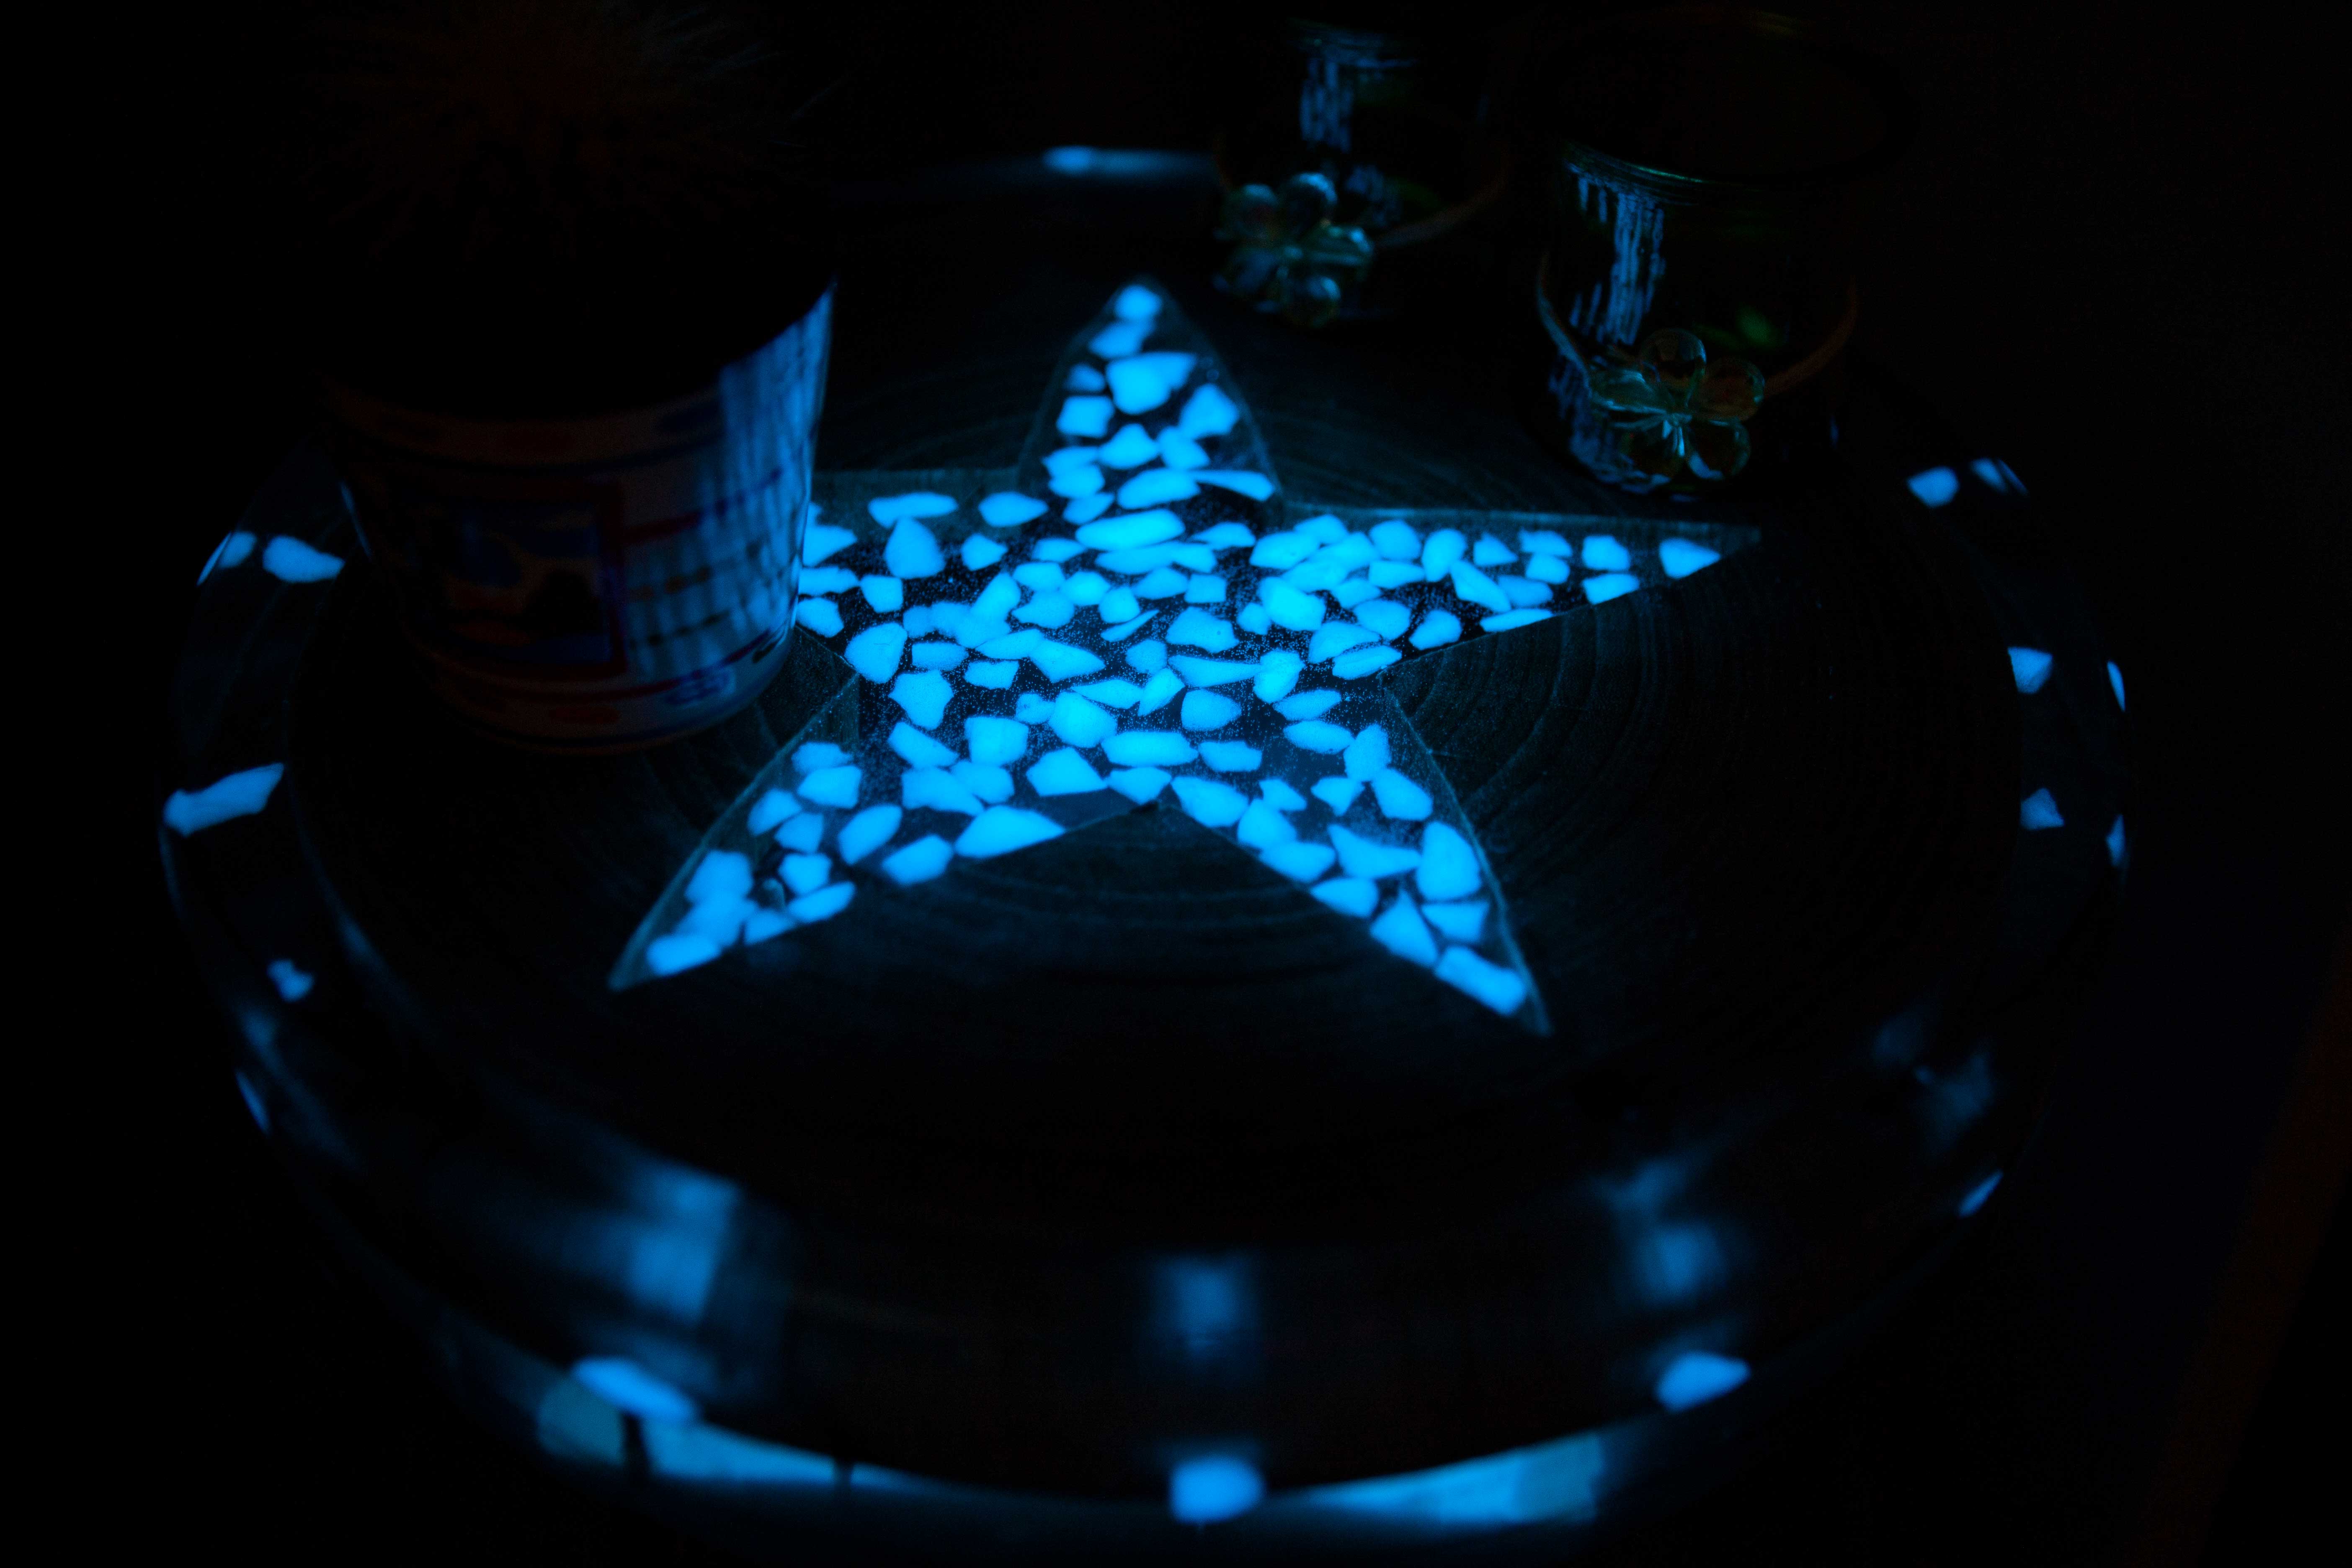
Want to make your own epoxy side table with epoxy casting resin? We will explain how to do that and tell you step by step what we did so you can soon get started making your own epoxy side table. Our idea was to fill this beautiful piece of wood with epoxy and give it a Glow in the Dark effect with Gem-Stones. Would you like to watch the video of the side table? Then read on and see how Leen makes the side table step by step.
Do you have another idea for a table? Let us know, we might create your idea soon.
Watch how Leen makes the side table in the video below:
The most important thing about the side table is the wood. This remains visible because we are going to pour it completely into the epoxy. This gives a nice effect and the wood looks very beautiful thanks to the epoxy! We bought our piece of wood from a specialist. The piece of wood of course doesn't have to be round, we thought this one looked very nice and that's why we chose it. Make sure you look for the best item so that the table becomes the central object of your home!
Before you begin, make sure your workplace is properly covered with protective foil or garbage bags. No epoxy adheres to it and is therefore easy to clean.
One of the most important steps when making a table is priming the wood. As a result, you seal the wood and no air bubbles are released. Your project will not have the desired result due to air bubbles. By priming we mean applying a layer of epoxy to the wood with a brush. Our piece of wood was very dry, so we had to prime it several times. It's better to prime too often than too little, at least you know for sure the wood is air-free. After each coat of primer you need to wait 24 hours as it needs to dry. So, take your time!
Make sure you have a good mould in which you can make your side table. For example, a bucket if you go for a round shape. You can then place the piece of wood in the bucket which makes it a lot easier. Did you know that epoxy doesn't stick to a bucket? Epoxy also does not adhere to materials such as PP, HDPE and PET. This type of plastic is therefore ideal to use as a mould for a table or something else you are going to make. If a bucket is damaged, epoxy can adhere to it, so it is advisable to still use release spray. It is also possible to use packing tape if, for example, you are going to make formwork with wood, epoxy does not adhere to it.
To make the wood float, pour a layer of epoxy on which you can place the wood. This will give you a floating effect when you're done! Prepare the first layer of epoxy using the 2-cup mixing method and add UV stabiliser. As soon as you have poured the first layer, bleed it with a gas burner. Make a sweeping motion over the epoxy as you bleed. This prevents the epoxy from becoming too hot at certain points. We used 1.76 kg for the first layer.
It is now time to place the wood in the mould and 'glue' it in place with epoxy. Place your piece of wood that you previously provided with epoxy primer in the mould. Make sure you place it in the middle so that it looks nice later. Once the piece of wood is in place, you can pour a layer of half a centimeter that will serve as an adhesive layer. Is your piece of wood shifting? No problem! Put the wood back in place and weigh it down with, for example, a stack of books so that it can no longer shift. Now wait at least 12 hours for the epoxy to adhere to the wood.
Now comes the fun part: we are going to fill the mould with epoxy. Prepare the epoxy according to the previously mentioned 2-cup mixing method and slowly pour it into the mould. After this, you can vent again with the burner to remove air bubbles. When the mould is filled up, you can apply the Glow-Stones if you wish. Make sure you bury them well in the epoxy so that they are completely covered. Let this dry for at least 48 hours to ensure that the epoxy has fully hardened. After seven days the epoxy is fully chemically resistant.
It is now time to remove the epoxy side table from the mould. Did you use a plastic bucket? Then it should be easy to remove the side table from the mould because no epoxy adheres to it! Once the table is out of the mould, you still need to finish it. This is a more technical part, but certainly not difficult.
We used a router to create a nice round edge at the top of the table. There are no sharp edges and it is nursery-proof. Don't have a router? You can also do this with a sander or 80-grit sandpaper. This will give you the same result as with a router.
We are now going to finish the table. To do this, we again use epoxy casting resin. It is also possible to do this with UltraCast XT Resin, this epoxy has a higher resistance to the heat of, for example, coffee or tea. Before pouring the final layer, we recommend covering the bottom with packing tape. This way no drops get to the bottom and the bottom remains beautiful. Now pour the last layer over the table and spread it over the entire top. Also make sure you grab the edges.
After this, it is time to vent again with the gas burner so that the last layer is completely transparent and without air bubbles. After this, the table must dry for another 24 hours.
Do you want the epoxy to shine even more beautifully? Then you can polish your epoxy side table. This brings out the high-gloss effect of epoxy even more. To increase scratch resistance, you can apply two layers of DD Paint. You can easily apply this with a roller.
You can always polish or apply DD Paint later, for example if the table has some scratches.


In the above article you can read how you can provide a coffee table or side table with epoxy step by step. Do you have any questions about the products or the working method after reading? Please contact our specialists! We are happy to help you make a beautiful epoxy side table.
Here you can find all 9 related articles on this topic. Mis je informatie om aan de slag te gaan met jouw klus? Neem dan contact met ons op.
Do you have a specific question? Call one of our specialists for free advice +3185 0220090
