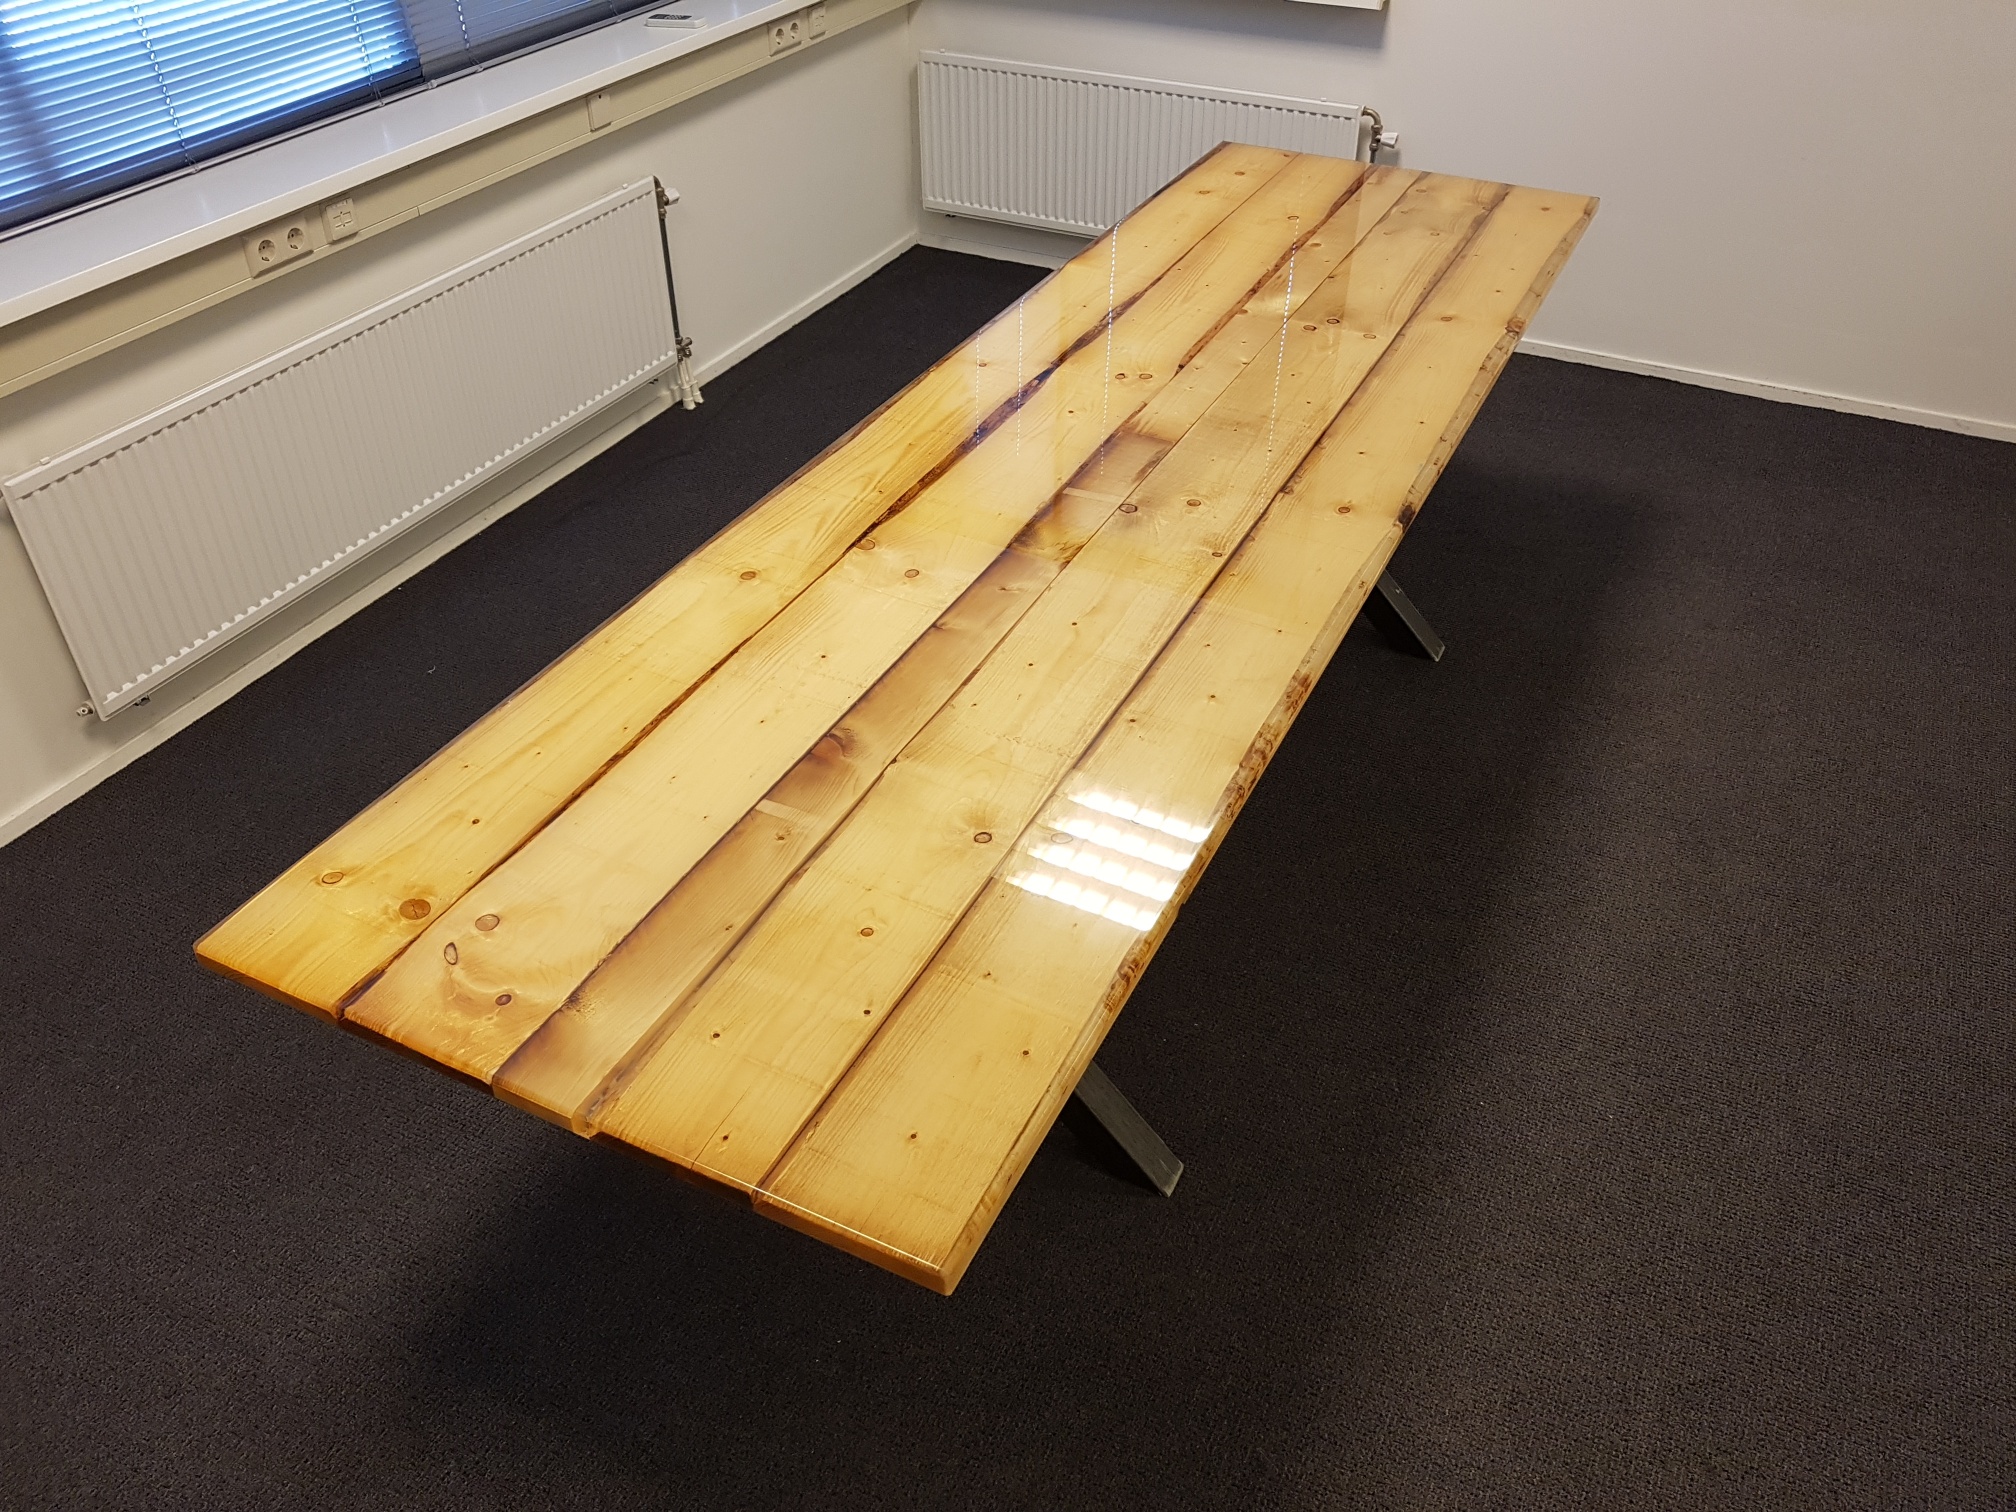
A thick layer of epoxy gives a vitreous coating to the wood, creating a beautiful effect of depth. It accentuates the pattern of the wood and protects it from the effects of damp and pollution. Your table will always look its best! Read step-by-step in this article what you need and how to get started. We use RESION UV Epoxy Resin for this purpose. This epoxy is crystal-clear and highly resistant to UV light. For castings up to 10 cm, you can use RESION casting resin for large castings.
The manual consists of the following 10 steps:
Finishing your table with a layer of transparent epoxy casting resin has the following benefits:
Casting a table top isn't difficult, but there are a number of things to bear in mind. That's why we've created a comprehensive manual giving you all the details. This way, anyone can make a table top! Do you have any questions or uncertainties? Then chat live with one of our specialists or email support@polyestershoppen.com.
The materials for the table itself:
Raw materials:
Tools:
Personal protection:
Required conditions:
Build the top of the table. This can be done by laying the boards against each other with the good side down. Next, make a cross connection in a few places by screwing a batten onto the shelves. It is important that the wood you work with is untreated and dry.
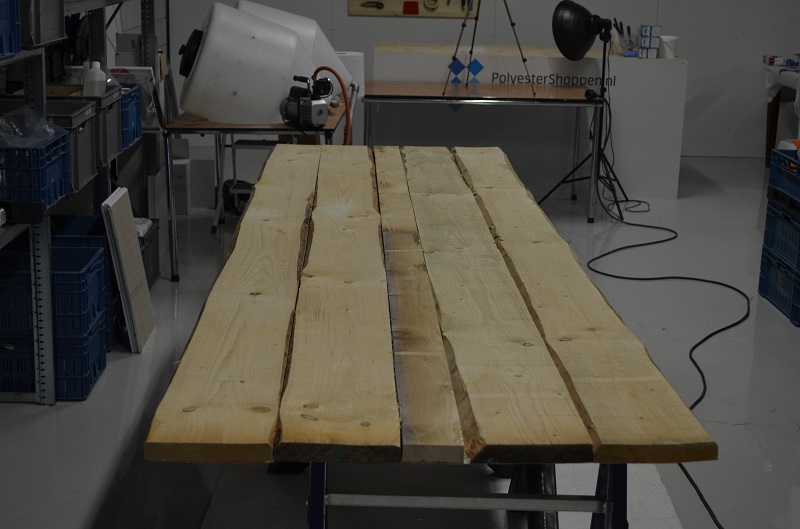
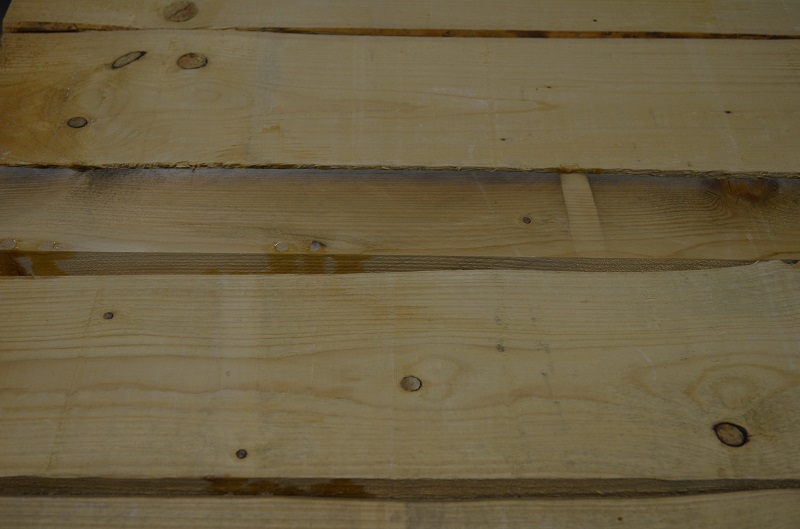
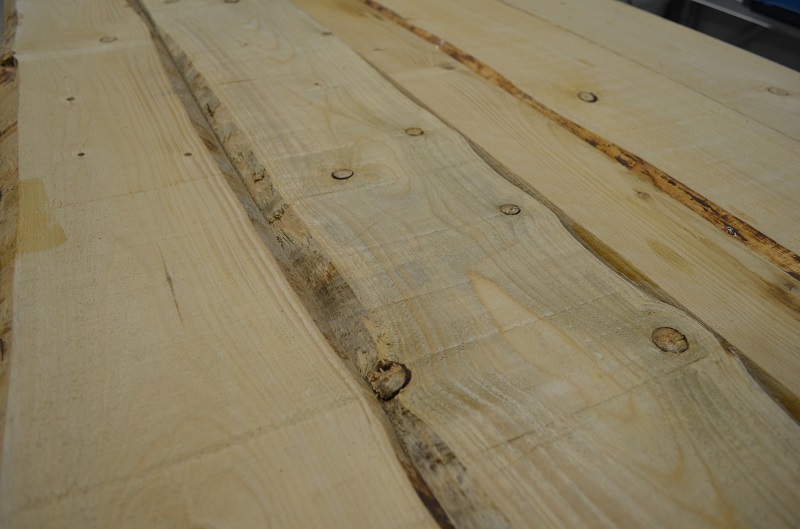
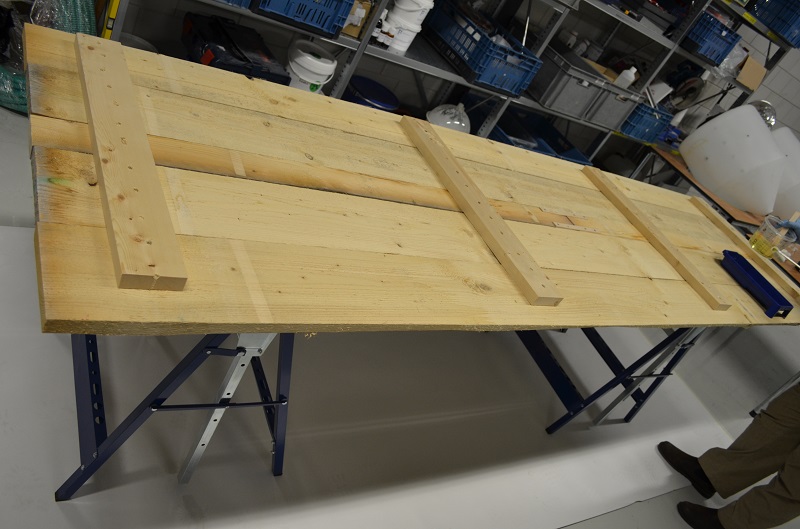
Turn the entire top (screwed together) over and finish it as desired. The edges can be rounded by milling, planing or sanding. The wood can be sanded and/or stained (with a water-based stain). Sand the wood with 120 grit sandpaper.
Repair cracks and knots from underneath with adhesive tape. This can be done with various types of tape, such as packing tape and adhesive tape. The tape can often be easily removed afterwards. Remove any stubborn residue with a triangular scraper and/or sandpaper.
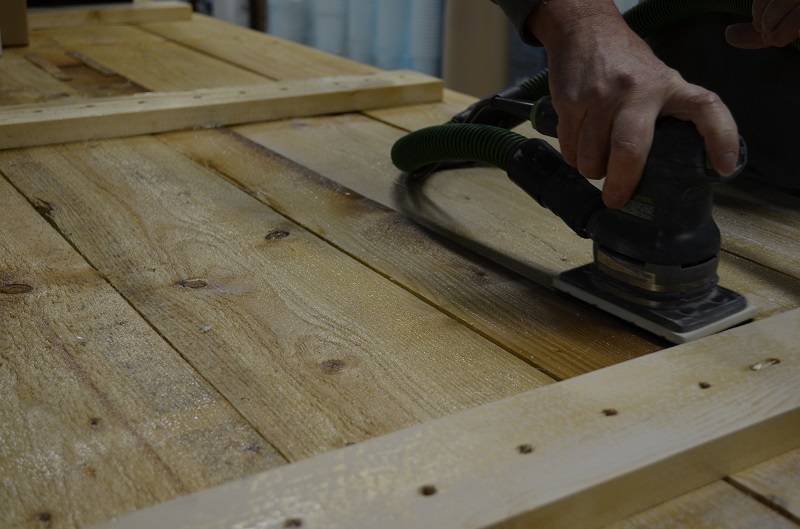
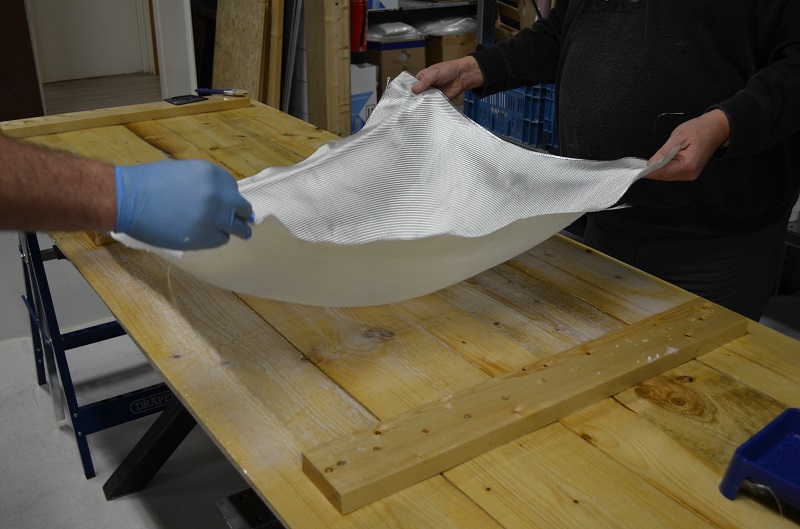
If there are a lot of holes and cracks in the table, as was the case with us, you can also cover it with glass fabric. Then prime the wood with RESION UV Epoxy Resin and leave to harden. Sand the epoxy after hardening, then apply glass fabric 200 gram/m2 with epoxy. Then apply another coat of epoxy. The entire base is now liquid-proof and an added benefit is that the table is also more solid.
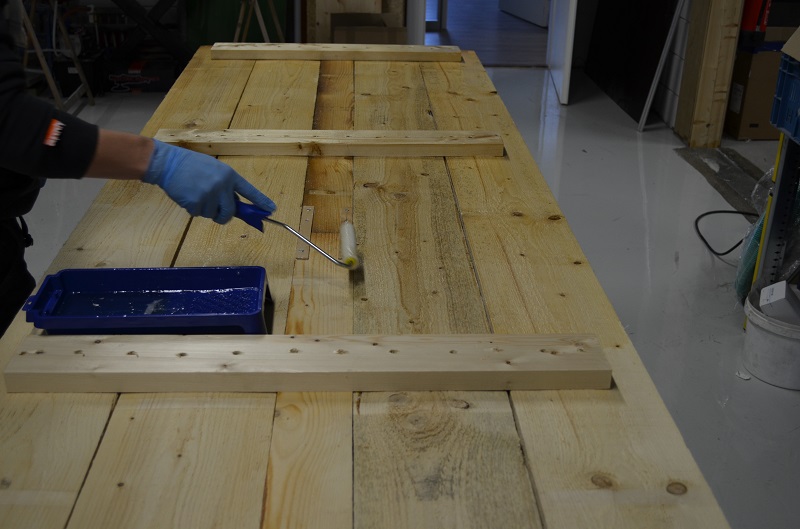
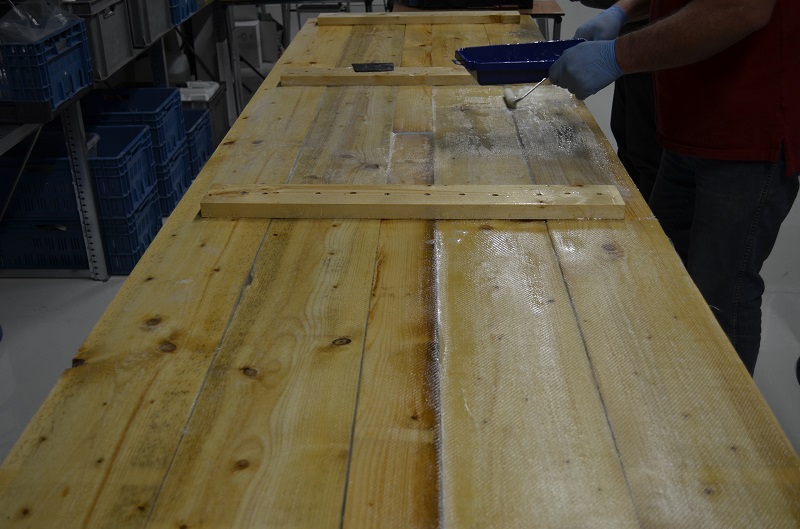
Because we're going to be pouring epoxy onto the board, we need to make sure that it can't run off the board. For small tables, a raised edge can be made with adhesive tape. For larger tables, we recommend that you make a "formwork" around the table. This can be done with wooden battens or, for example, aluminium or plastic corner profiles. Lay the profiles or wooden slats with packing tape and screw the top down.
This way, the moulded epoxy will remain on the sheet. The packing tape gives you a smooth finish on the side and the formwork is easy to remove later.
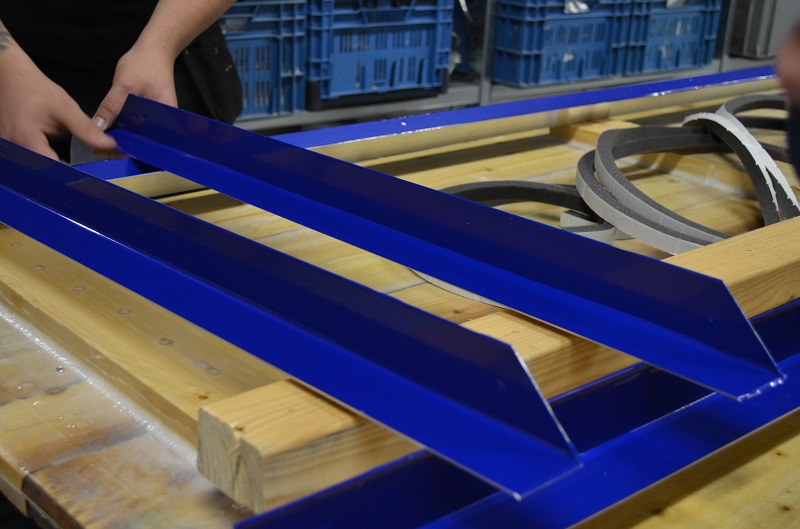
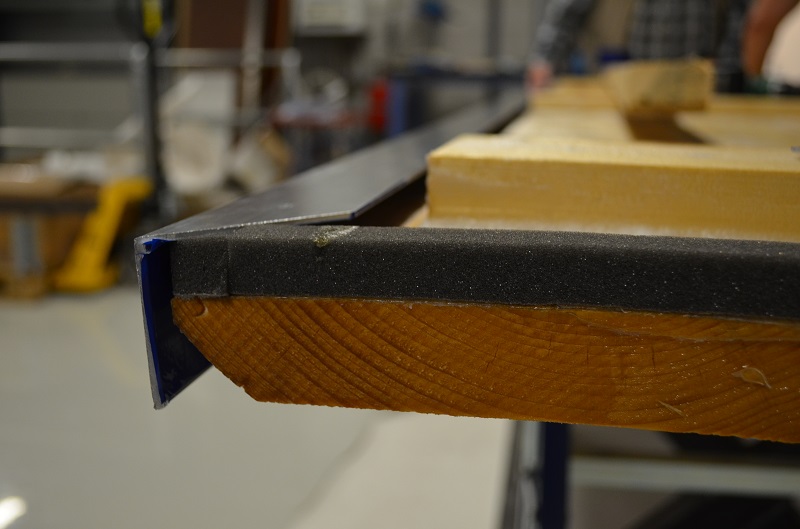
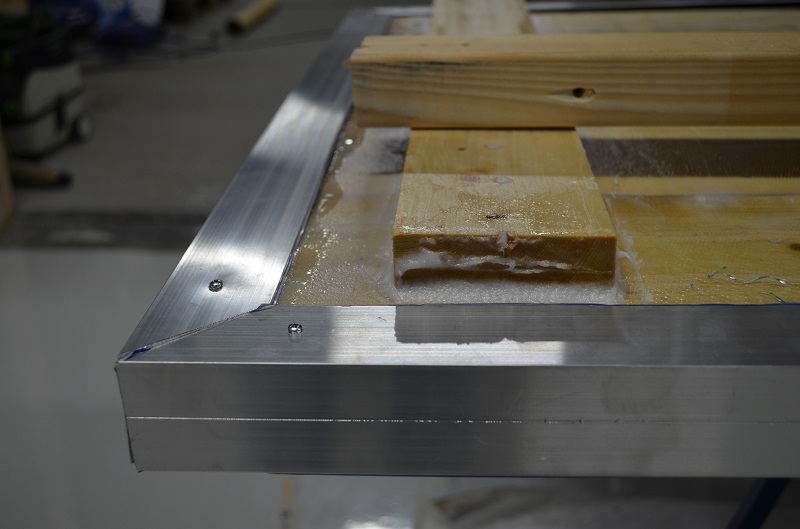
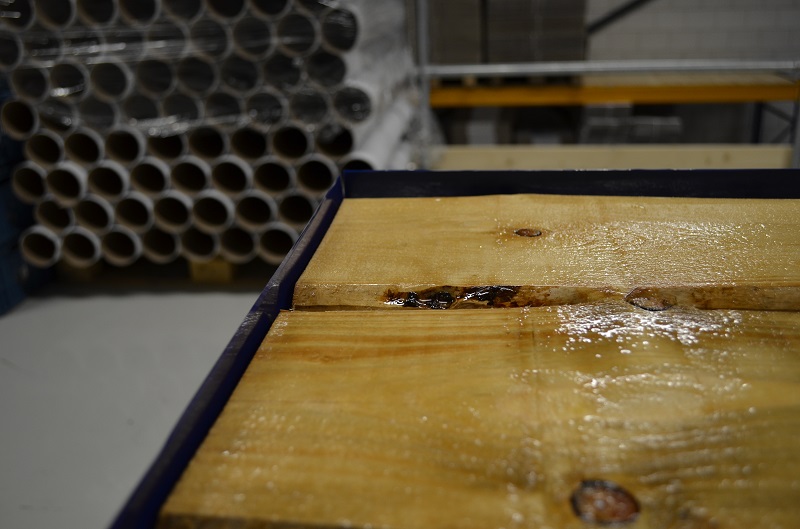
Place a sheet of plastic on the floor. If the epoxy leaks, you won't damage the floor this way. Place the table on trestles or on its own legs. Check that the table is level, not tilted or twisted. Measure this with a spirit level. Epoxy always levels out and if your table isn't completely straight, it's a waste.
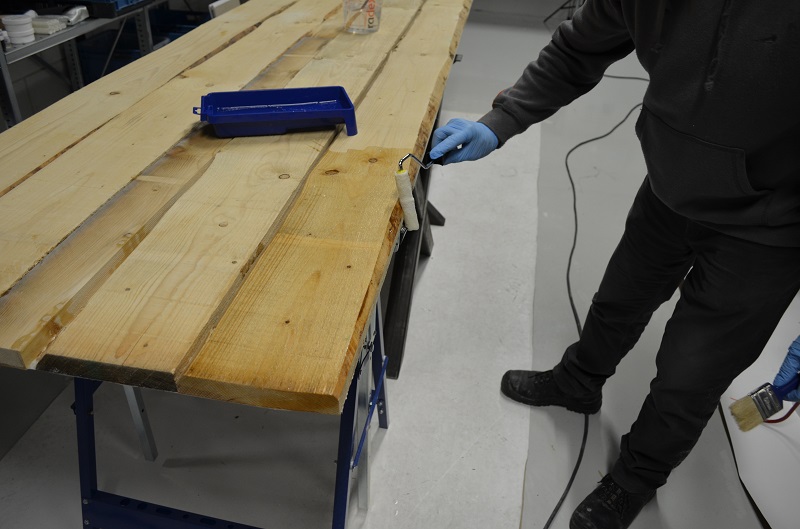
Now it's time to apply the first epoxy. First we apply a thin coat of epoxy to both sides: first a primer coat to make the wood airtight. This prevents air bubbles from entering the wood later in the casting layer. We also use this small amount of epoxy for waterproofing so that the pouring layer cannot run off.
Prepare a small amount of casting epoxy by accurately weighing the resin and hardener on a scale and mixing thoroughly using the 2-cup mixing method. Casting epoxy has a mixing ratio of 100:60. The quantity to be made depends on the size of the table. Calculate around 400 grams of epoxy per square metre. Be prepared to calculate the correct quantity of resin and hardener.
First, a thin layer is applied to the wood using a velour roller. This seals the wood. This stage can also be used to make the formwork. When the epoxy has cured for at least 10 hours and the formwork is around the table, you can crack it with a new epoxy mixture and pour holes. Make sure you purge the epoxy with a gas burner. See how you do this in the video below.
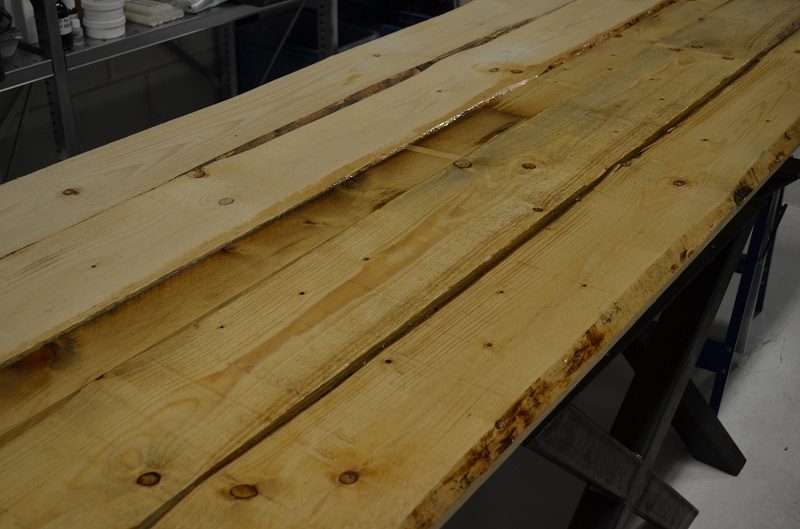
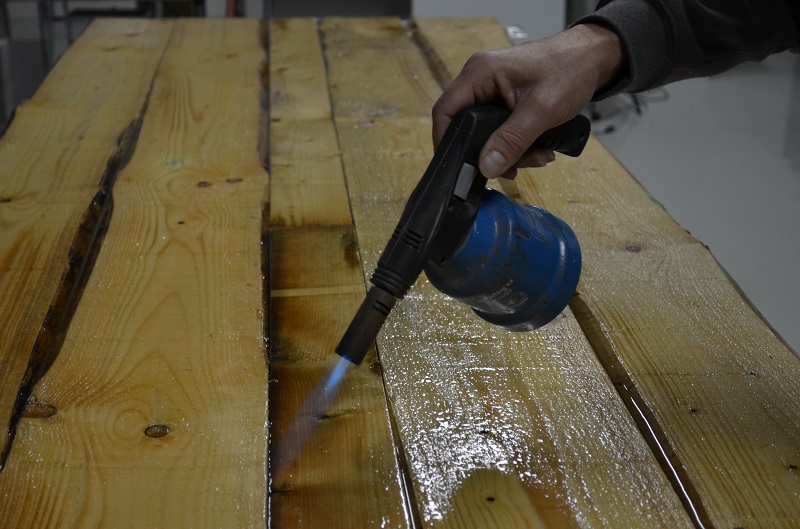
We now leave this layer to harden. This takes 8 to 24 hours depending on the temperature. At low temperatures, the epoxy may take longer to cure completely. Any leaks through holes and marks, then we know we need to pay attention to the next casting.
If no leaks have occurred, a thick layer of epoxy can now be poured. Move on to step 8. If there are still leaks, first apply a small amount of epoxy resin to these areas with a flat brush so that these spots also become liquid-tight.
Depending on the type of wood, it may have become rather rough. This roughness may contain air bubbles. Therefore, lightly sand the surface with 120-grit sandpaper. If everything is tight, smooth and dust-free, it can be poured.
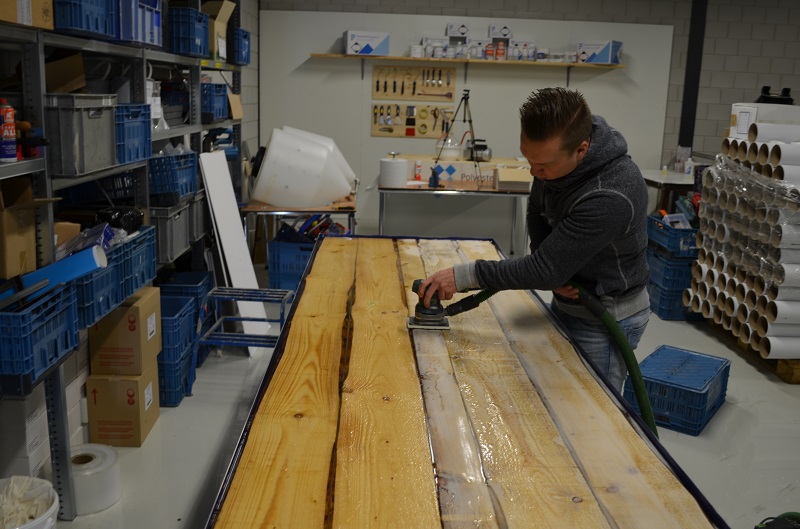
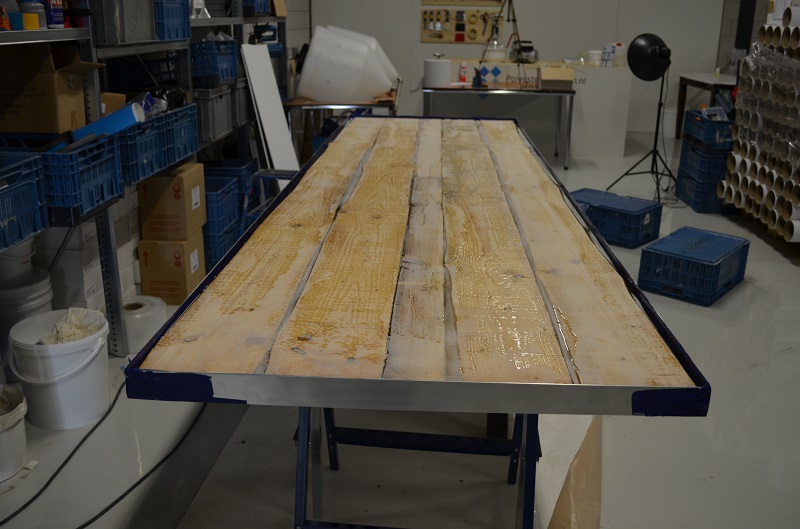
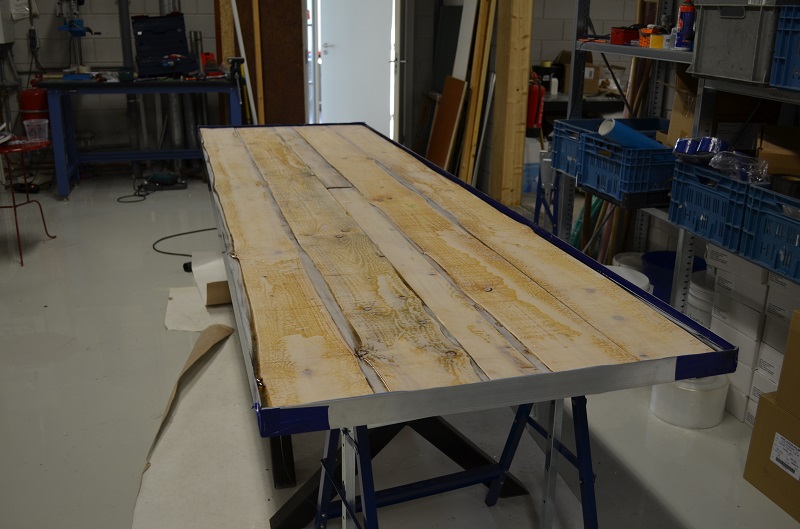
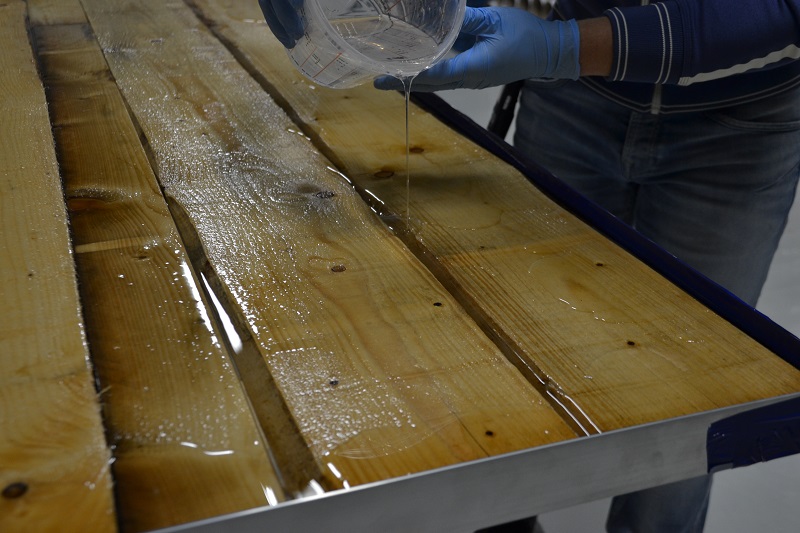
Pour at least 2 mm at a time, but no more than 10 mm thick. Make up a sufficient quantity of epoxy as described above. Make sure this epoxy is mixed very carefully. Pour this spread epoxy onto the table. The epoxy will flow over the entire table. The epoxy can possibly be helped with a brush or a rudder. This is not a problem if the epoxy is poured several times and you still produce a few kilos.
Leave the epoxy to stand for about 10 minutes. This gives the air bubbles a chance to rise to the surface. After about 10 minutes, the last air bubbles can be removed from the surface with a gas burner. Direct the flame at the surface with a gas burner and move it rapidly back and forth. Work the entire surface. Keep moving the flame and don't use it for too long. A 1 m2 table can be ignited in 30 seconds. The epoxy is completely tightened by the flame.
Allow the epoxy to harden thoroughly now. This will take at least 24 hours, at lower temperatures it may take even longer. Once it has hardened, assess the casting. If it is still not thick enough, another layer can be applied. This can also be done if the layer has defects that cannot be removed by local polishing, such as large insects that have fallen into the epoxy or extremely high dust levels. In this case, the table should first be roughened with 180 grit sandpaper. Degrease the top with acetone before continuing casting.
After applying the casting layer(s), remove the formwork around the table. The table can now be finished. The edges can be sanded and polished or reapplied with RESION UV Epoxy Resin using a brush.
There are two options for the top of the table. When the table is placed outdoors, it is strongly recommended that it is finished with a UV-resistant paint, such as DD Paint. This is also available in silk gloss. Sand the top along the surface and edges with 280 grit paper and paint the top with DD Paint using a foam roller.
Alternatively, sand the table from 240 grit and build up slowly to 1500-2000 grit with water. After sanding, it can be polished with a coarse and then fine polishing compound. This should give the table a deep shine. The edges can be rounded slightly by sanding.
The underside of the table can be finished at least twice with epoxy. Turn the table over and remove the adhesive tape. Now apply a coat of epoxy. Leave to harden, sand the underside lightly with 120 grit and apply another coat of epoxy. The underside of the table will also be smooth and protected from external influences.
I don't want screw holes in the side of the table.
Use an aluminum corner profile or a wooden corner profile to form the formwork.
I want a thick layer of epoxy along the edge of the table
Use an aluminum corner profile or a wooden corner profile to form the formwork. Adjust it to the desired thickness of the side.
I have knots in the table which are larger than the width of my tape.
Use a piece of wood covered with packaging tape to seal the knots.
My formwork continues to leak. What should I do?
Apply another coat of epoxy along the length of the formwork and allow it to harden. Seal a persistent leak with an acrylate joint if necessary
The epoxy hardens very slowly.
Check that the correct mixing ratio has been used. Work at a sufficient temperature (16 degrees or more).
The epoxy sticks in certain places or remains soft. How can this problem be resolved?
The epoxy has not been mixed sufficiently. Remove the soft epoxy with acetone, allow to evaporate and pour a new coat.
The epoxy remains soft throughout.
Incorrect mixing ratio. Remove the epoxy and pour a new coat.
Here you can find all 9 related articles on this topic. Mis je informatie om aan de slag te gaan met jouw klus? Neem dan contact met ons op.
Do you have a specific question? Call one of our specialists for free advice +3185 0220090
