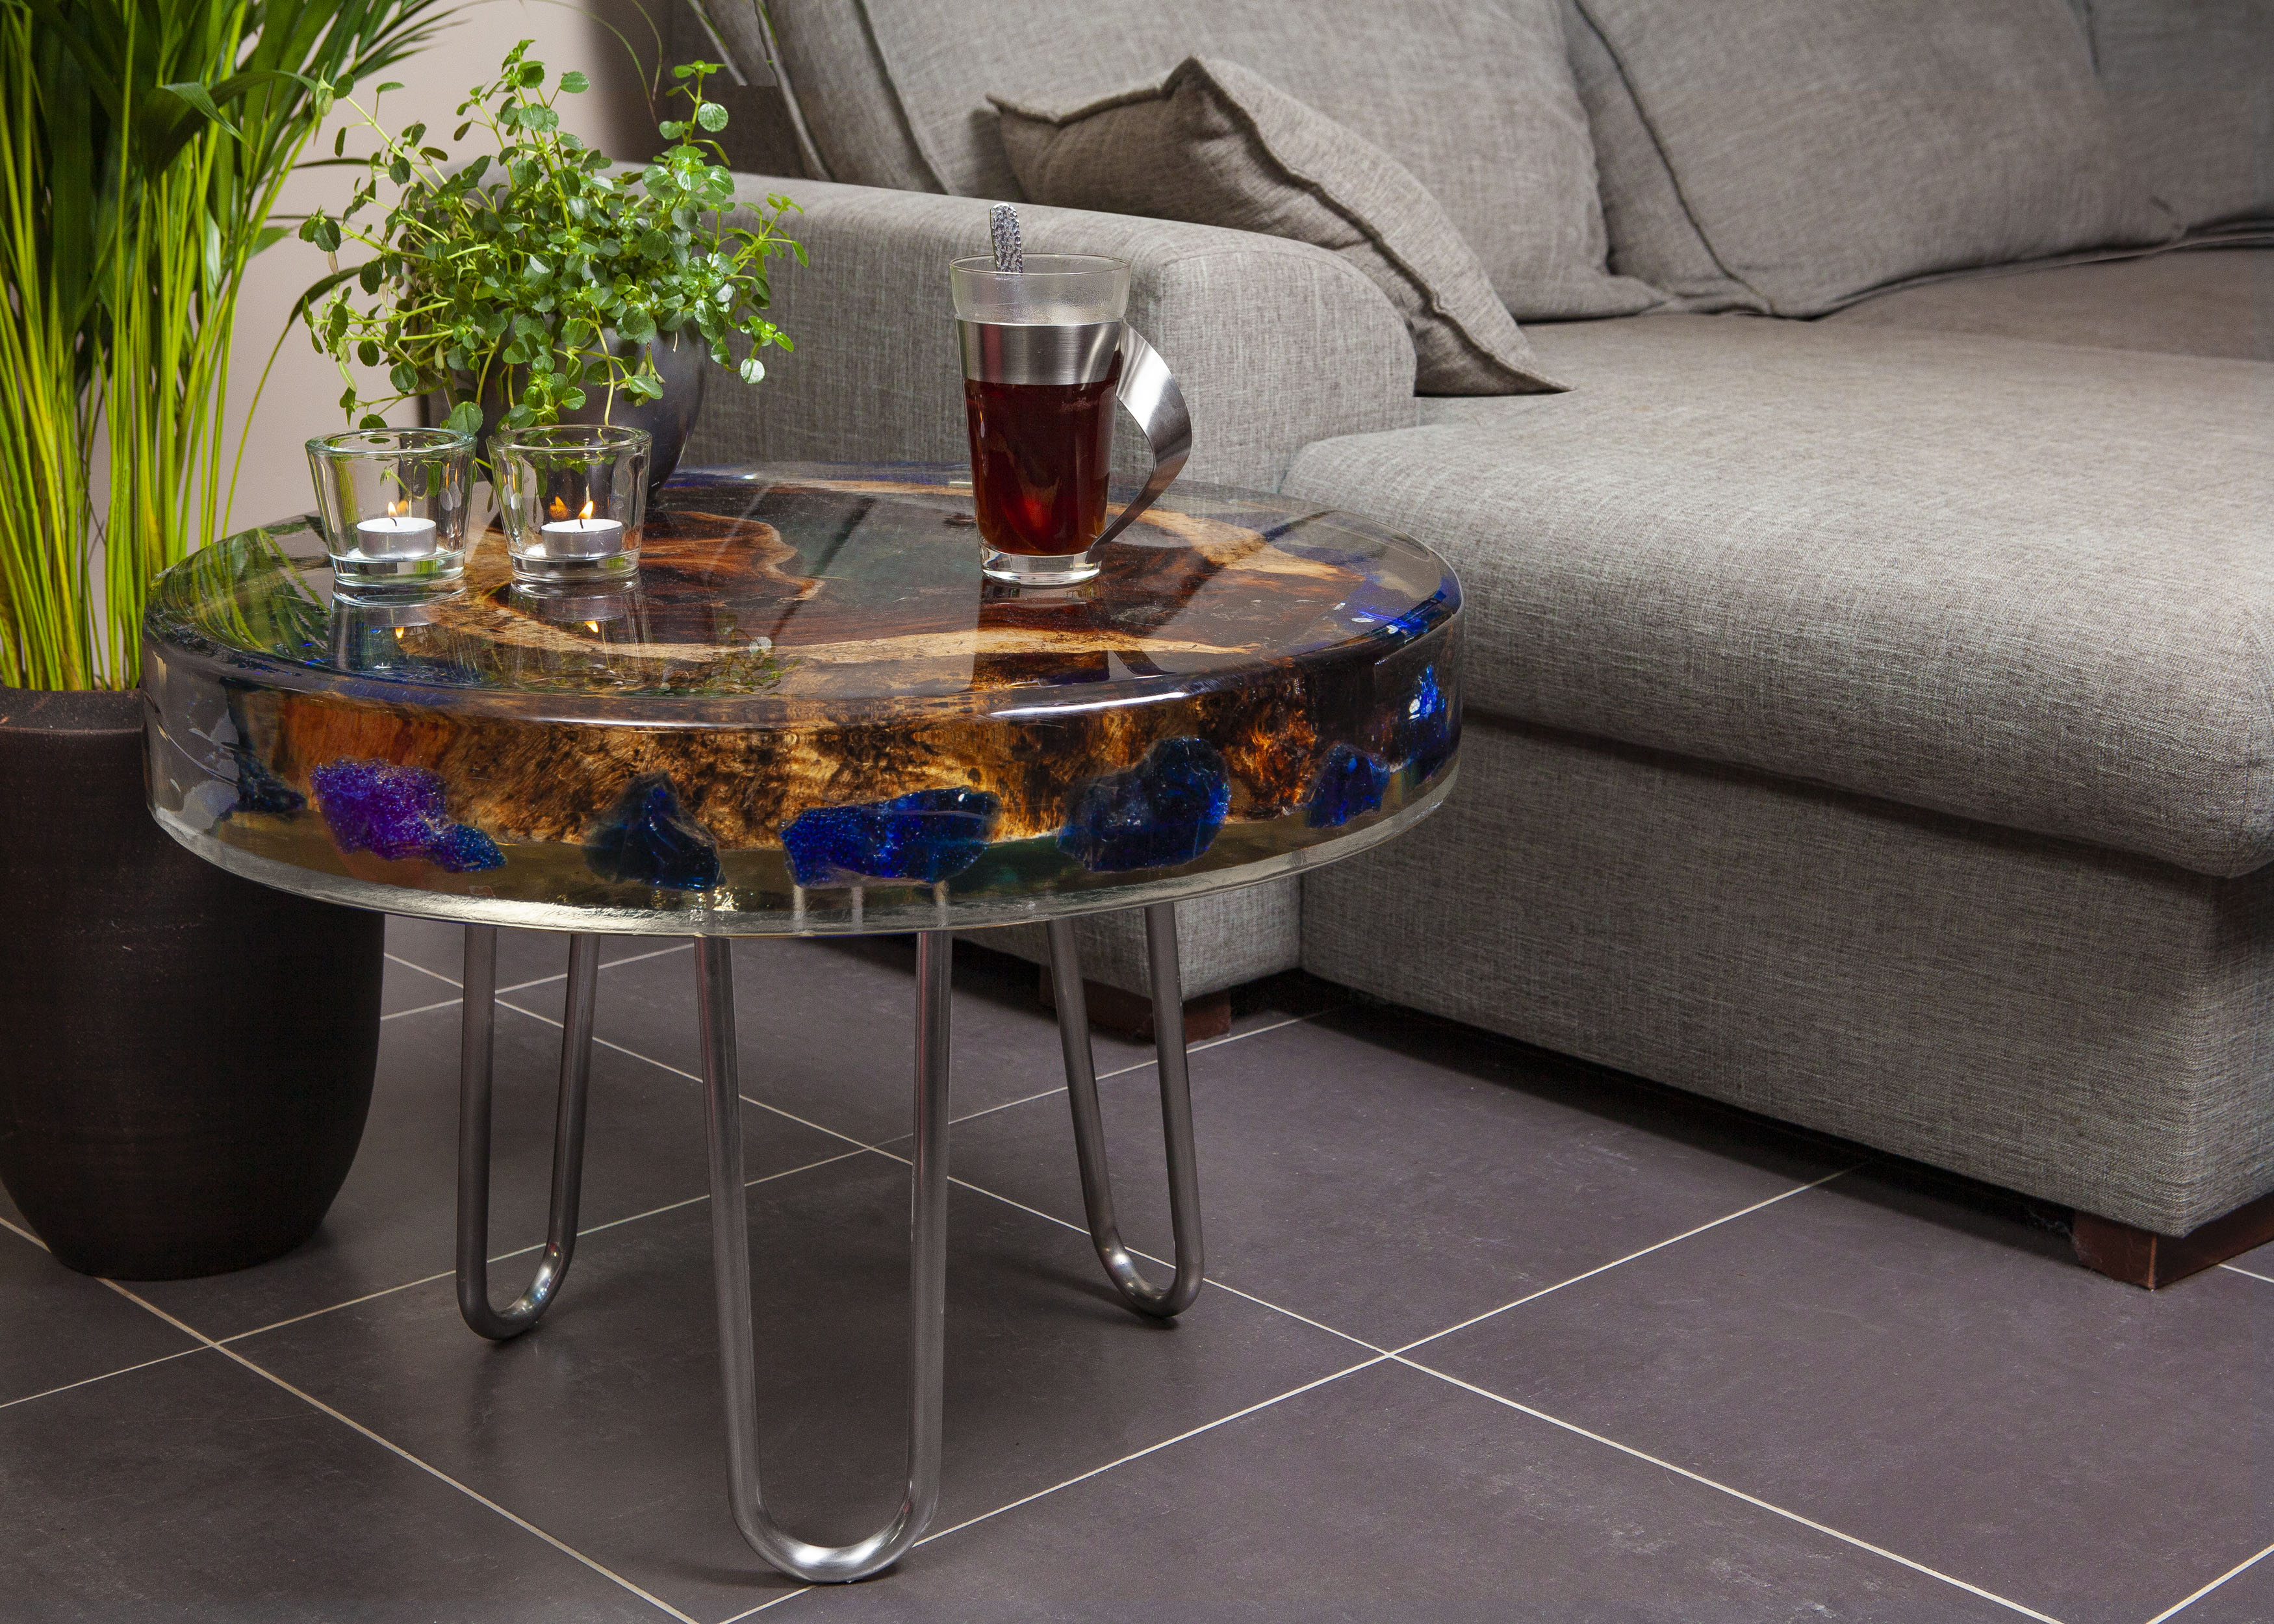
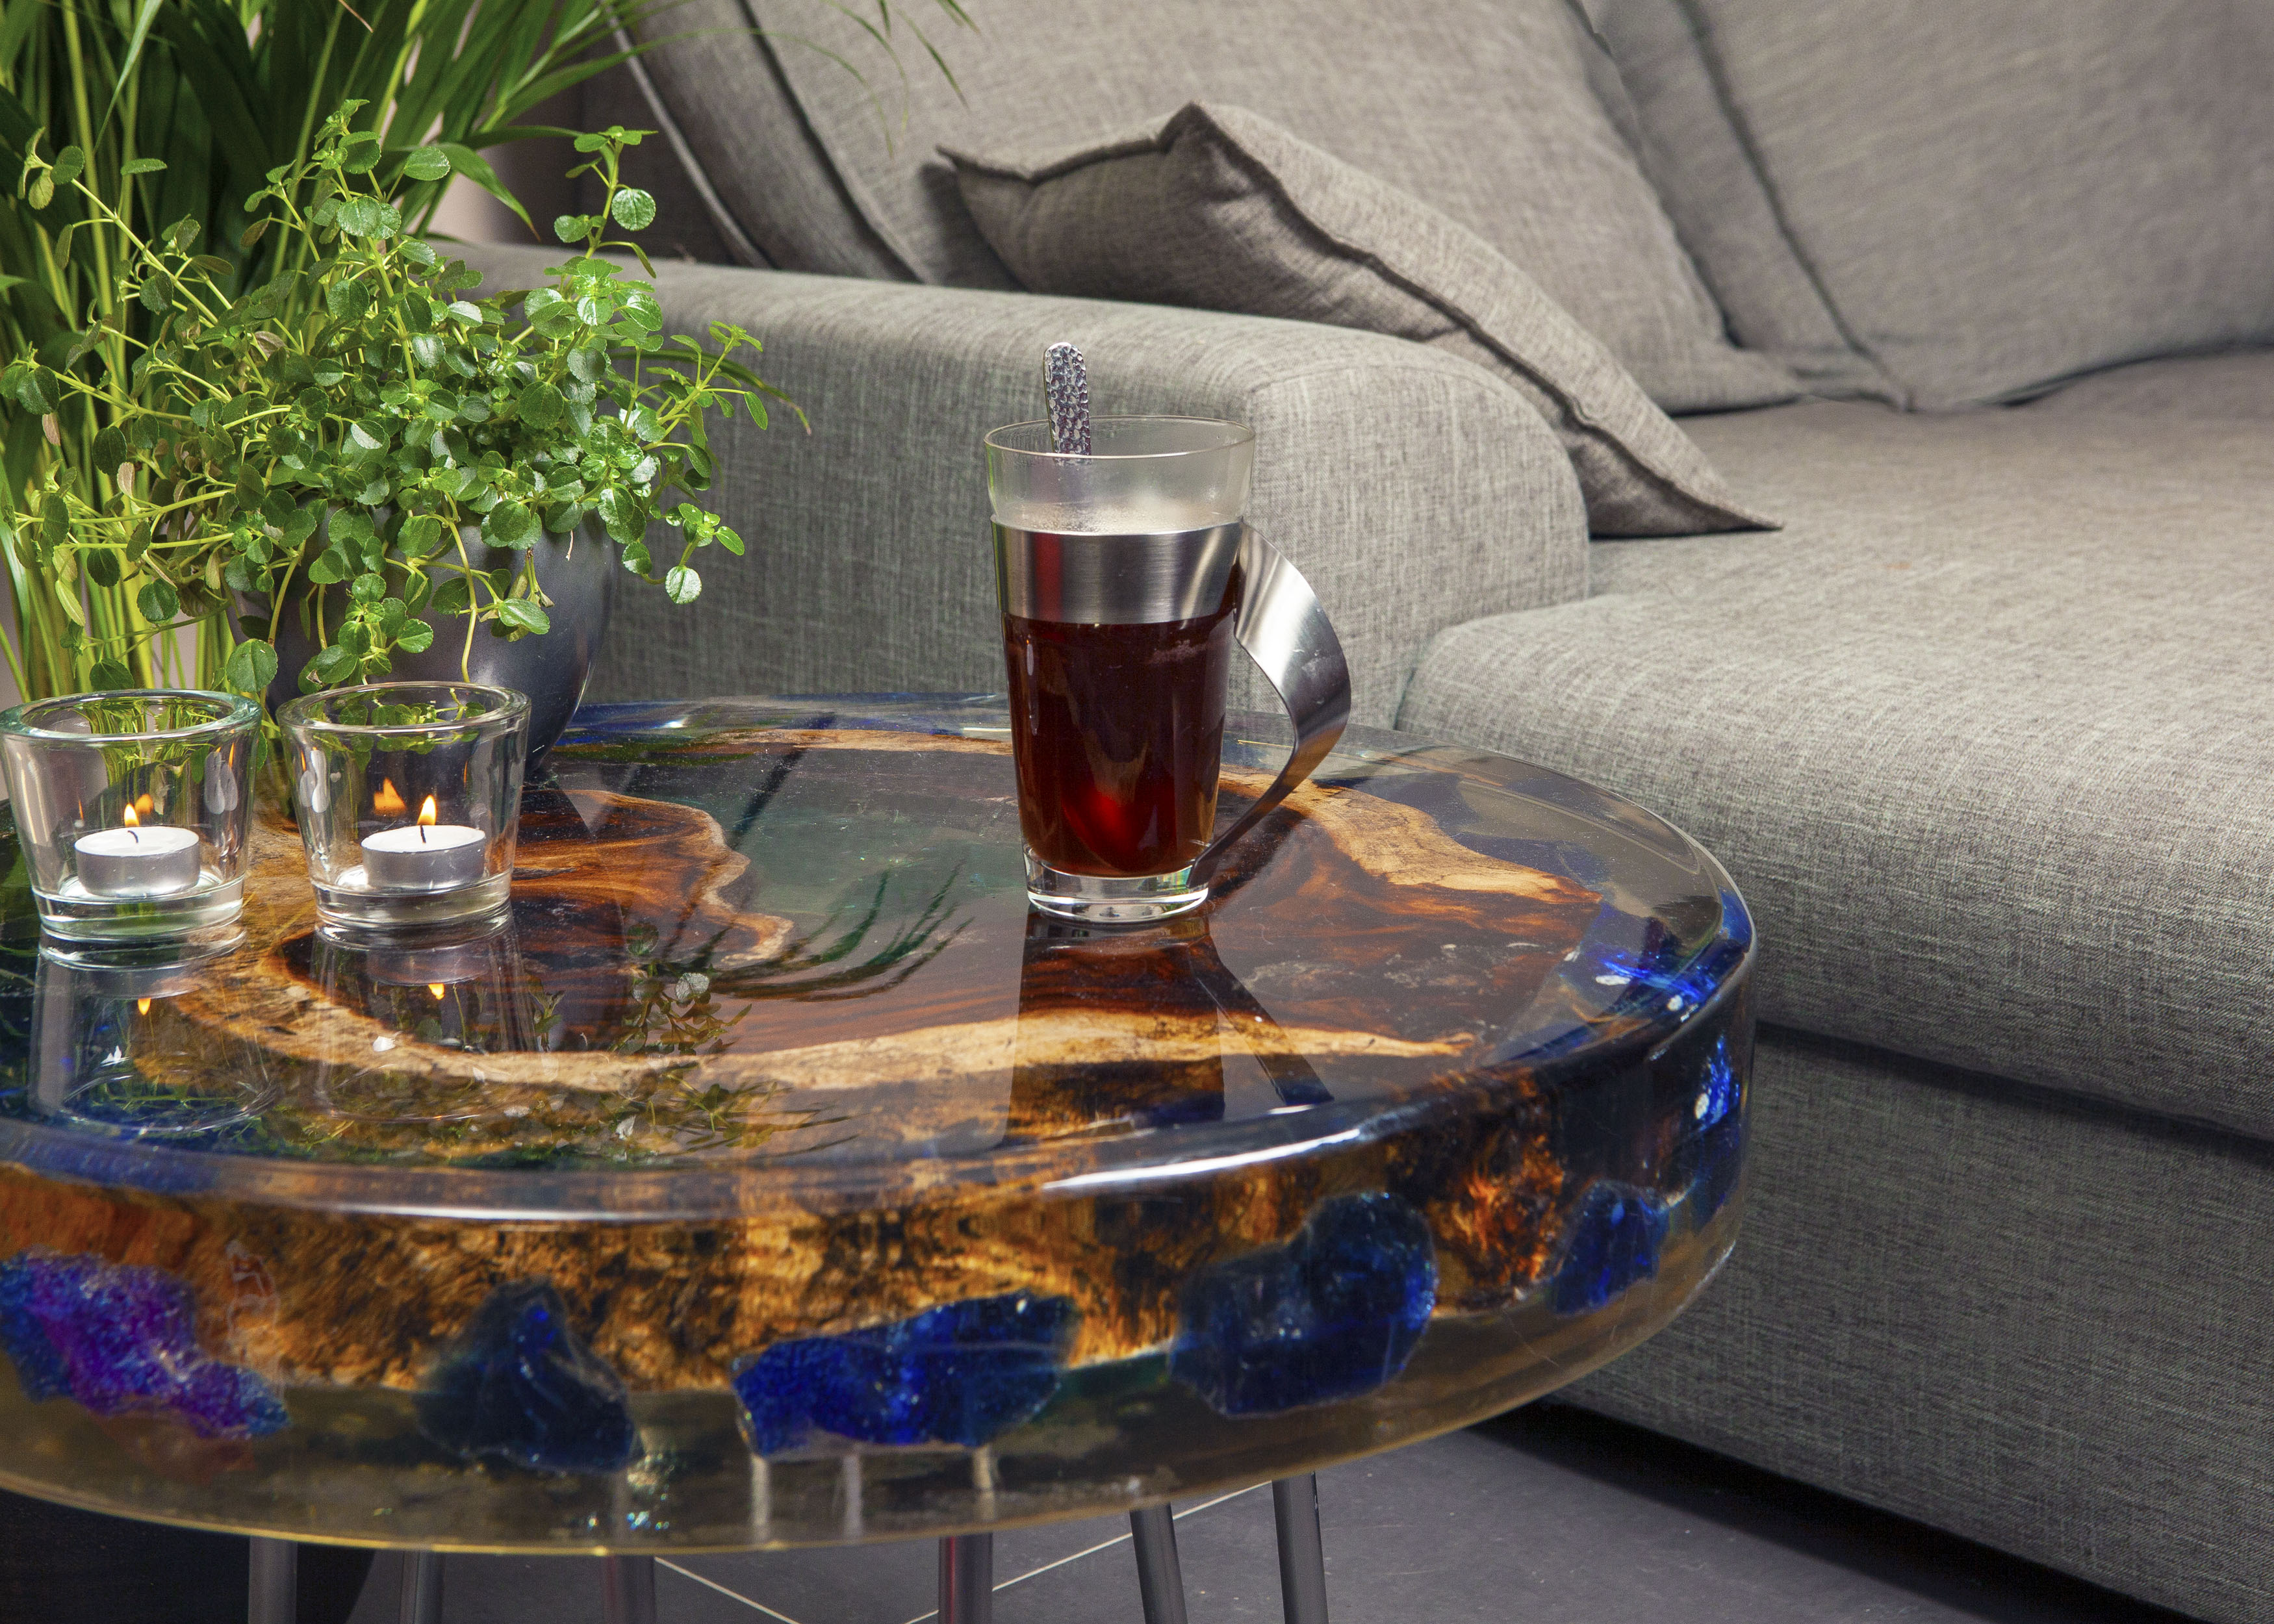
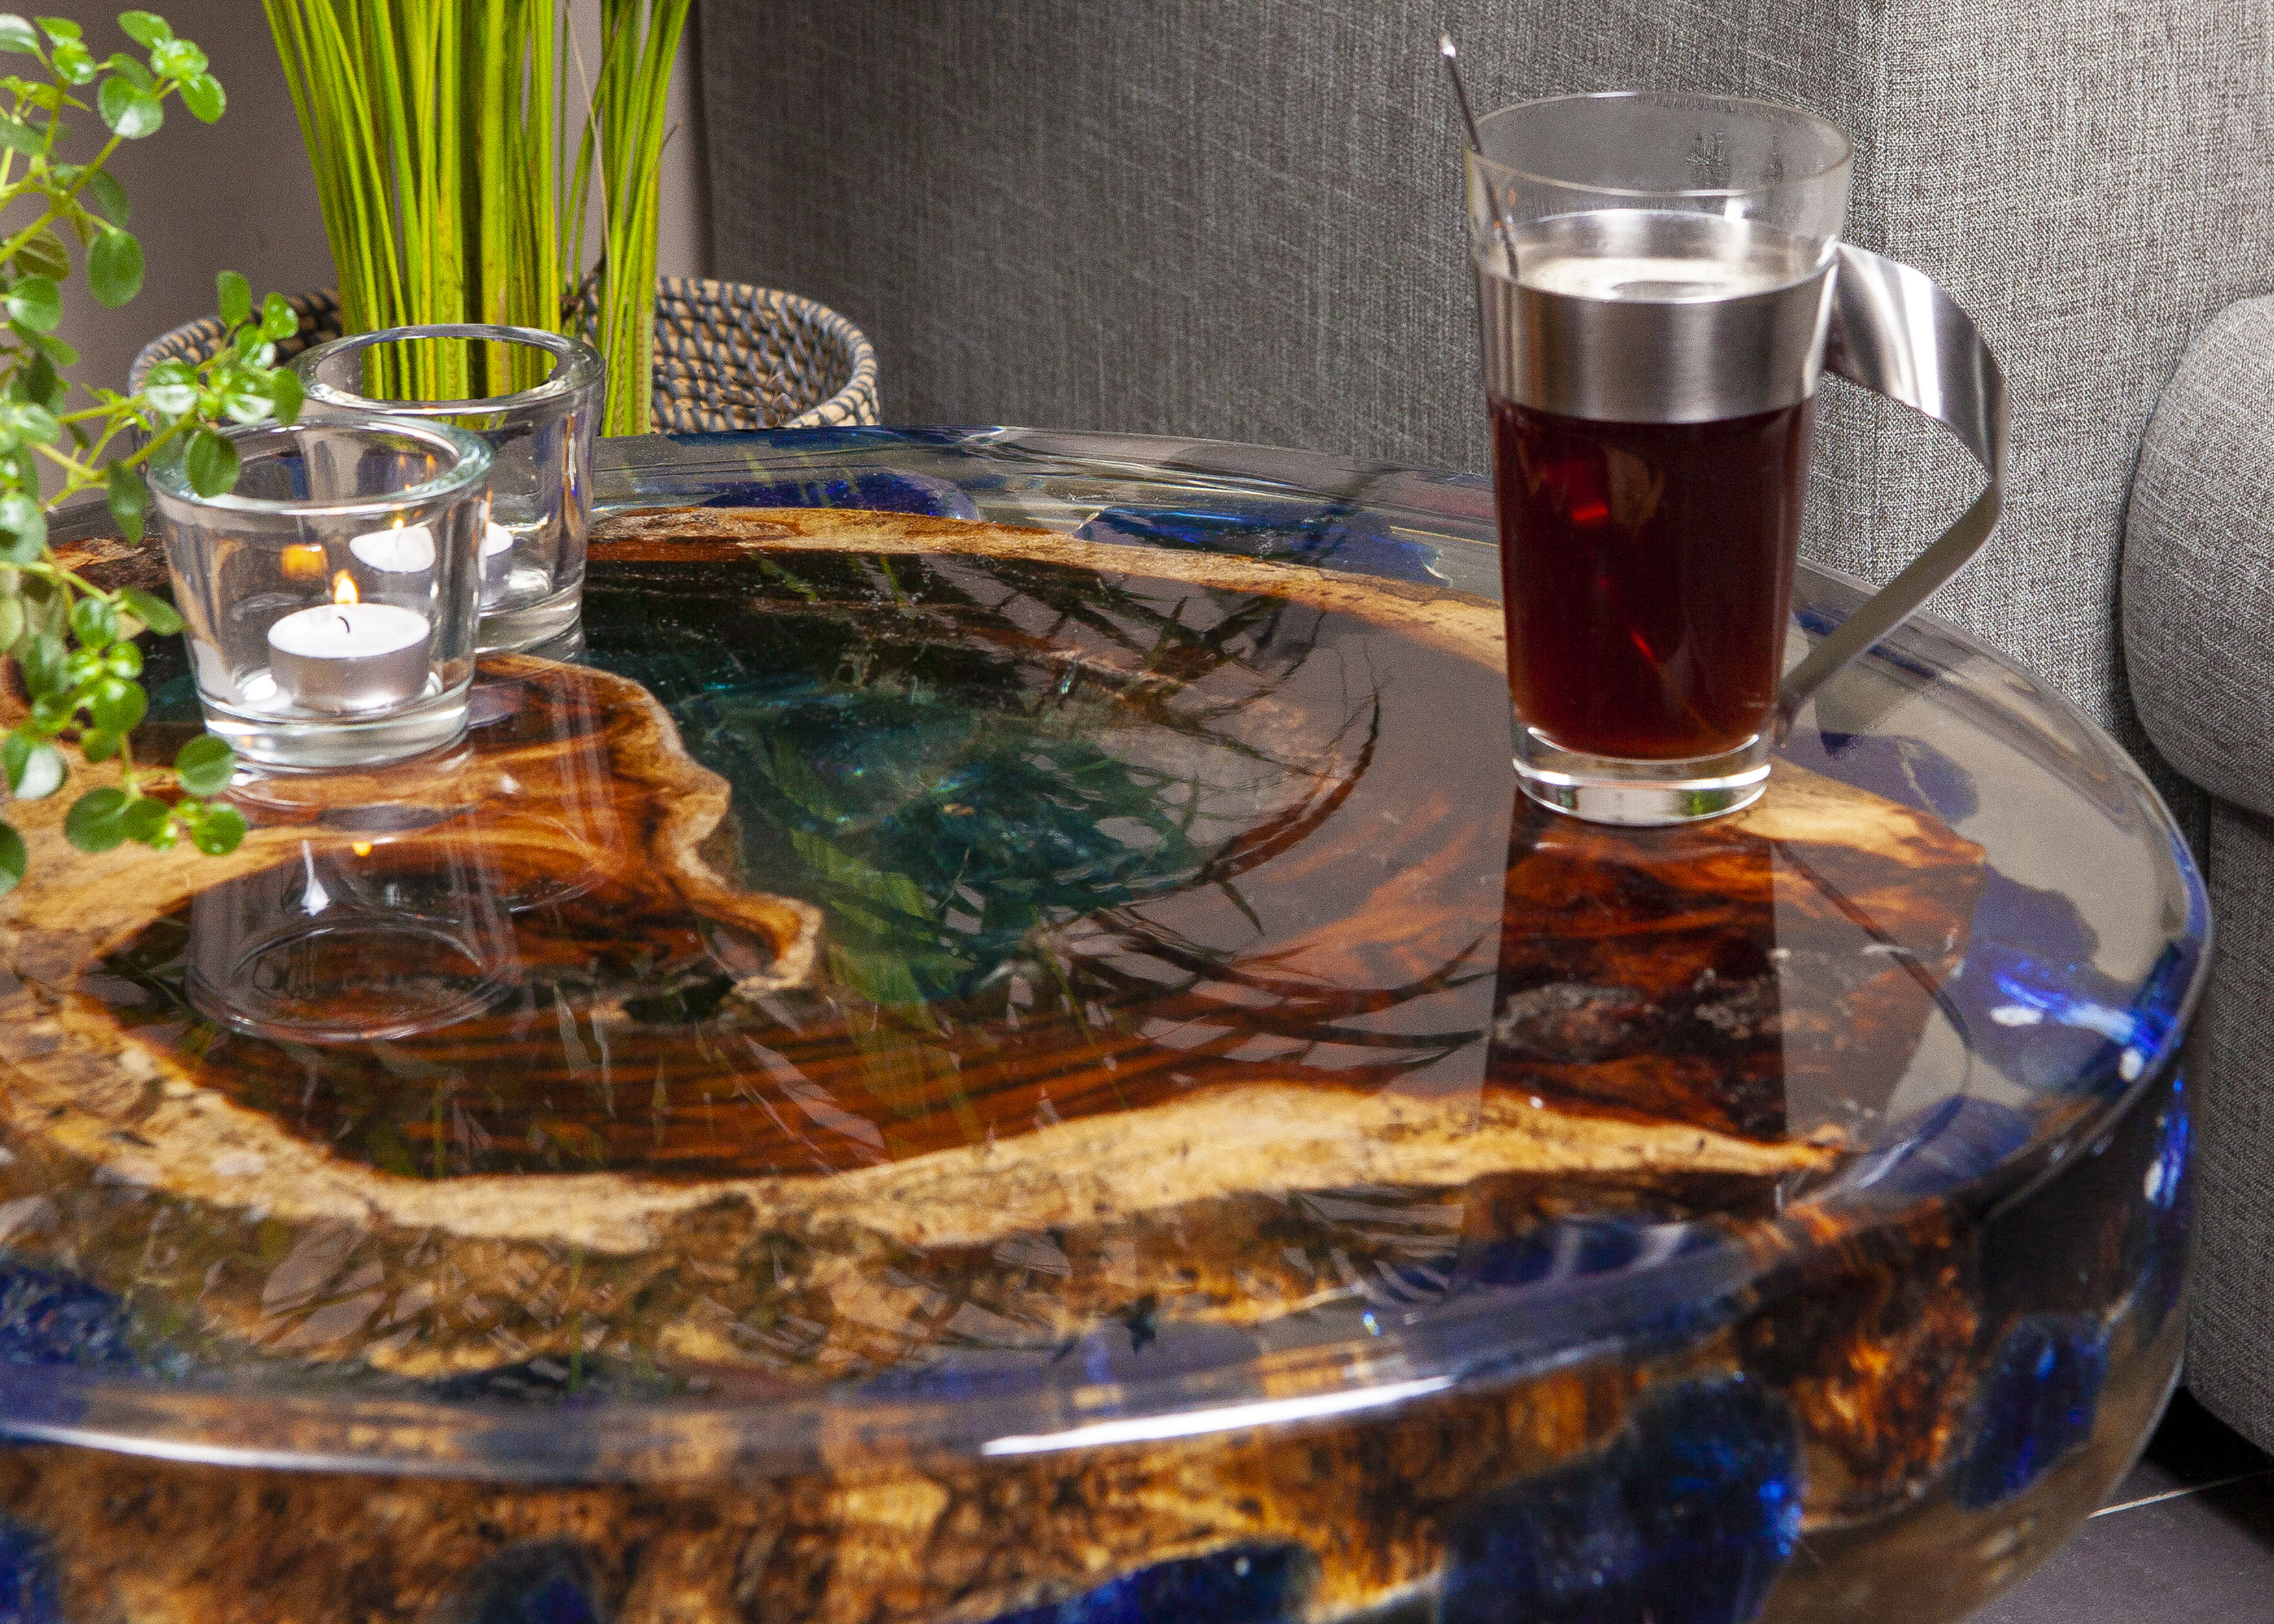
In this article, you will learn step-by-step how to create a unique epoxy coffee table with a floating piece of wood. Build a real eye-catcher for your home or office space using epoxy from Polyestershoppen! Below you will find a list of requirements, a helpful instructional video, and a complete guide to help you build this stunning epoxy coffee table.
Making an epoxy coffee table is easy by following this step-by-step plan:
- Step 1. Creating a suitable mold.
- Step 2. Preparing the mold for clean release.
- Step 3. Pouring the base layer.
- Step 4. Priming the wood.
- Step 5. Encapsulating the wood.
- Step 6. Pouring the second layer.
- Step 7. Demolding and mounting the legs.
- Step 8. Finishing with UltraCast XT.
Raw Materials
- RESION UV Casting Resin (approx. 5 kg)
- RESION Epoxy Casting Resin for Large Pours (approx. 15-20 kg)
- UltraCast XT Epoxy (1.5 kg)
- PVA (release agent)
Materials
- Mixing cups (1300 / 2250 ml)
- Mixing spatulas
- Flat disposable brushes (40 mm)
- Acetone
Tools
- Weighing scale
- Vacuum pump with dome (optional)
- Gas torch with gas cartridge
Personal Protection
Step 1. Creating a suitable mold
For the round epoxy coffee table, we cut a piece of wood to size and screwed a plastic sheet around it. This creates a custom box with a wooden bottom and plastic sidewalls. Next, pour a thin layer of 2 to 3 mm epoxy casting resin over the entire surface.
Step 2. Preparing the mold for clean release
To ensure that the table releases smoothly from the base and nylon wall later, coat it with PVA using a flat brush. Allow the PVA to evaporate completely before pouring the resin. This usually takes a few hours.
Step 3. Pouring the base layer
First, we pour the base layer, which will become the underside of the table. For this epoxy coffee table, we poured a base of approximately 2 cm. This can be done using RESION UV Epoxy Casting Resin or epoxy casting resin for large pours. The advantage of RESION casting resin is that it is ready for the next layer after 12–24 hours. Make sure the resin temperature does not rise too high by keeping the ambient temperature around 18 to 20 degrees Celsius.
For the best results, degas the epoxy in a vacuum chamber after mixing to ensure it is completely bubble-free. Without a vacuum chamber, degassing the epoxy with a gas torch immediately after pouring is highly recommended.
Step 4. Priming the wood
To ensure the piece of wood looks pristine once encapsulated, it must be primed first. This prevents air inside the wood from escaping during the pouring phase. Make sure the wood is completely dry. To prime the wood, apply multiple coats of epoxy casting resin using a brush. Mix about 300 grams of epoxy casting resin each time and coat the wood generously. Pop bubbles using a torch.
Air may still escape from the wood, causing the epoxy surface to look imperfect the next day. If so, sand the epoxy with 60 or 80 grit sandpaper to open up all air bubbles, then brush another coat of epoxy onto the wood. Repeat this process until all areas are completely sealed in epoxy.
Step 5. Encapsulating the wood
Place the wood into the mold. Now pour the first layer of epoxy casting resin for large pours. Mix approximately 3 to 5 kg of epoxy in total. You can do this in a single batch or in multiple steps.
If possible, degas all epoxy using a vacuum chamber. After pouring, use the gas torch to pop any visible air bubbles. You can continue checking and degassing for up to 2 hours after pouring.
In addition to the wood, you can also place crushed glass into the mold. This significantly reduces the required volume of epoxy and adds a beautiful decorative effect. Allow the epoxy to cure for at least 24 hours after this pour.
TIP: Spotted an air bubble the next day? Don't panic! Drill a small hole into the epoxy down to the bubble. When you pour the next layer, it will fill in and disappear completely.
Step 6. Pouring the second layer
Now we pour the main layer, filling it up above the top of the wood. Mix another batch of epoxy casting resin for large pours in one go or in multiple batches. Degas the epoxy with a vacuum dome if available.
Pour the epoxy into the mold until it covers the wood. Pop surface bubbles with the torch if necessary. This can be done as long as the epoxy remains liquid, typically 2 to 3 hours after mixing. Allow the entire assembly to cure for 48 hours.
Step 7. Demolding and mounting the legs
Now that the epoxy coffee table is fully cured, it can be demolded. Unscrew the nylon sheet and pull it free. Carefully pry a flathead screwdriver or chisel between the base and the epoxy to create space, tapping lightly with a rubber mallet if needed. Apply gentle pressure in multiple spots using mixing spatulas as wedges.
Once the table is released from the mold, the legs can be mounted. Screws hold securely in epoxy. Ideally, position screws so they thread directly into the wood where they remain hidden. Wrap the legs in protective foil or plastic wrap to prevent accidental epoxy drips later on.
With the table standing on its legs, sand down any surface imperfections along the edges and top using a coarse grit. We rounded off sharp edges using a router, but this can also be done using 80-grit sandpaper.
Step 8. Finishing with UltraCast XT
To protect the tabletop surface against hot coffee cups, pour UltraCast XT Epoxy Resin over the top. It is heat resistant up to approximately 70–75°C. Mix around 500 to 700 grams. Pour it over the center of the table, allowing it to flow naturally over the edges. Spread evenly using a flat brush and wipe away drips forming on the underside. Pop any bubbles using a gas torch.
Aftercare
Now it's time to enjoy your table! Allow the UltraCast layer to cure for at least 1 to 2 weeks before it reaches full hardness and heat resistance. If the surface loses its shine over time, follow our complete guide with video to polish it back to a high-gloss finish!