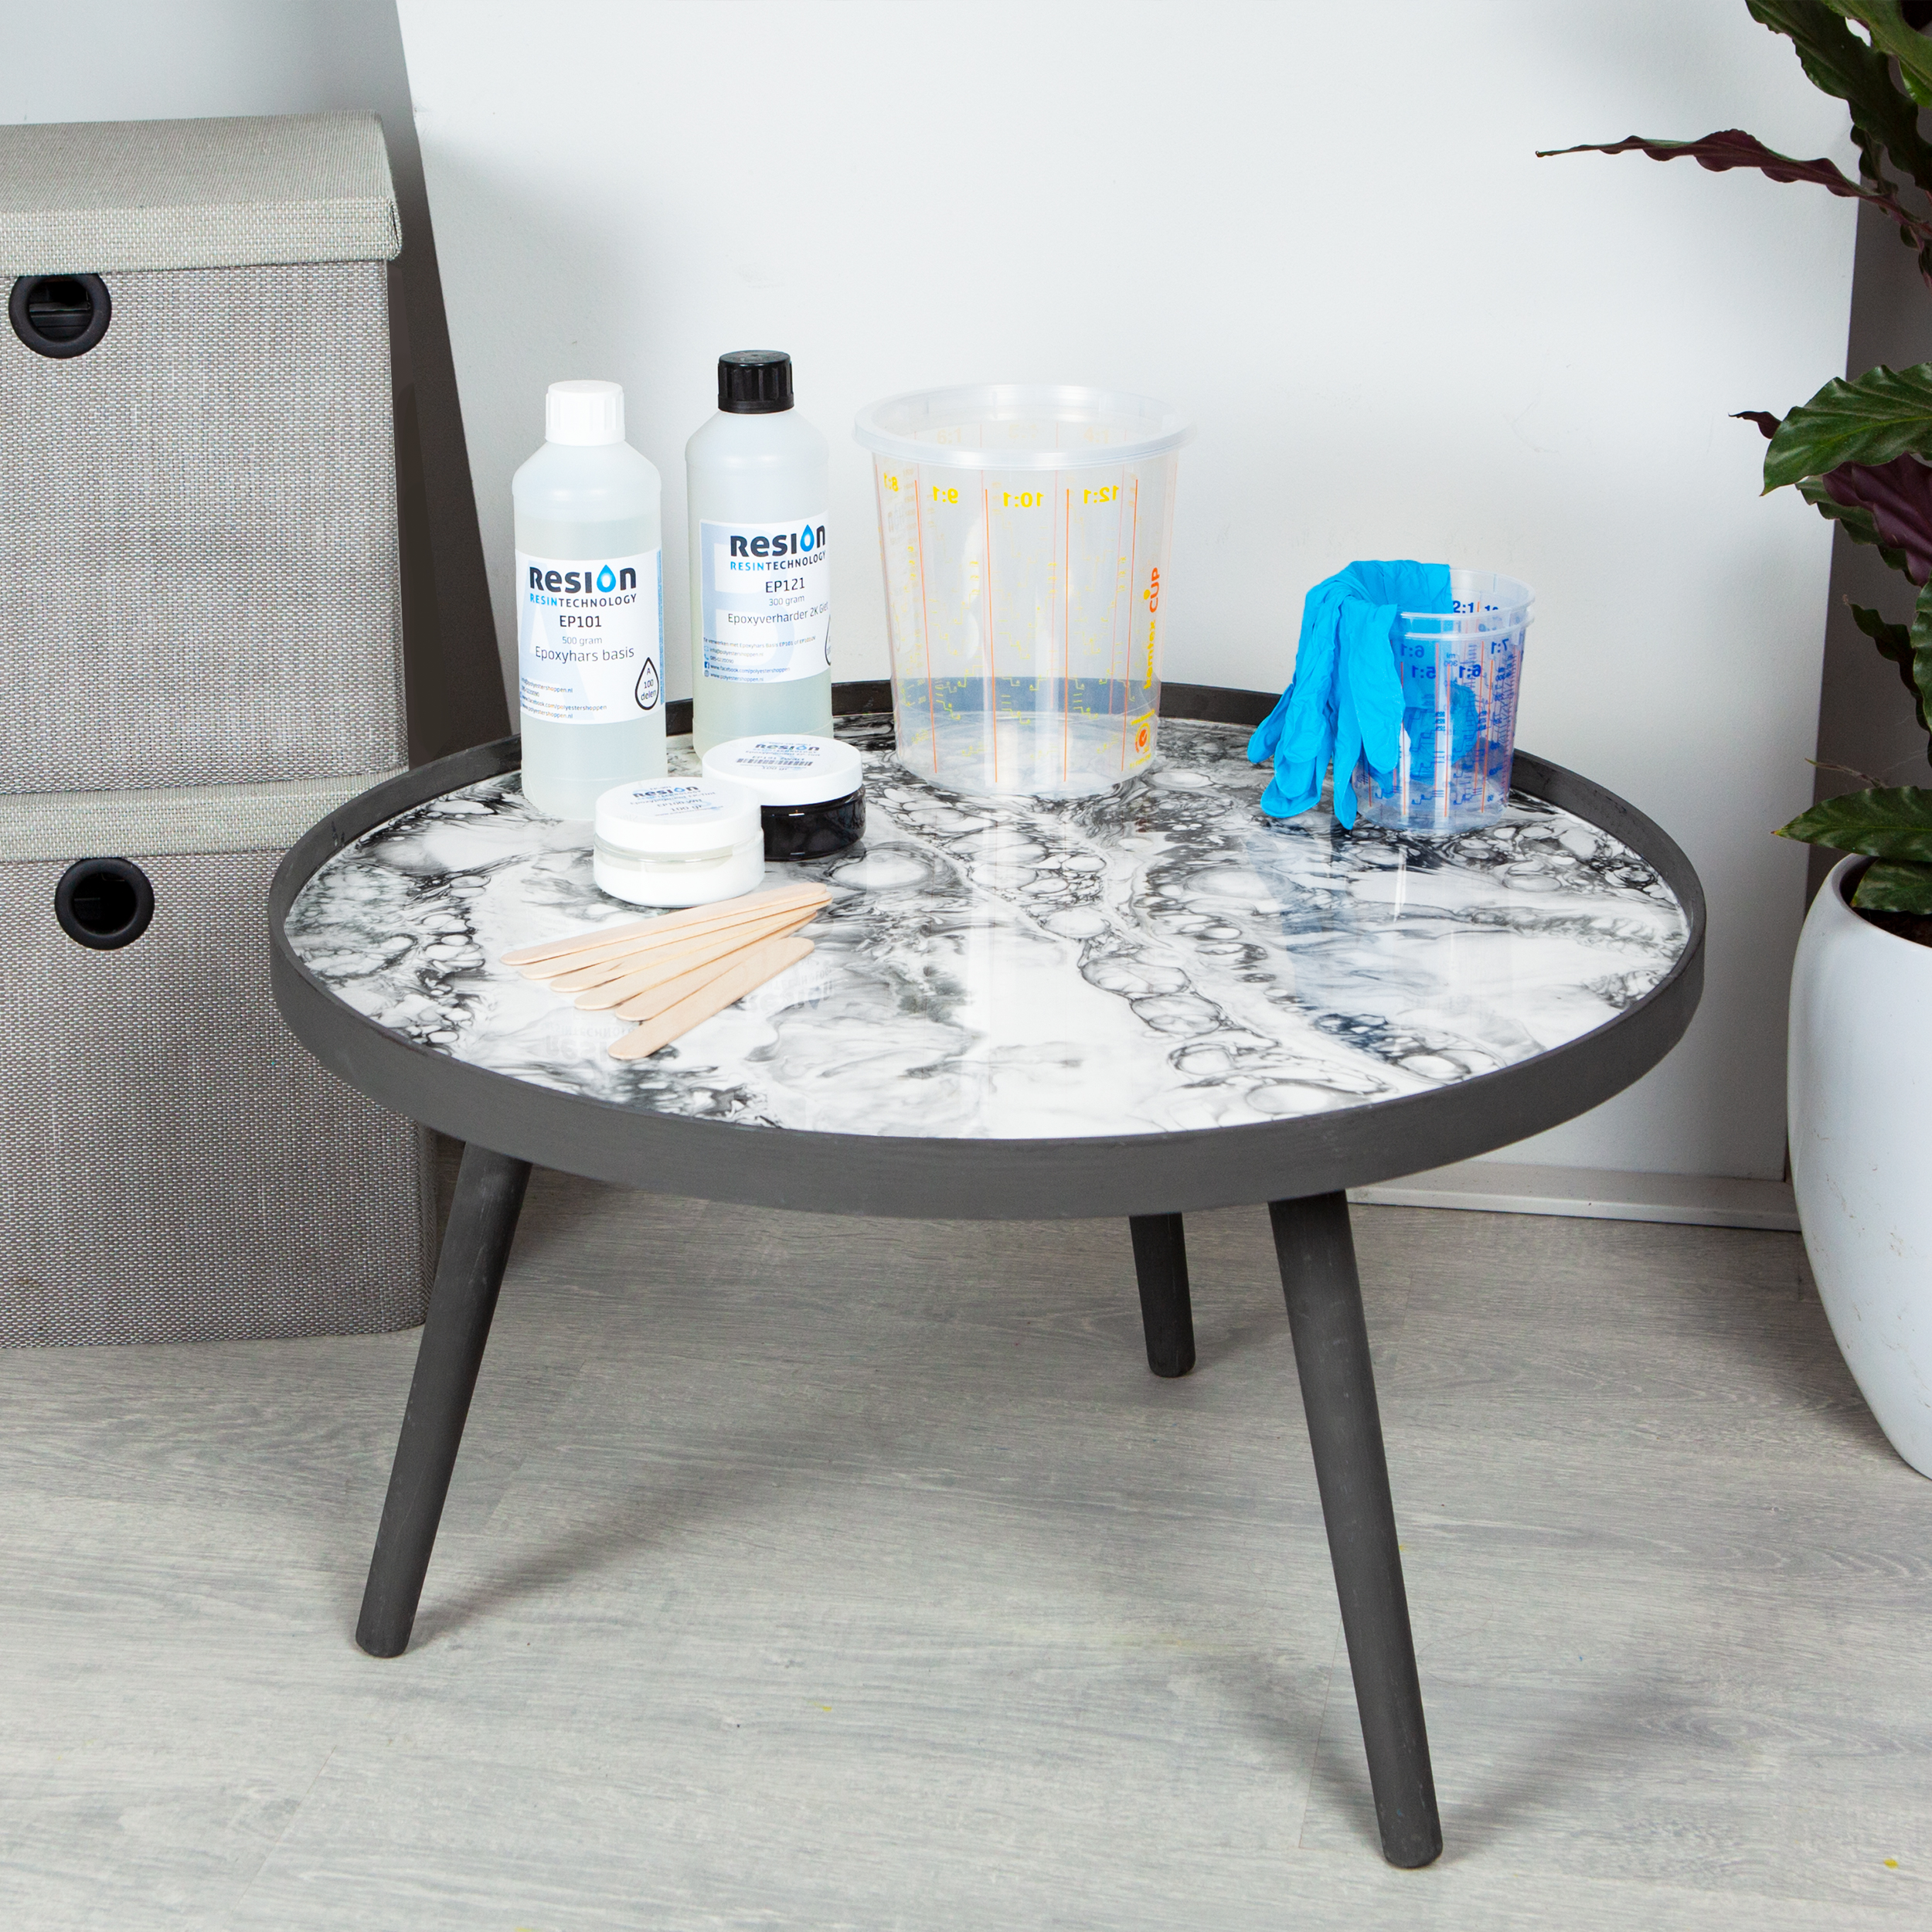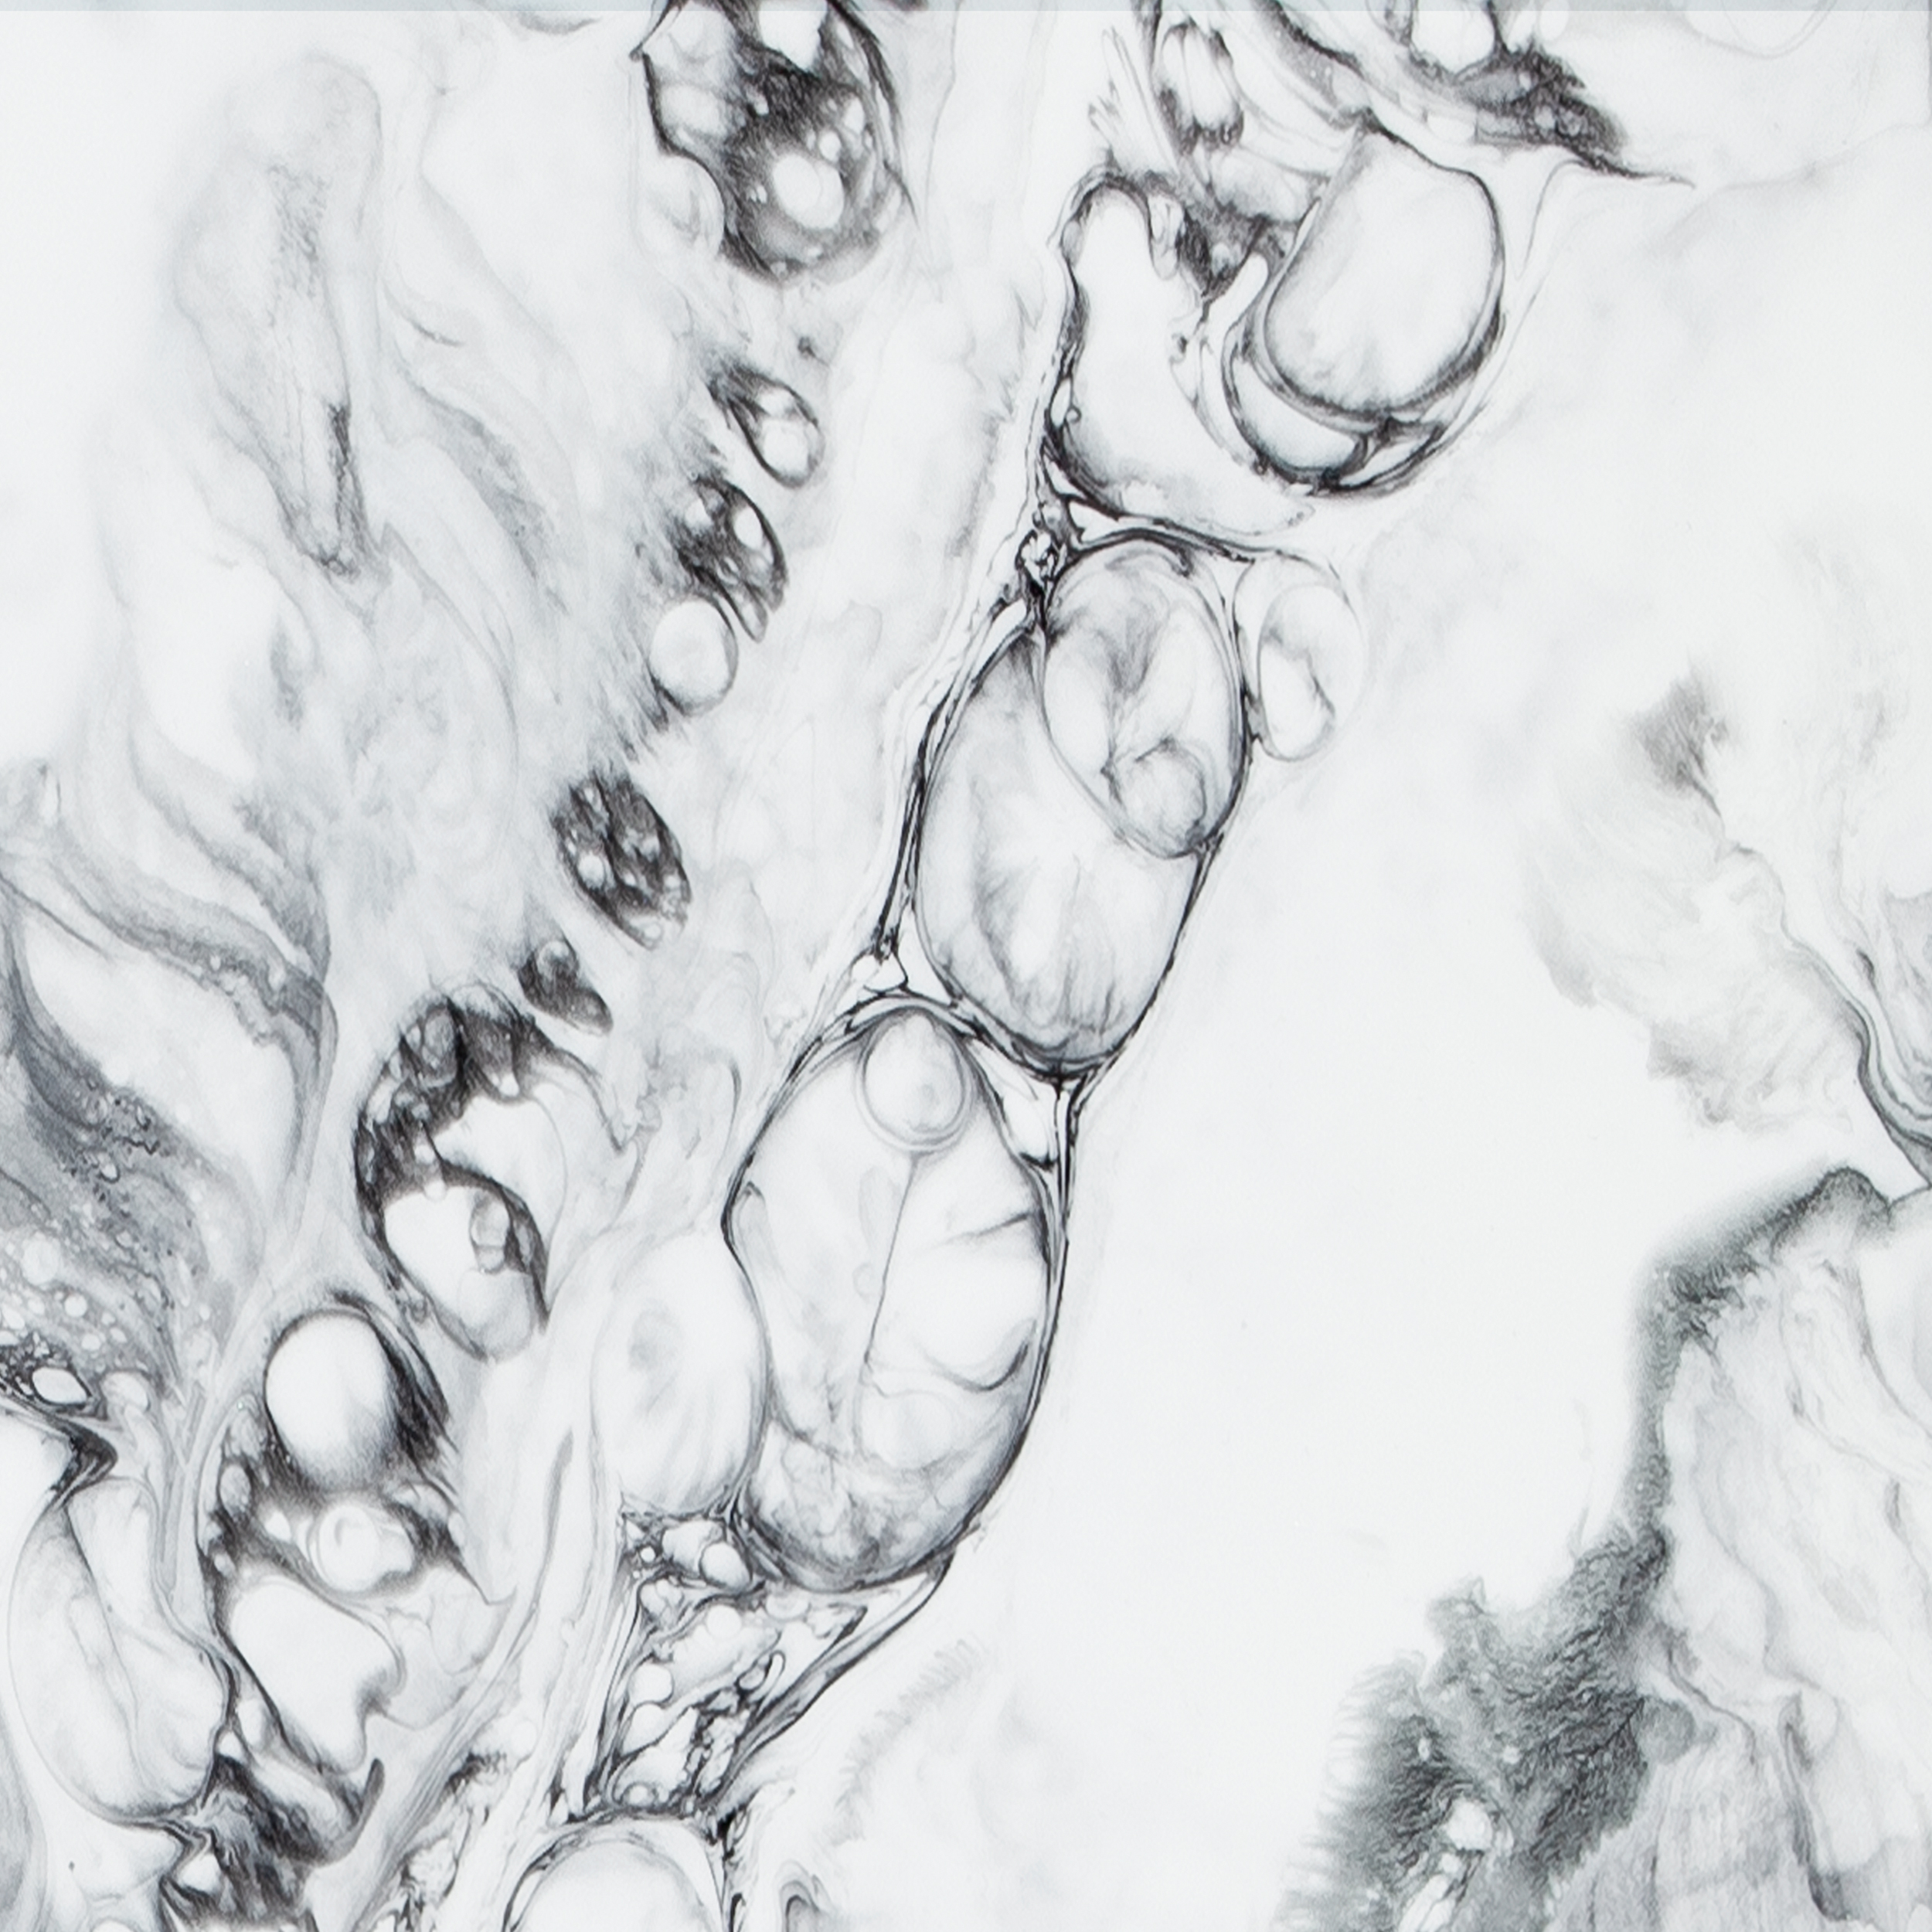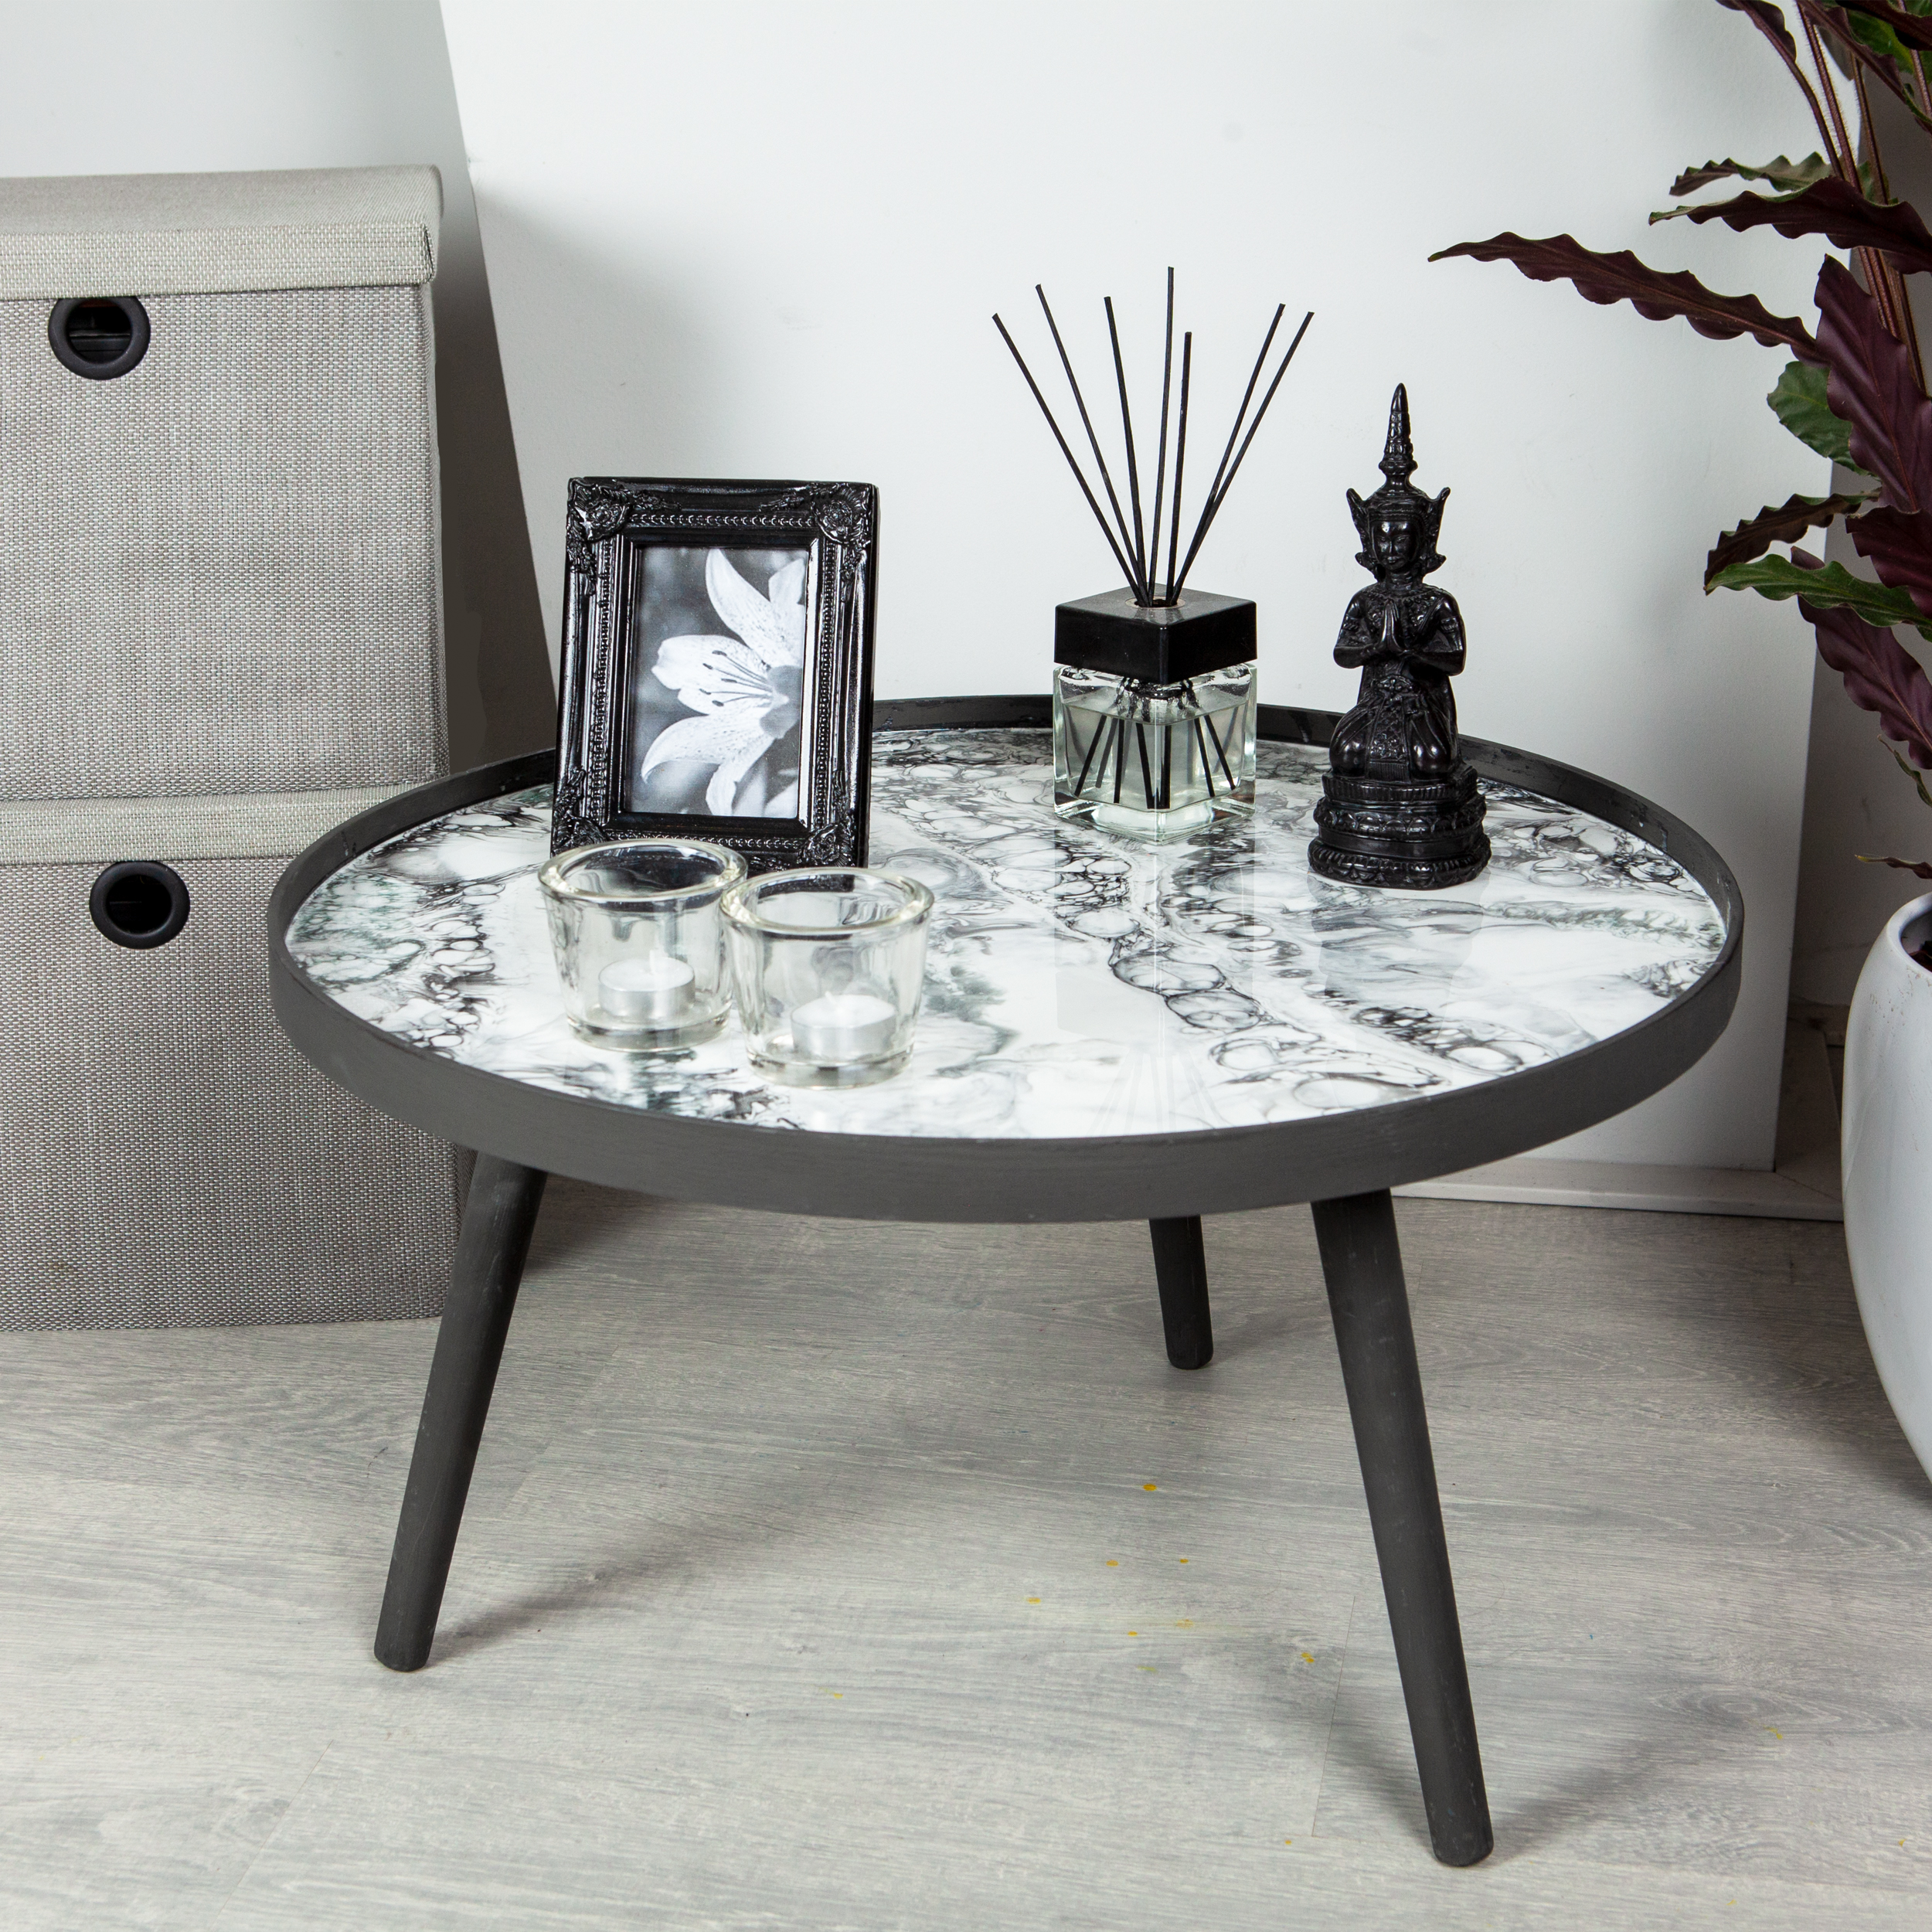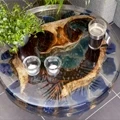
In this article, we'll show you how to make your own marble-effect table using epoxy. You can easily make it yourself from a side table, for example. In the video below, Creachick explains how to create this marble effect on a table.
- RESION UV Epoxy Resin (0.8 kg)
- 2 small mixing cups (400 ml)
- 1 large mixing cup (650 ml)
- Nitrile gloves
- Resi-Tint MAX white and black epoxy pigments
- Mixing spatulas
- Mini gas burner
- A skewer
- A table
Marble table step-by-step guide
Here's a step-by-step guide to creating your own marble effect.
Step 1. Find the right table
Make sure you have a nice table. If the edge is raised, it's easier, otherwise you can attach the best masking tape around the table to create a straight edge yourself.
Make sure the surface is dry and free from grease. Degreasing is best done with acetone or water and ammonia. Epoxy bonds particularly well to wood, metal and concrete.
Step 2. Mix the epoxy and the pigments
If you've found the right table, it's time to mix the epoxy. To do this, you pour the appropriate amount from both bottles into a mixing cup. The ratio of epoxy resin is 10 parts by weight of A to 6 parts by weight of B.
Divide this over a small and a large mixing cupe. Put most of the epoxy in the large bowl as this will become your base. The small bowl is for the black details for the marble effect. Mix this gently but well. Also scrape well along the sides and bottom of the mixing cup.
Step 3. Casting the marble table
And voila, the table can be cast! Start with the white base for this. Pour this onto the table and make sure it is well covered everywhere. If necessary, move the table top slightly so that the epoxy is evenly distributed across the table.
If you have a nice white surface, it's time to add the details. This makes the difference between a plain white top and a marble one. By dipping a skewer into the black epoxy and running it through the white epoxy you create the effect. Draw a fluctuating line.
TIP: if the base coat is still very fluid, the black line will end in white. Wait a little longer (20-30 minutes) before applying the black bands, the contrast of these bands will be sharper. You will then obtain the best result for a marble effect table.
Step 4. Finishing the marble table
How exciting, the table is almost finished! We will now heat the casting resin with a burner. This ensures that all air bubbles come out of your epoxy. Do not stay in one place with the burner for too long, otherwise it may turn yellow. Also be careful with wood or tape.
Allow the table to dry for 24 hours, after which the epoxy is hard. If you used duct tape, you can take it now. The edge may be a little rough, it can easily be sanded with 80 grit. This gives a nice matte effect along the edge.
Now you have your own epoxy marble table! Do you already know where you want to put it? We hope everything worked out. If you have any questions, you can contact us via chat, Whatsapp, Facebook, email or telephone.