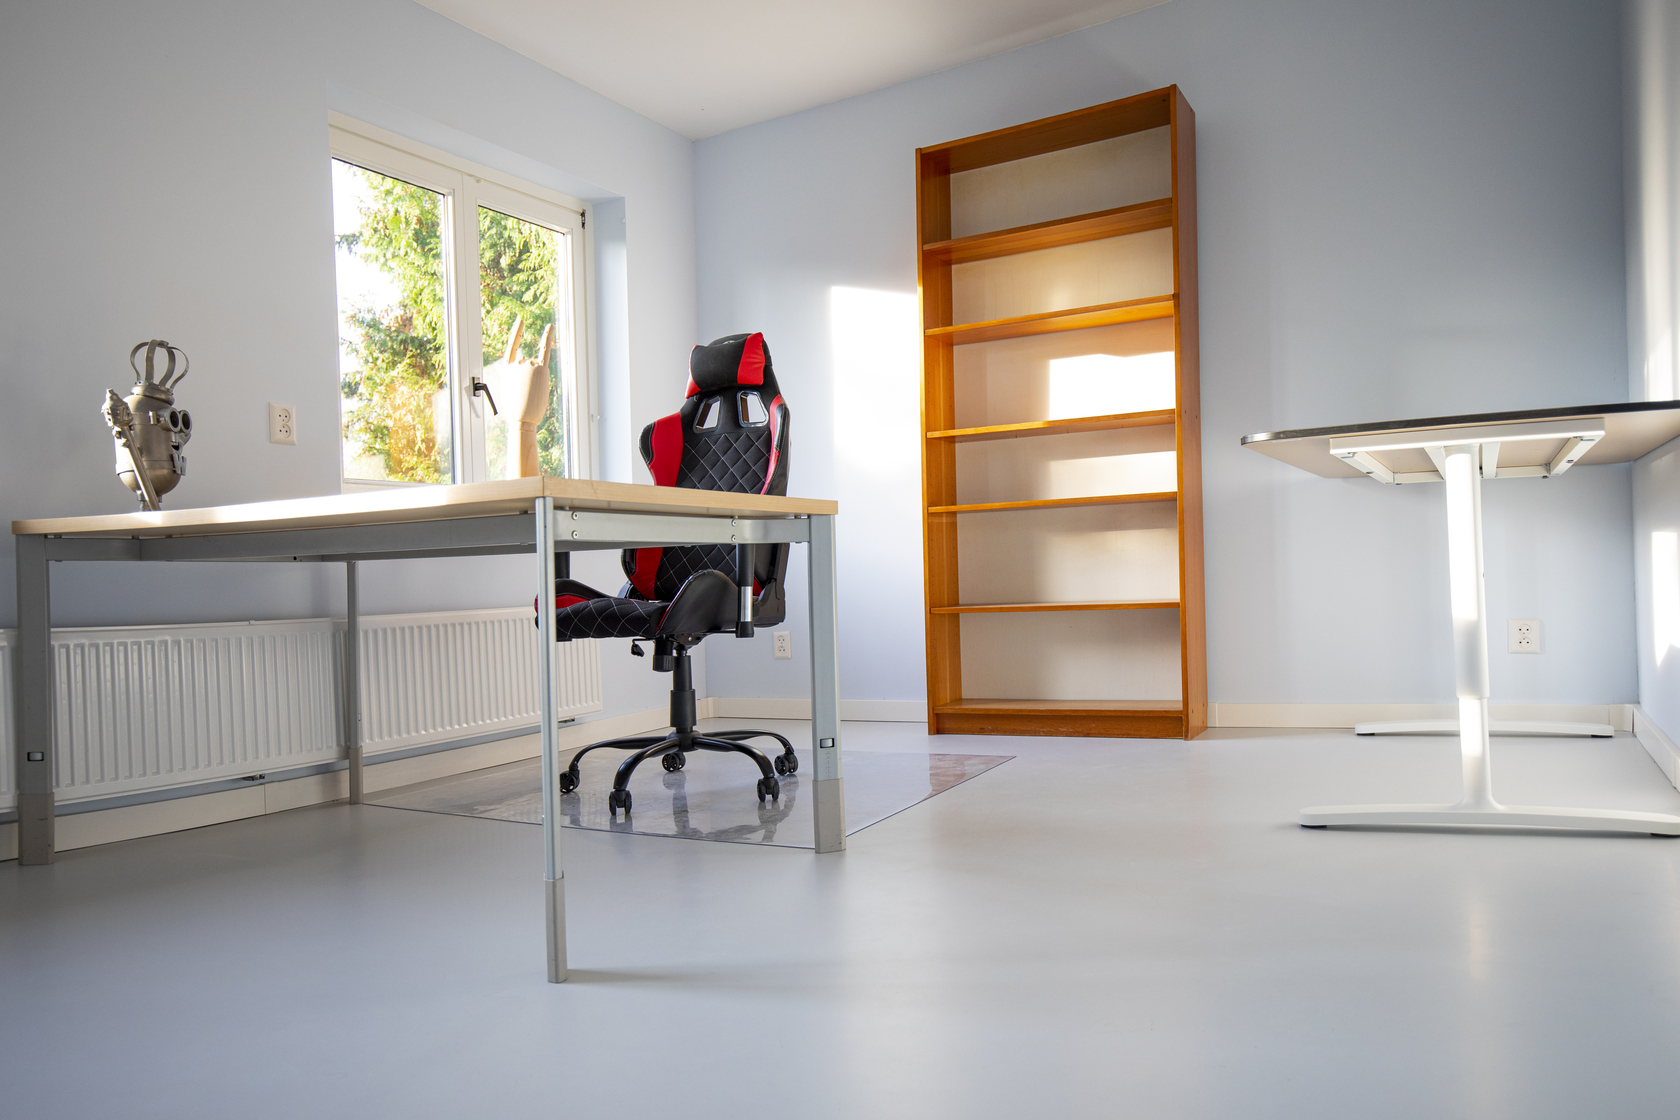
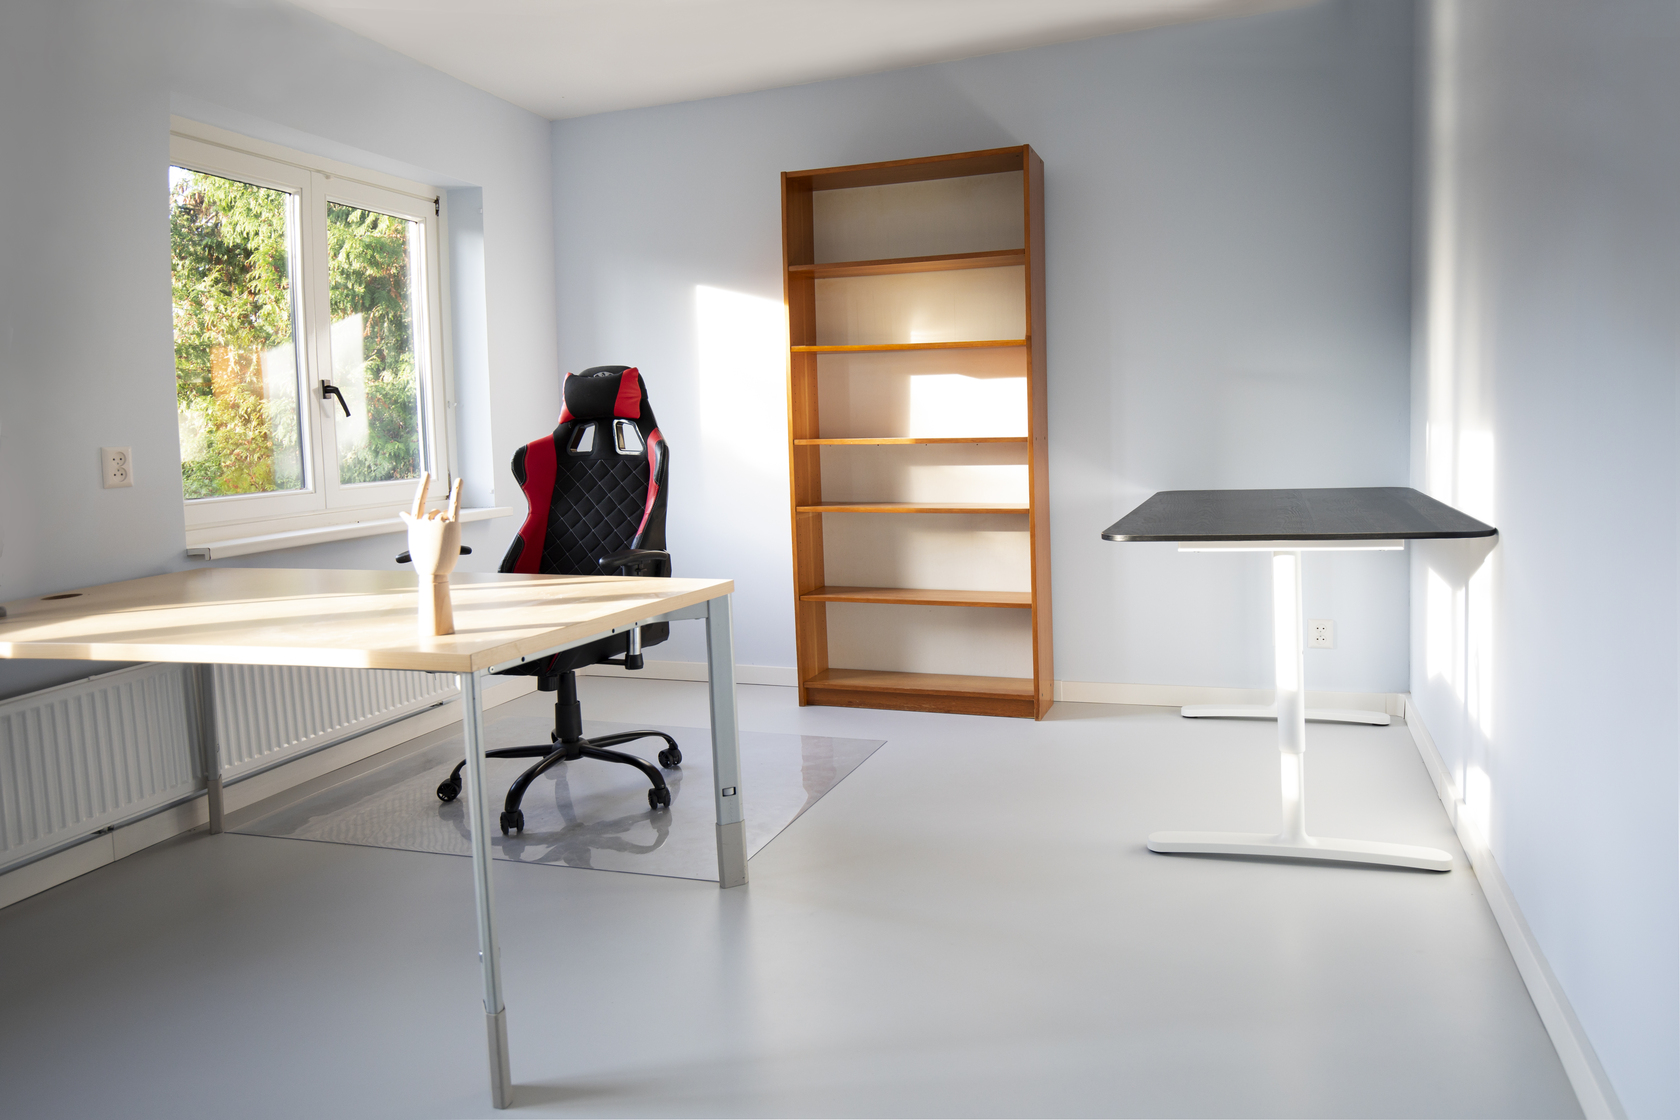
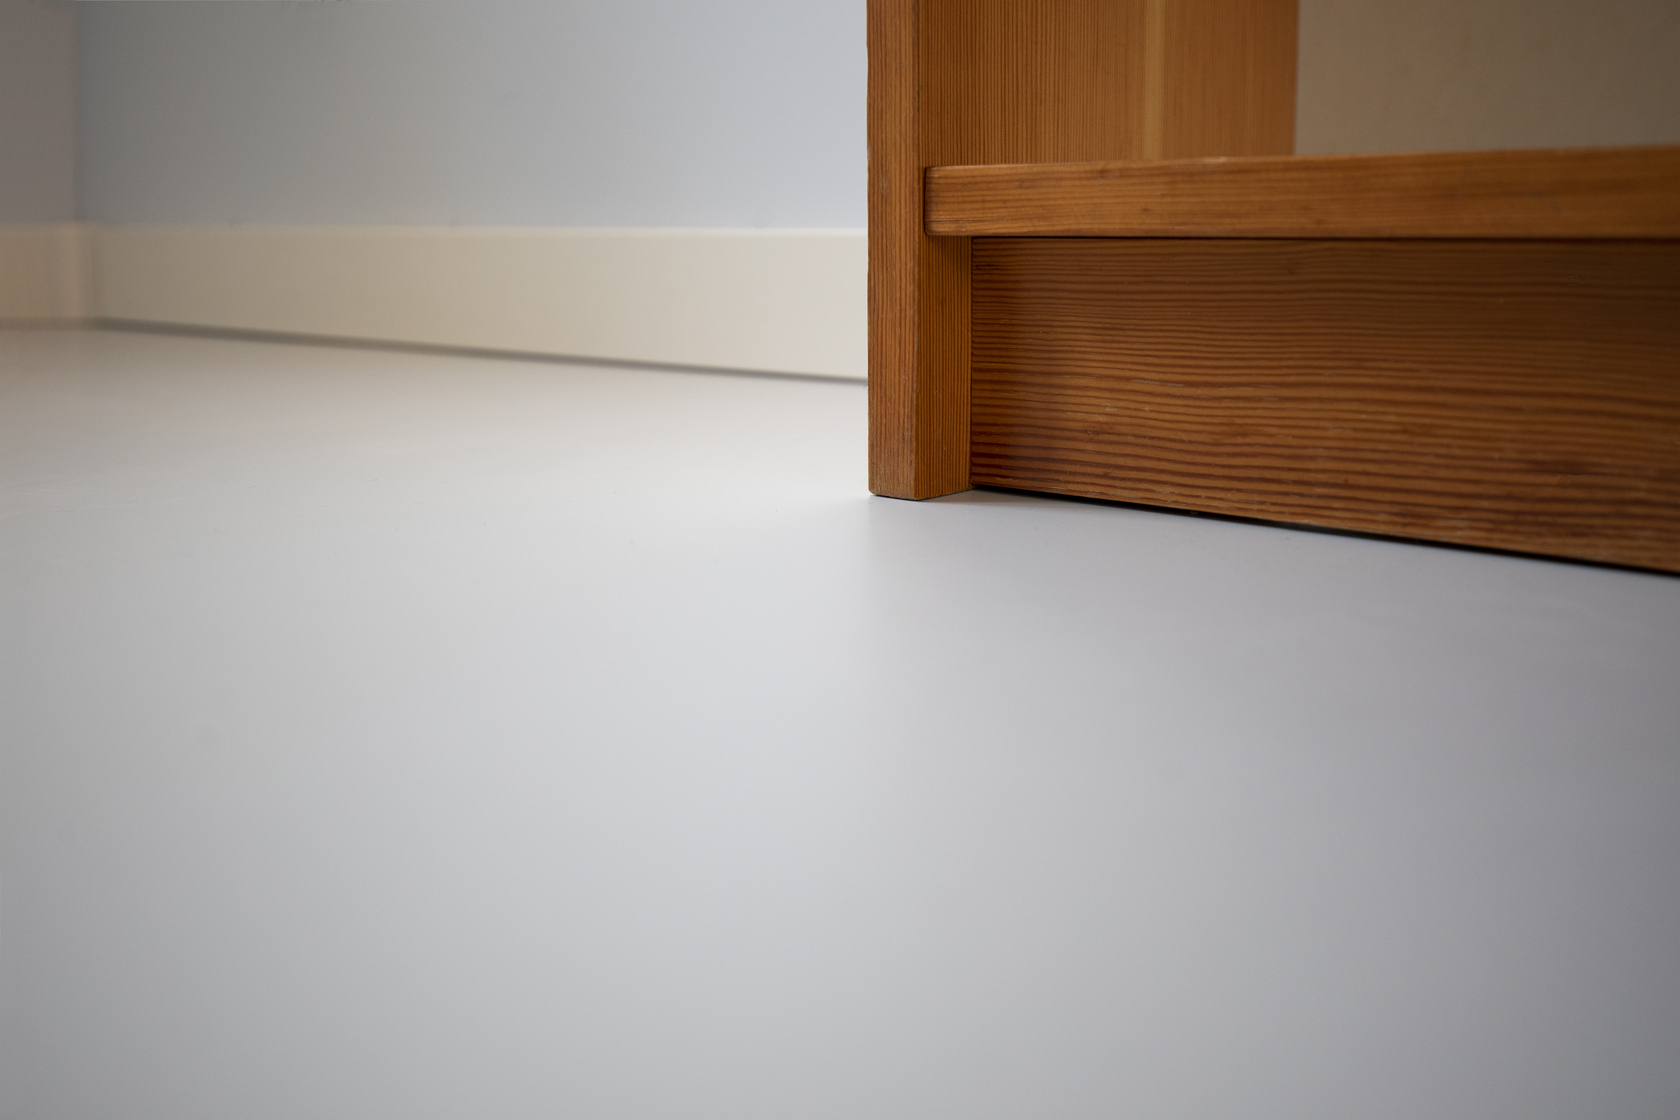
Do you have a new home or office and want to provide it with a PU cast floor but don't know how to go about it? Especially for you, we have explained in this article how we laid a PU self-levelling screed ourselves.
In this manual, you will find the method and materials needed to correctly install a PU self-levelling screed. We take you step by step, from preparation to finishing. In addition to this article, we have made an extensive instructional video explaining how we laid a polyurethane self-levelling screed ourselves. Should you have any questions or doubts in between, please do not hesitate to contact our specialists!
Before you start preparing the substrate and laying a PU cast floor, we recommend first determining the area of the room and thickness of the floor. PU screed is poured on average 3 milimetres thick, which gives a consumption of around 3kg/m2.
At Polyestershoppen, order all the supplies you need to lay your own cast floor. We deliver all raw and auxiliary materials quickly from stock so you can get started with your polyurethane floor!
We will gladly help you find the right materials for your floor. Request a non-binding step-by-step plan here.
Supplies:
Proper preparation is very important. What exactly you need to do depends on the state of the floor. For the primer, it is important that the surface is coarse-textured. In our video, we therefore first sanded the floor with P24 grit using a sander. We offer a floor machine for rent to make sure your floor is a success!
When pouring a PU floor, it is important that the surface is as flat as possible. This will make a huge difference when applying the scraper layer at a later stage. If necessary, remove tiles and try to remove as much glue residue as possible.
Because PU screed shrinks a little during curing, it is important that all cracks have been sealed and all obstacles removed. In the next step, we explain how to seal holes and cracks.
Next, make sure you dust the floor and then clean it with ammonia diluted with water.
Laying a PU cast floor over a floor with underfloor heating is no problem as long as it is a low-temperature underfloor heating. The advice is to set it no higher than 40 degrees.
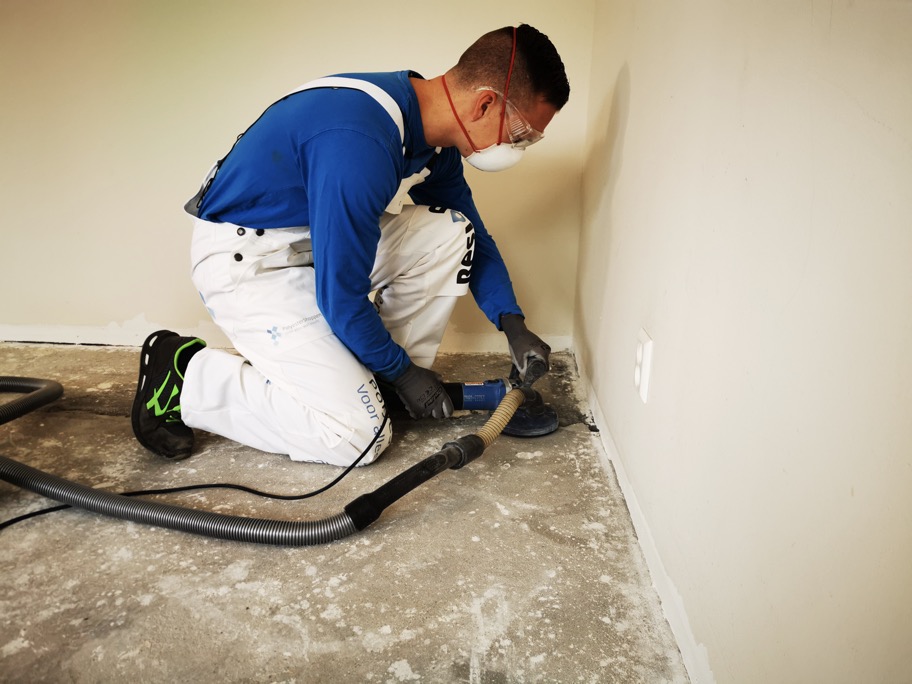
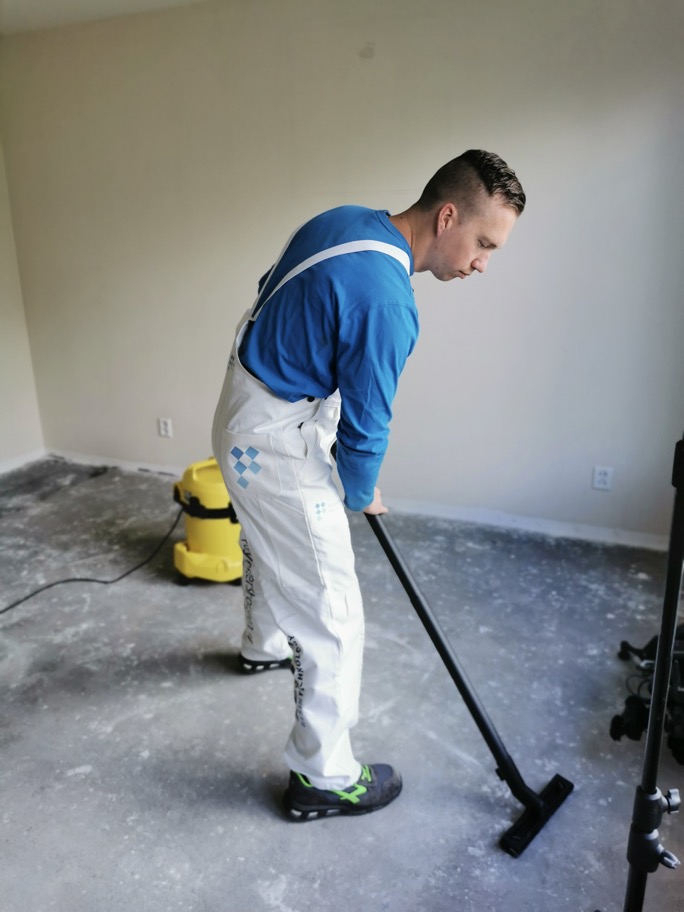
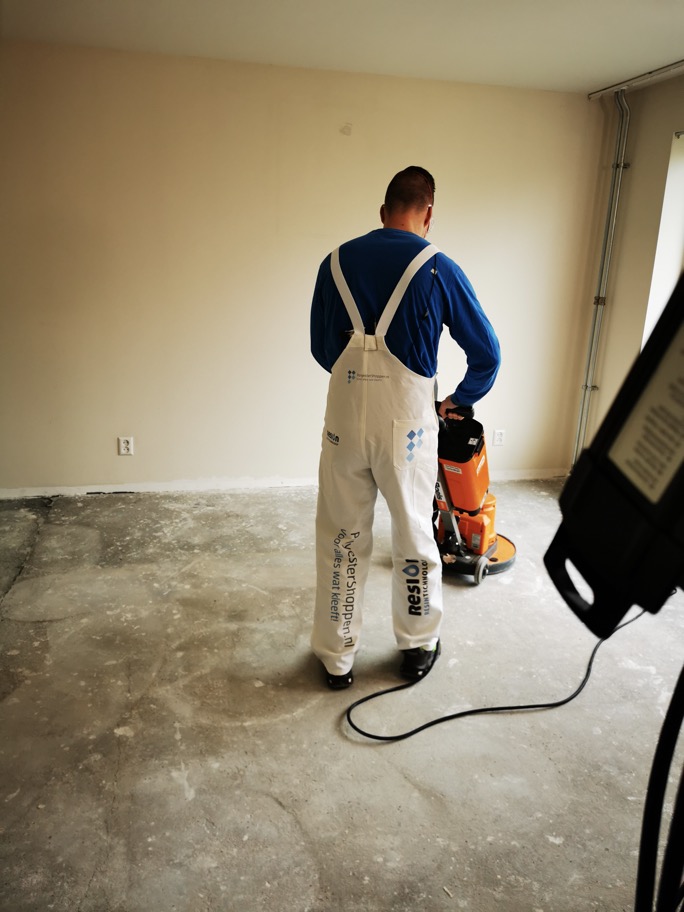
Supplies:
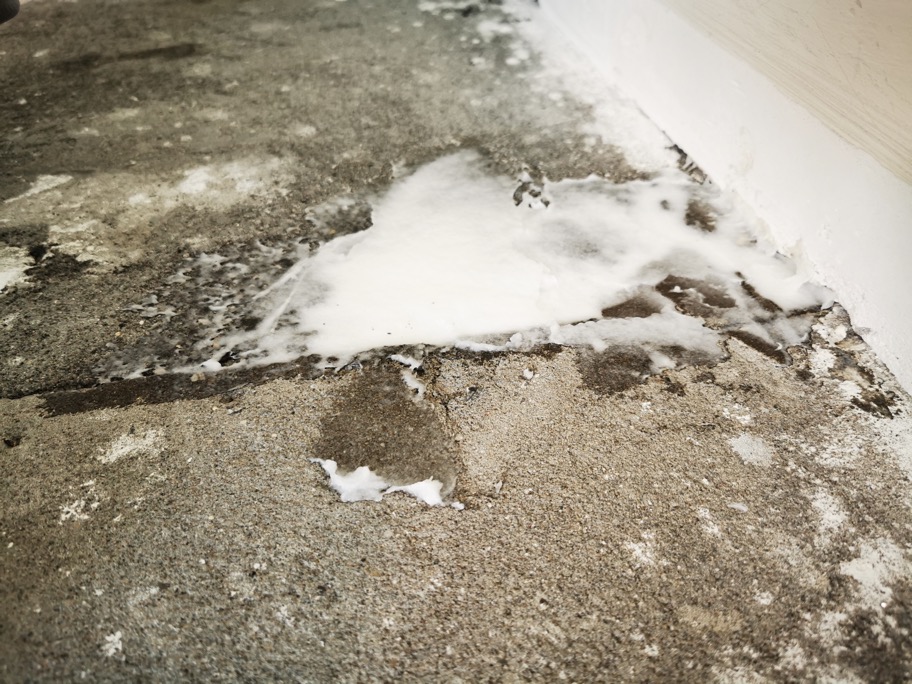
To seal small holes and cracks, we recommend using universal epoxy in combination with Stewathix. Stewathix is a filler for epoxy that allows you to create a strong and abrasion-resistant paste.
Prepare the universal epoxy by carefully weighing both components according to the mixing ratio on the packaging. Then mix both components for about 3 minutes, including the sides and bottom of the mixing cup.
After making, add the Stewathix to the mixture. Mix this until it forms a usable paste. For filling cracks and holes, we recommend 50 grams of Stewathix to 200 grams of epoxy.
Then apply the paste with a wide putty knife and smooth it as smooth as possible.
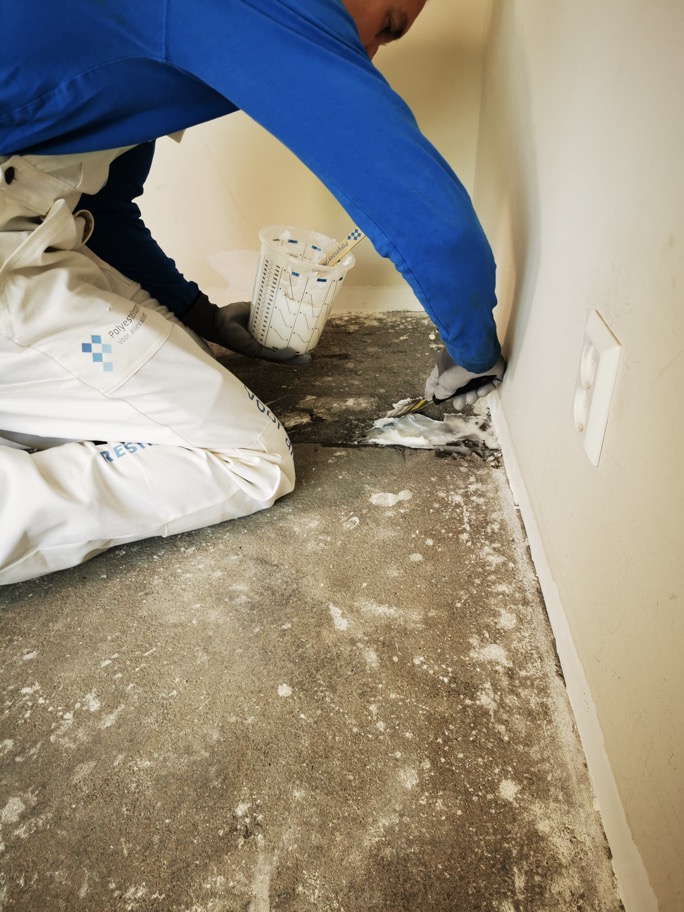
Supplies:
To improve the adhesion between the substrate and the PU cast floor, you should apply a primer to the substrate before continuing with the next steps. The choice of primer depends on the substrate you are going to apply the polyurethane floor to. At Polyestershoppen, floor primers are available for every kind of substrate:
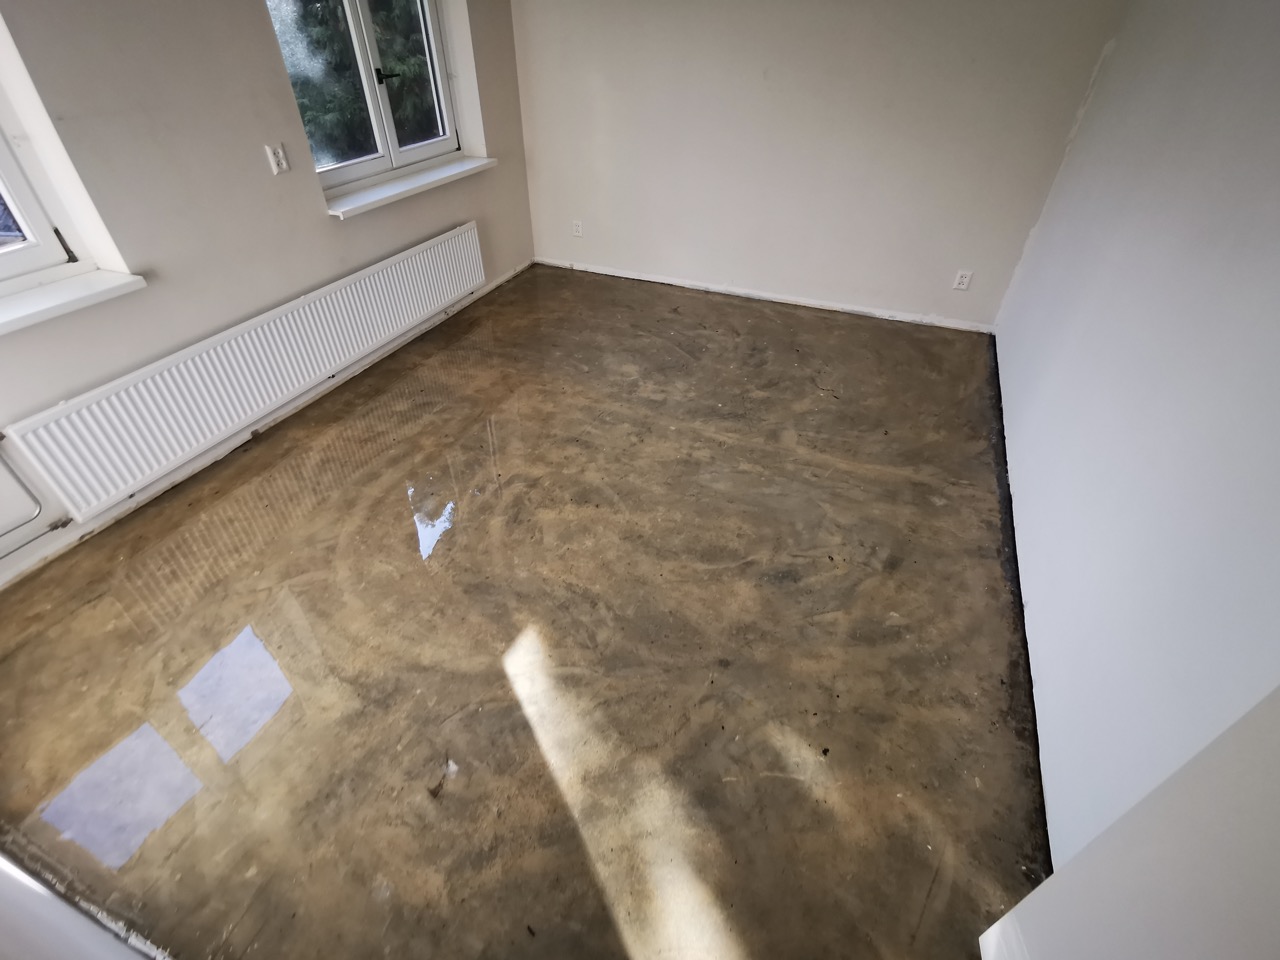
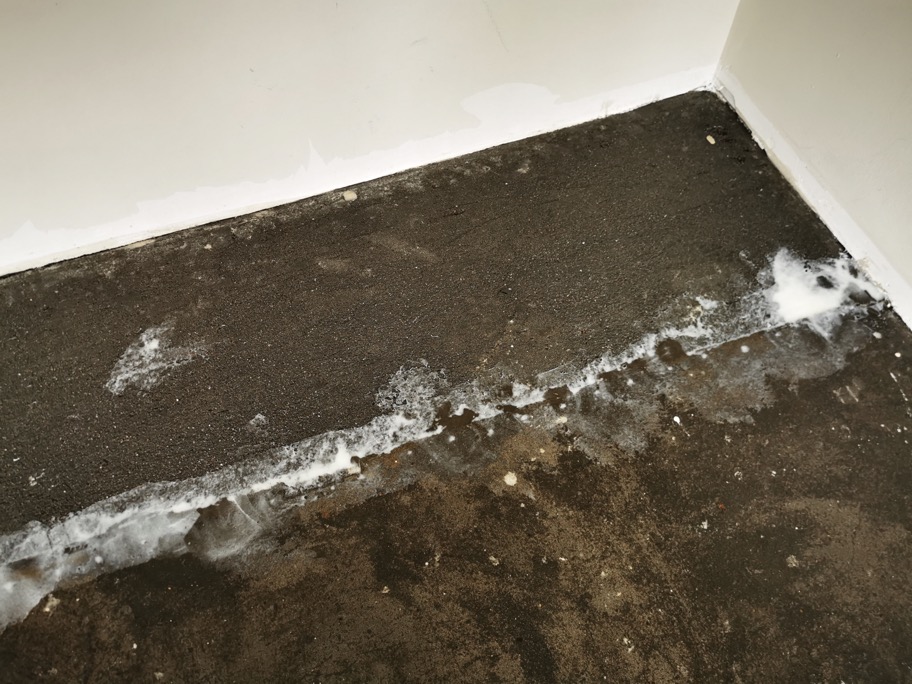
You can use floor primers for dry smooth and damp substrates in the same way. Epoxy floor primer is a universal primer that can be applied to both dry, smooth and damp substrates, it has three components, one of which is water.
Add the hardener (component B) to the base (component A) and mix thoroughly with a spiral mixer on a drill. Do not forget to mix the edges and bottom of the can well. If necessary, you can pour the mixture into another tin to mix again. The consumption of floor primers is at least 300 g/m2.
After mixing, let the primer stand for 1 minute to deflate, after which the floor primer is ready for use. It is important to quickly pour the primer over the floor after mixing. If you wait too long, the processing time will be too short (the processing time of primers is approximately 30 minutes at 20°C). Pour the primer over the floor and spread it with a floor squeegee. Avoid puddles and roll crosswise with a wide fleece roller.
Once you have applied the primer, you need to let it cure for about 24 hours before continuing with the application of PU screed!
Supplies:
If you have many uneven areas or large cracks, it is wise to level the floor. This can be done, for example, with an epoxy scraper layer (also called scraper layer) or levelling epoxy. It is not necessary to apply both systems so you will have to choose one of them. A scraper layer fills the surface structure of a concrete floor and a levelling layer smooths out an uneven floor.
We briefly explain how to use both systems:
Scraping layer: add the hardener to the base and then mix for at least 5 minutes with a spiral mixer, also mixing frequently along the walls and over the bottom. Now pour out the contents immediately for a long application time. Use a scraper to pull the mass across the floor, this will make a scraping sound. By applying this product, you will fill all the small bumps in the floor. This will result in a smooth surface over which you will apply the polyurethane floor. Let the scraping layer harden for about 24 hours before continuing with the application of PU Cast Flooring.
Leveling layer: add the hardener to the base and then mix for at least 5 minutes with a spiral mixer, also mixing frequently along the walls and over the bottom. Now pour out the levelling powder over the floor and then spread with a squeegee or trowel. We recommend applying a thin layer in high places and thicker layers in pits. Let the levelling layer harden for about 24 hours before continuing with the application of PU screed.
Supplies:
A PU casting floor consists of three components: base, hardener and pigment. Before processing the PU, always check that you have received the correct quantities and colour. In doubt? Then contact us!
Open the base component and pour in the pigment. Use a mixing spatula to scrape the jar empty. Then add the hardener and drain well.
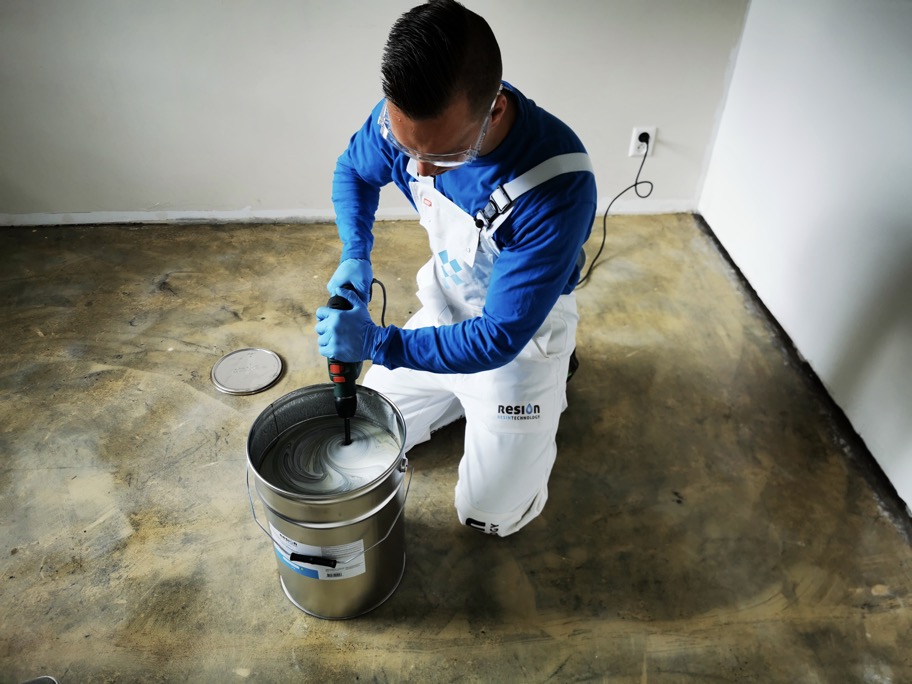
Mix all components well using a spiral mixer on a drill. For large quantities, it is advisable to use a heavy duty mixer instead of a spiral mixer. Take your time for this (at least 5 minutes) and also mix well what is on the walls and bottom, mix until the PU is homogeneous in colour. This prevents your mixture from not being good and the processing from not going as desired. After mixing, you have about 35 minutes of processing time.
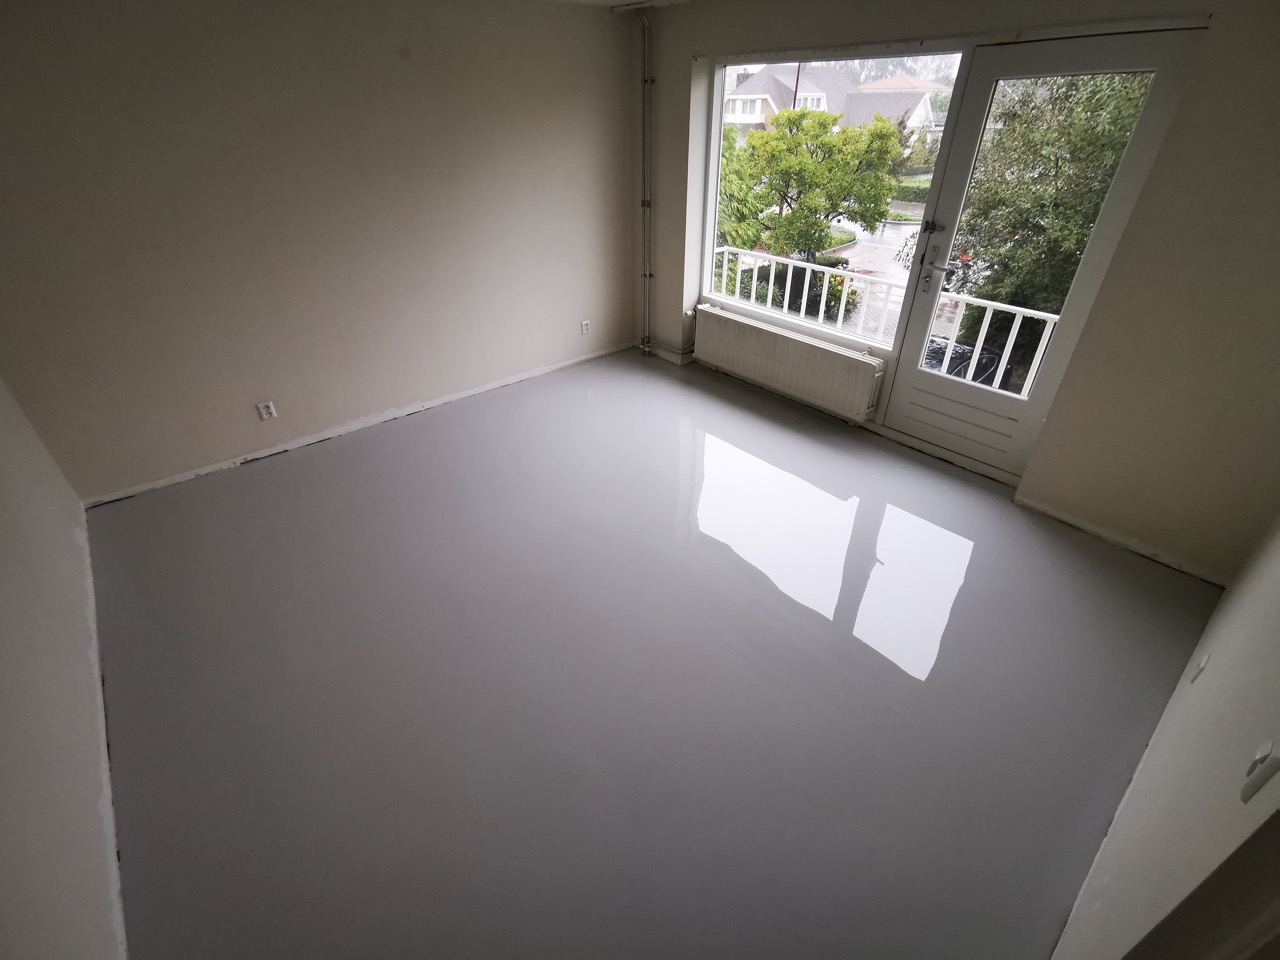
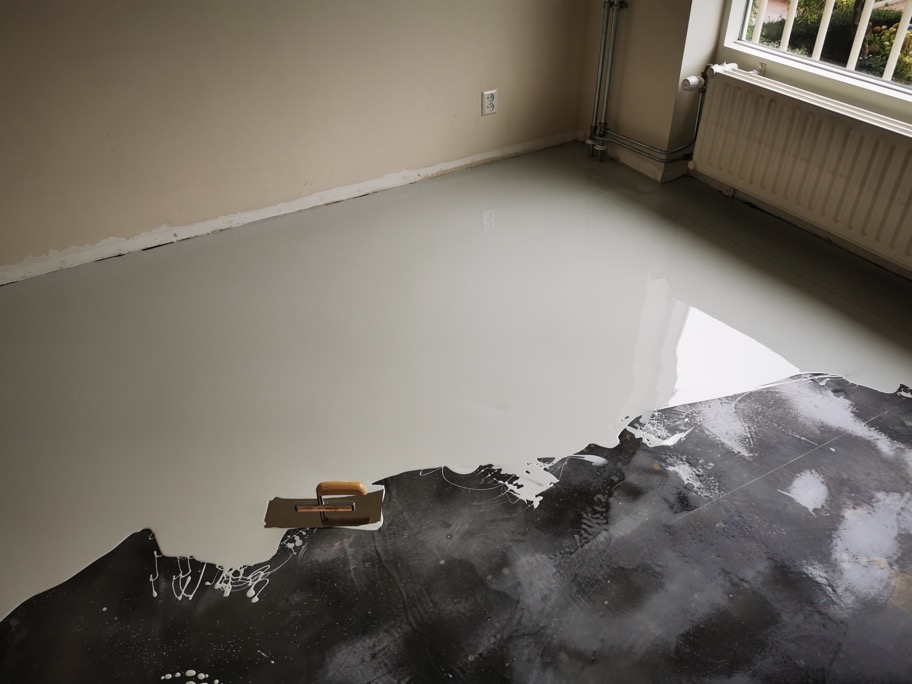
Pour the floor in a strip along a wall. Work it against the wall or skirting board with a smoothing trowel. This does not have to be perfect, as PU self-levelling cast floor is largely self-levelling. The rest of the PU can be distributed with the squeegee for self-leveling screeds, which ensures that you are at the right layer thickness everywhere.
Be careful not to scrape out the tin or turn it upside down when you get to the last bit, this is often where PU is found which has not been mixed quite right, this can give soft spots in the end result.
Once you have treated the entire floor, let the PU floor cure. After about 18 hours, the floor will be walkable and after 24 hours you can proceed to the next step: applying a protective coating.
Supplies:
Finally, to finish the PU floor with a protective and scratch-resistant layer, we apply a matt-gloss coating. This gives the floor a matt look, protects the floor against wear and tear, very effectively hides small defects and gives a slight non-slip effect. In short, applying a matt floor coating extends the life of your PU cast floor!
Now that the floor has been cleaned, you can prepare and apply the coating. Mix both components for 5 minutes in a bucket with a spiral mixer at low speed. Make sure you go well along the sides and across the bottom of the bucket. After it is mixed, pour a small amount through a sieve into a paint tray. Sifting ensures that there are no flakes in the final mixture being applied.
When you start applying the matt gloss coating, there are some important actions you need to take into account. Make sure you pour the coating over into a paint tray and that you don't start working from the bucket you created it in. Pouring it into a paint bucket will help you determine how much you are going to use. It is important to roll thinly, if you do not do this you may get a difference in gloss level. Always make sure you roll out the coating crosswise. This gives the best result. Do work in a structured way, as it can sometimes be difficult to see where you left off.
After applying the coating, it is important to let the floor harden. After 1-2 days, the floor is walkable. After 5-7 days, it is at full strength and the floor can also be loaded with moisture.
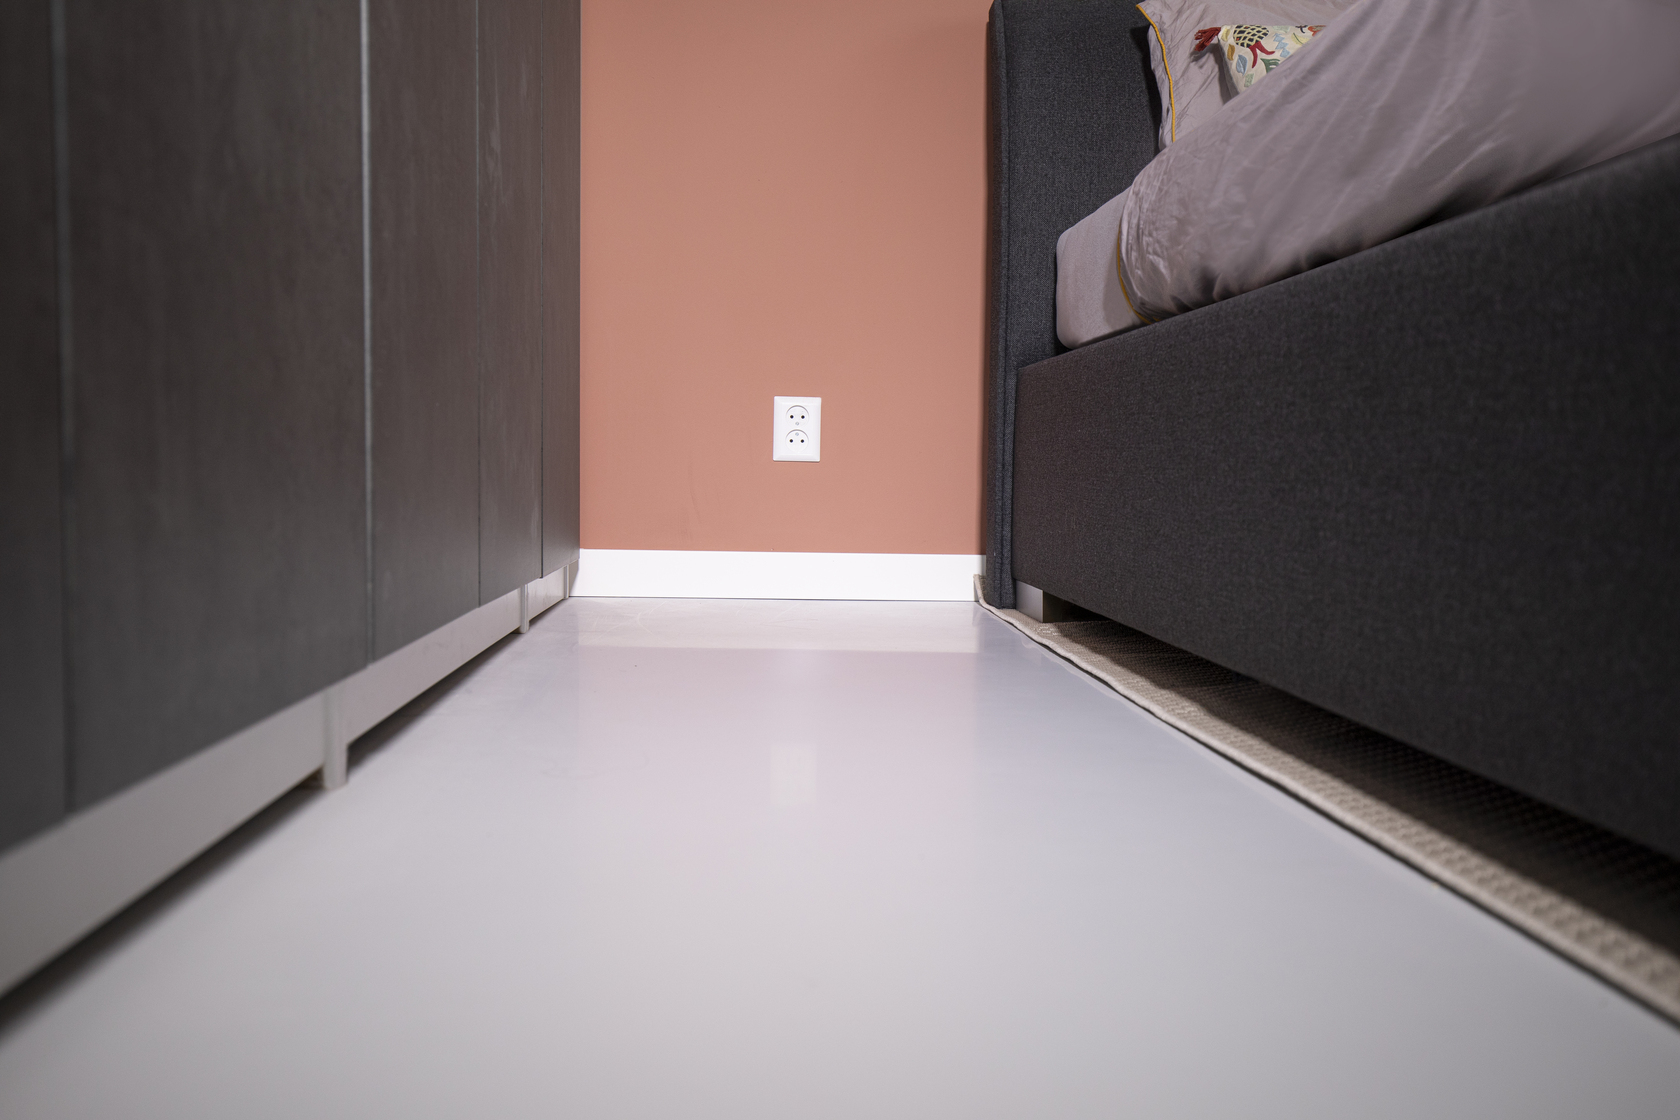
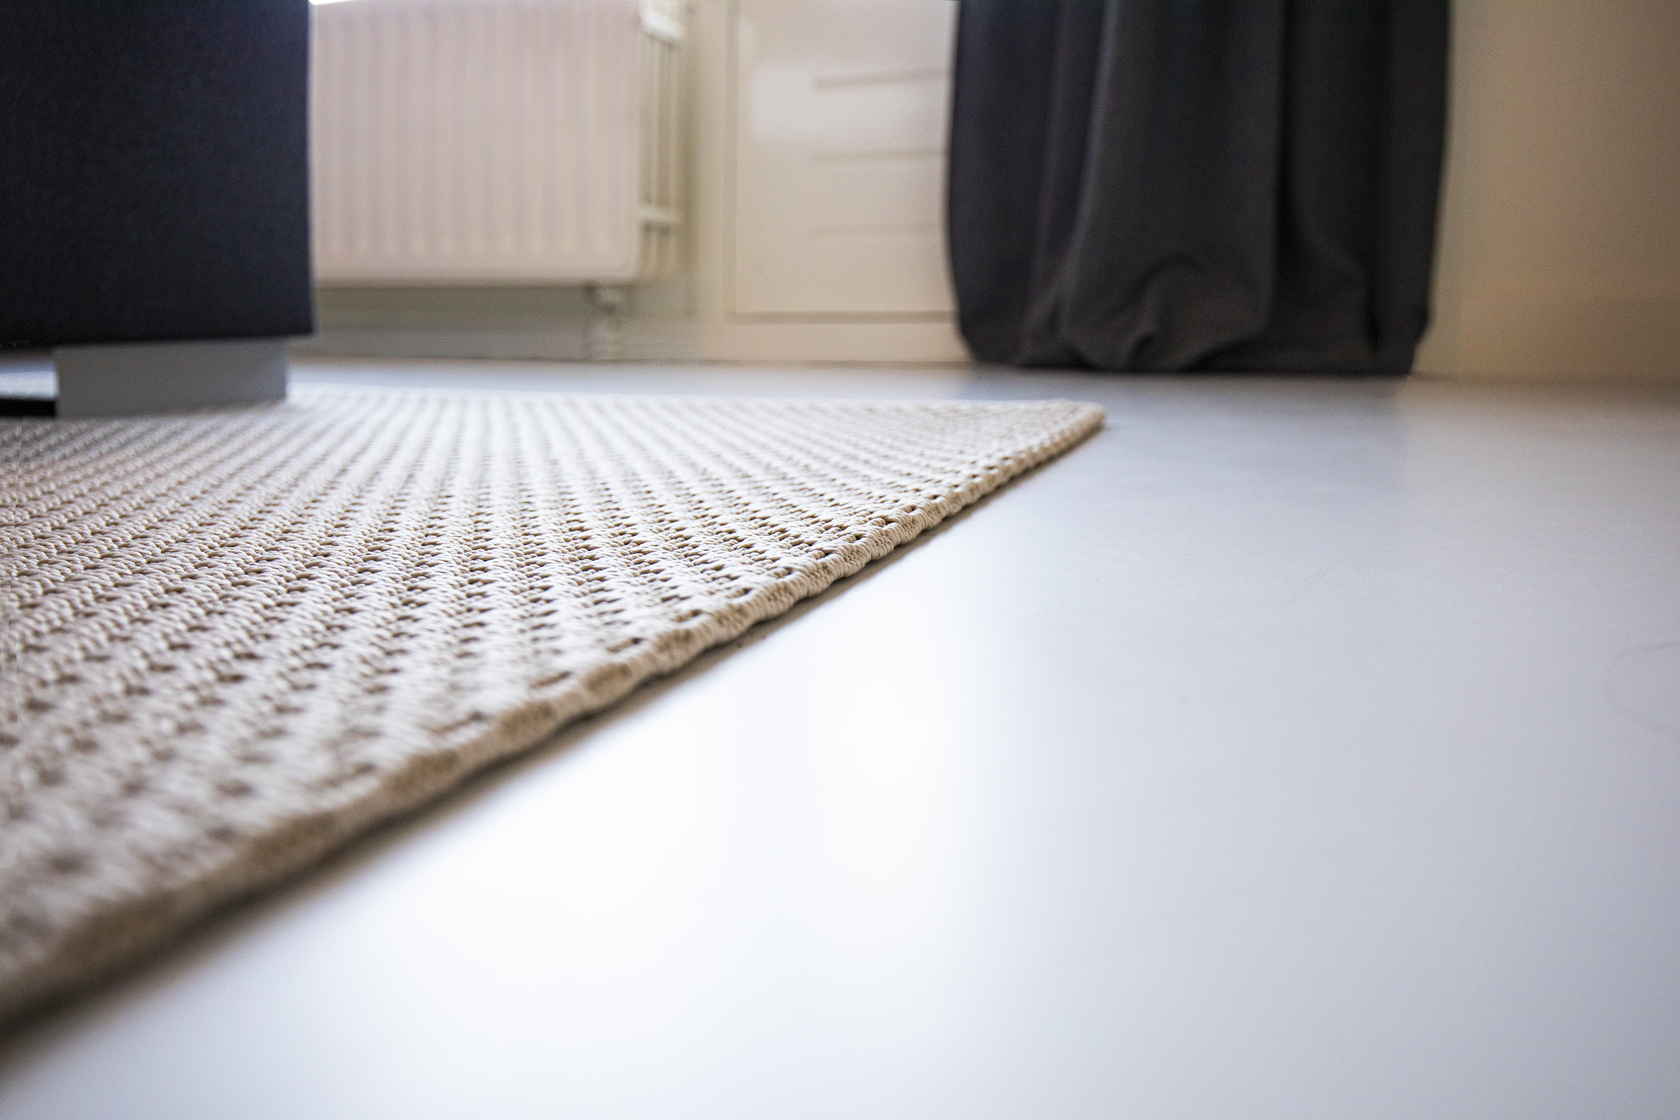
The PU floor is now completely finished and ready for use!
| Problem | Cause | Solution |
| Floor does not harden | No hardener added | Remove the floor and reapply with all components. |
| Incorrect mixing ratio | Remove the floor and reapply with the correct components and mixing ratio. | |
| Temperature too low | Ensure a temperature of at least 15 degrees, warm up the room and give it some extra time to cure. | |
| Soft spots | Insufficient mixing | Mix the casting compound for at least 5 minutes with a powerful mixer until it is a homogeneous mass. Remove spots and apply a new coat. |
| Unmixed components have ended up on the floor | Do not scrape out cans or let them leak out on the floor. Remove soft parts and apply new coat. | |
| Floor does not adhere/pulls away | Wrong primer used | Remove floor and apply appropriate primer. |
| Moisture in the floor | Remove floor, solve moisture problem and start over. | |
| Contaminated surface | Sand and degrease with ammonia diluted with water. Apply new coat. | |
| Product hardened in the can | Overheated | After mixing, pour out the product as soon as possible for optimal processing time. Around 15 to 20 degrees is the best processing temperature. |
If in doubt, always contact our specialists, we will be happy to help you on your way!
We wish you every success and lots of fun with your new polyurethane cast floor! Do you have questions about installing a cast floor or do you need help with material selection? Feel free to contact our specialists. We are happy to help you with your project!
Request a tailor-made step-by-step plan now! As soon as we have received the information below, we will tell you exactly what you need. Then you can immediately start laying the perfect floor.
Here you can find all 1 related articles on this topic. Mis je informatie om aan de slag te gaan met jouw klus? Neem dan contact met ons op.
Do you have a specific question? Call one of our specialists for free advice +3185 0220090
