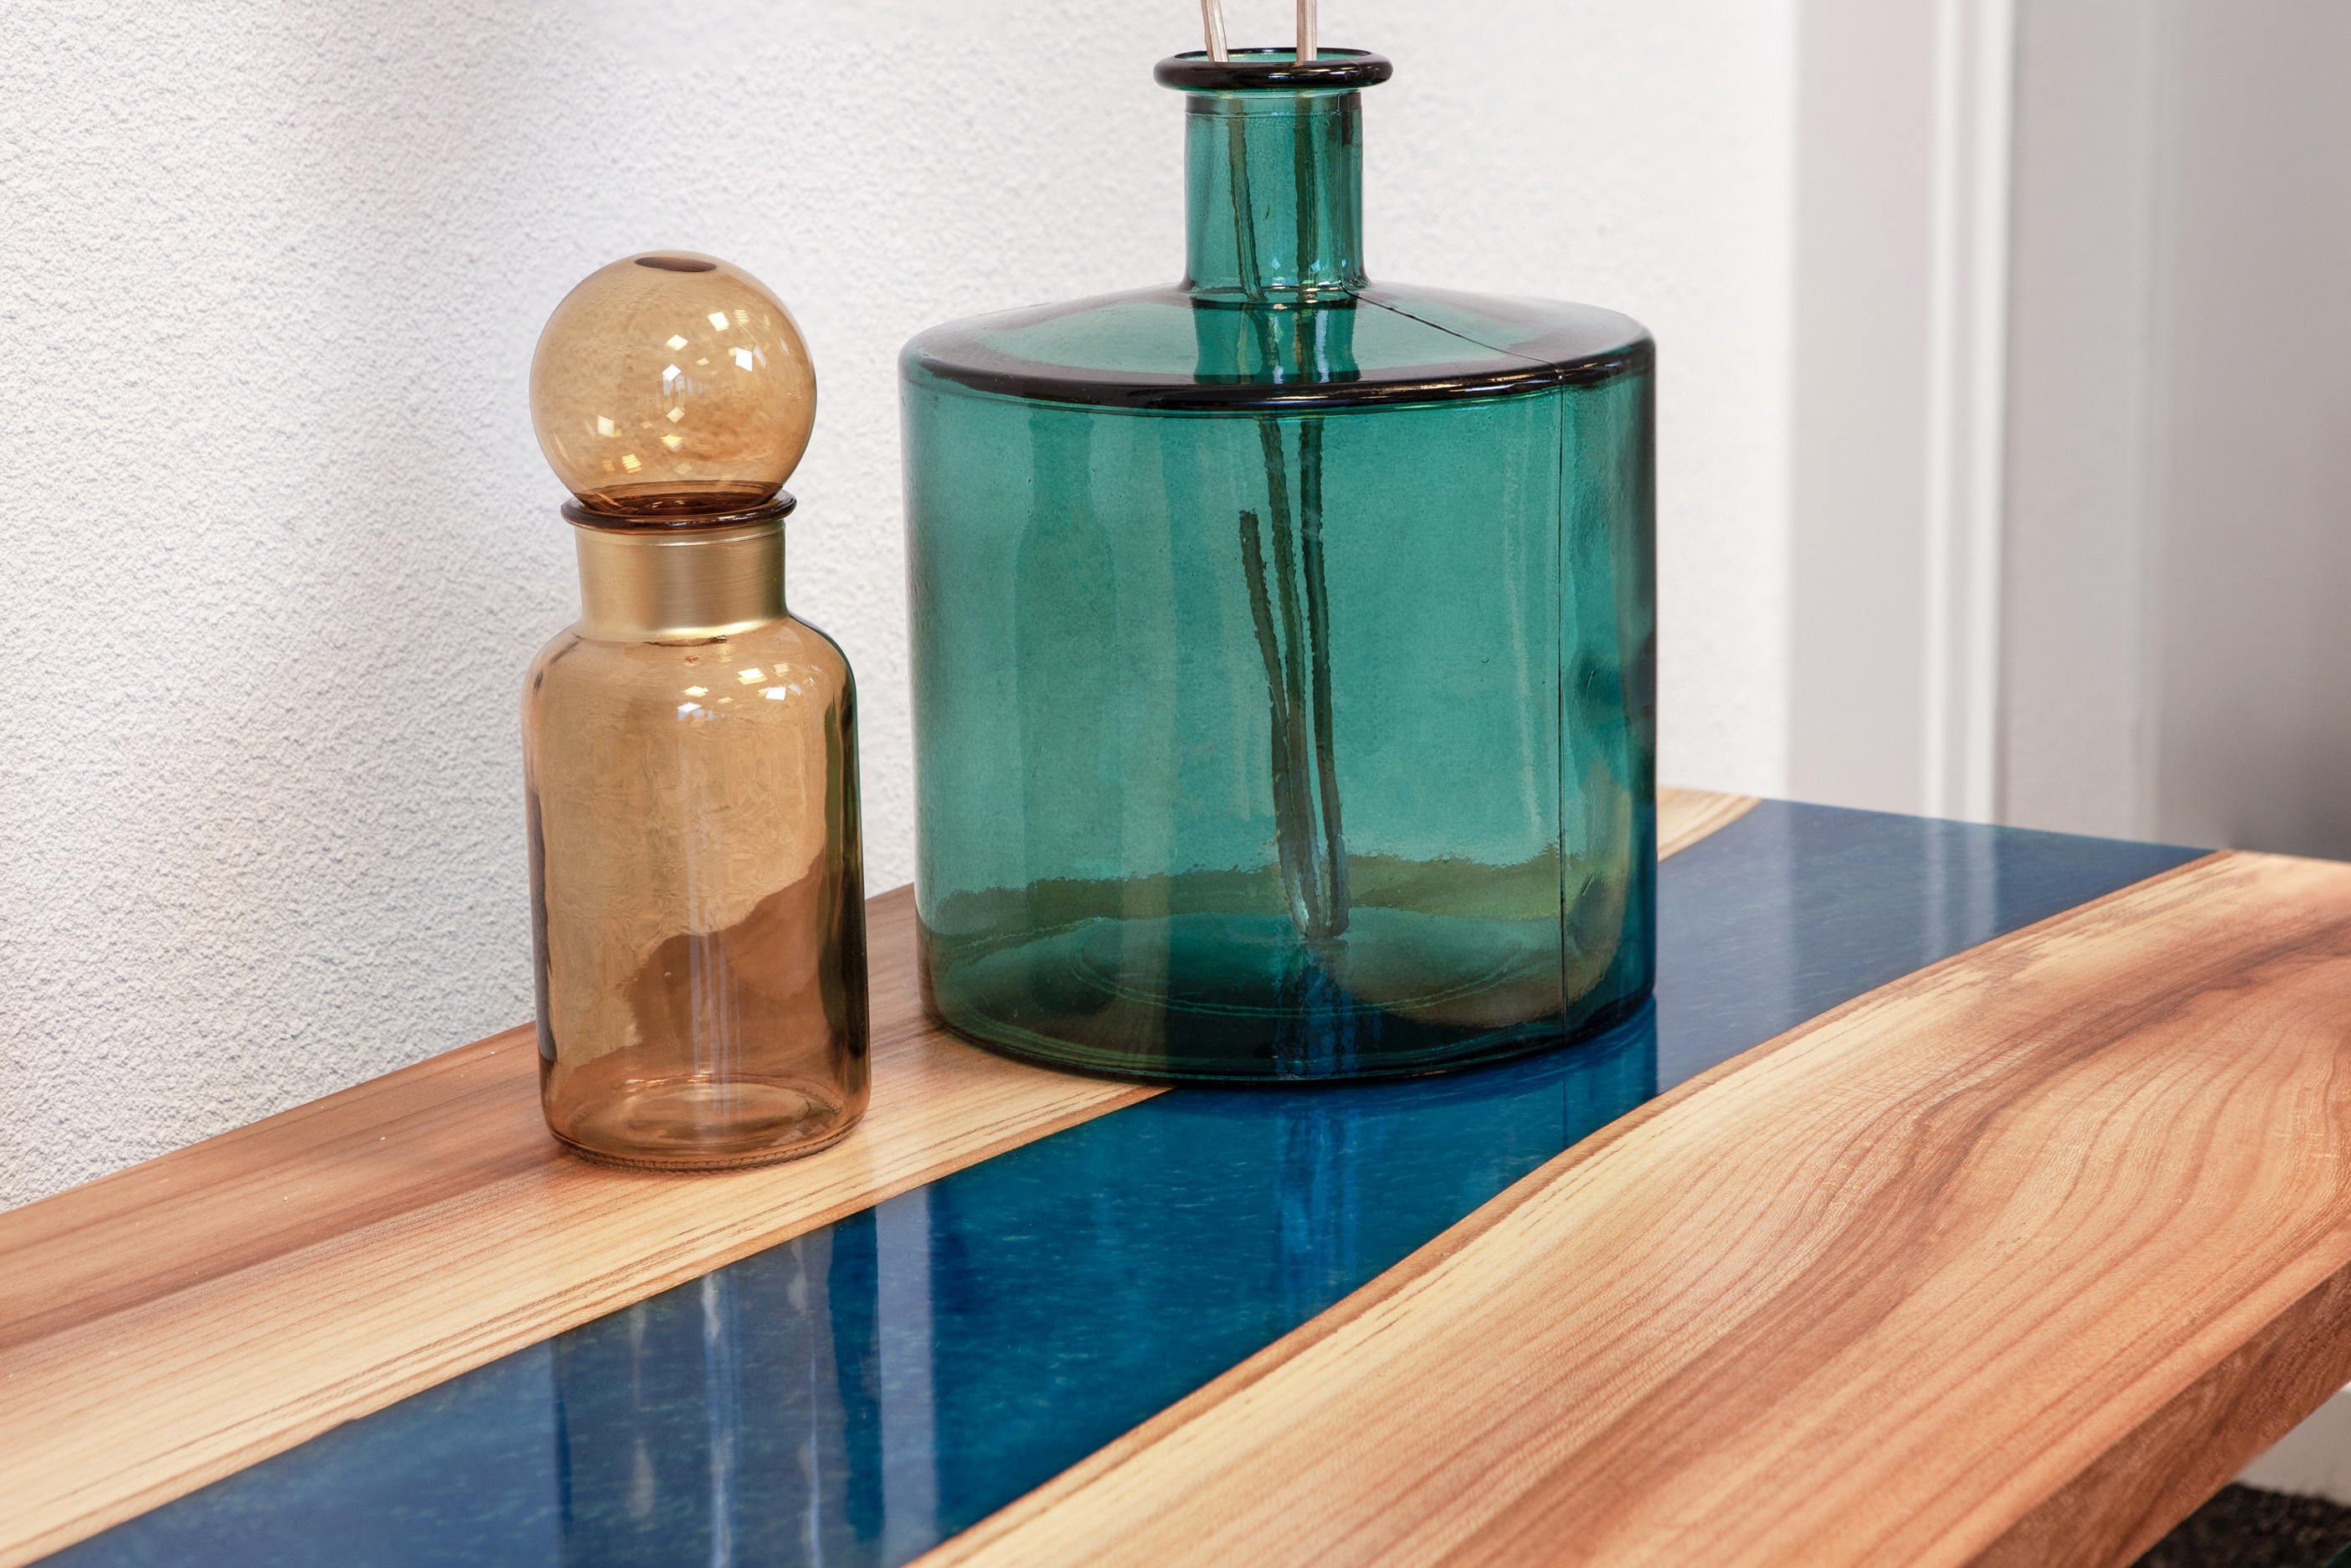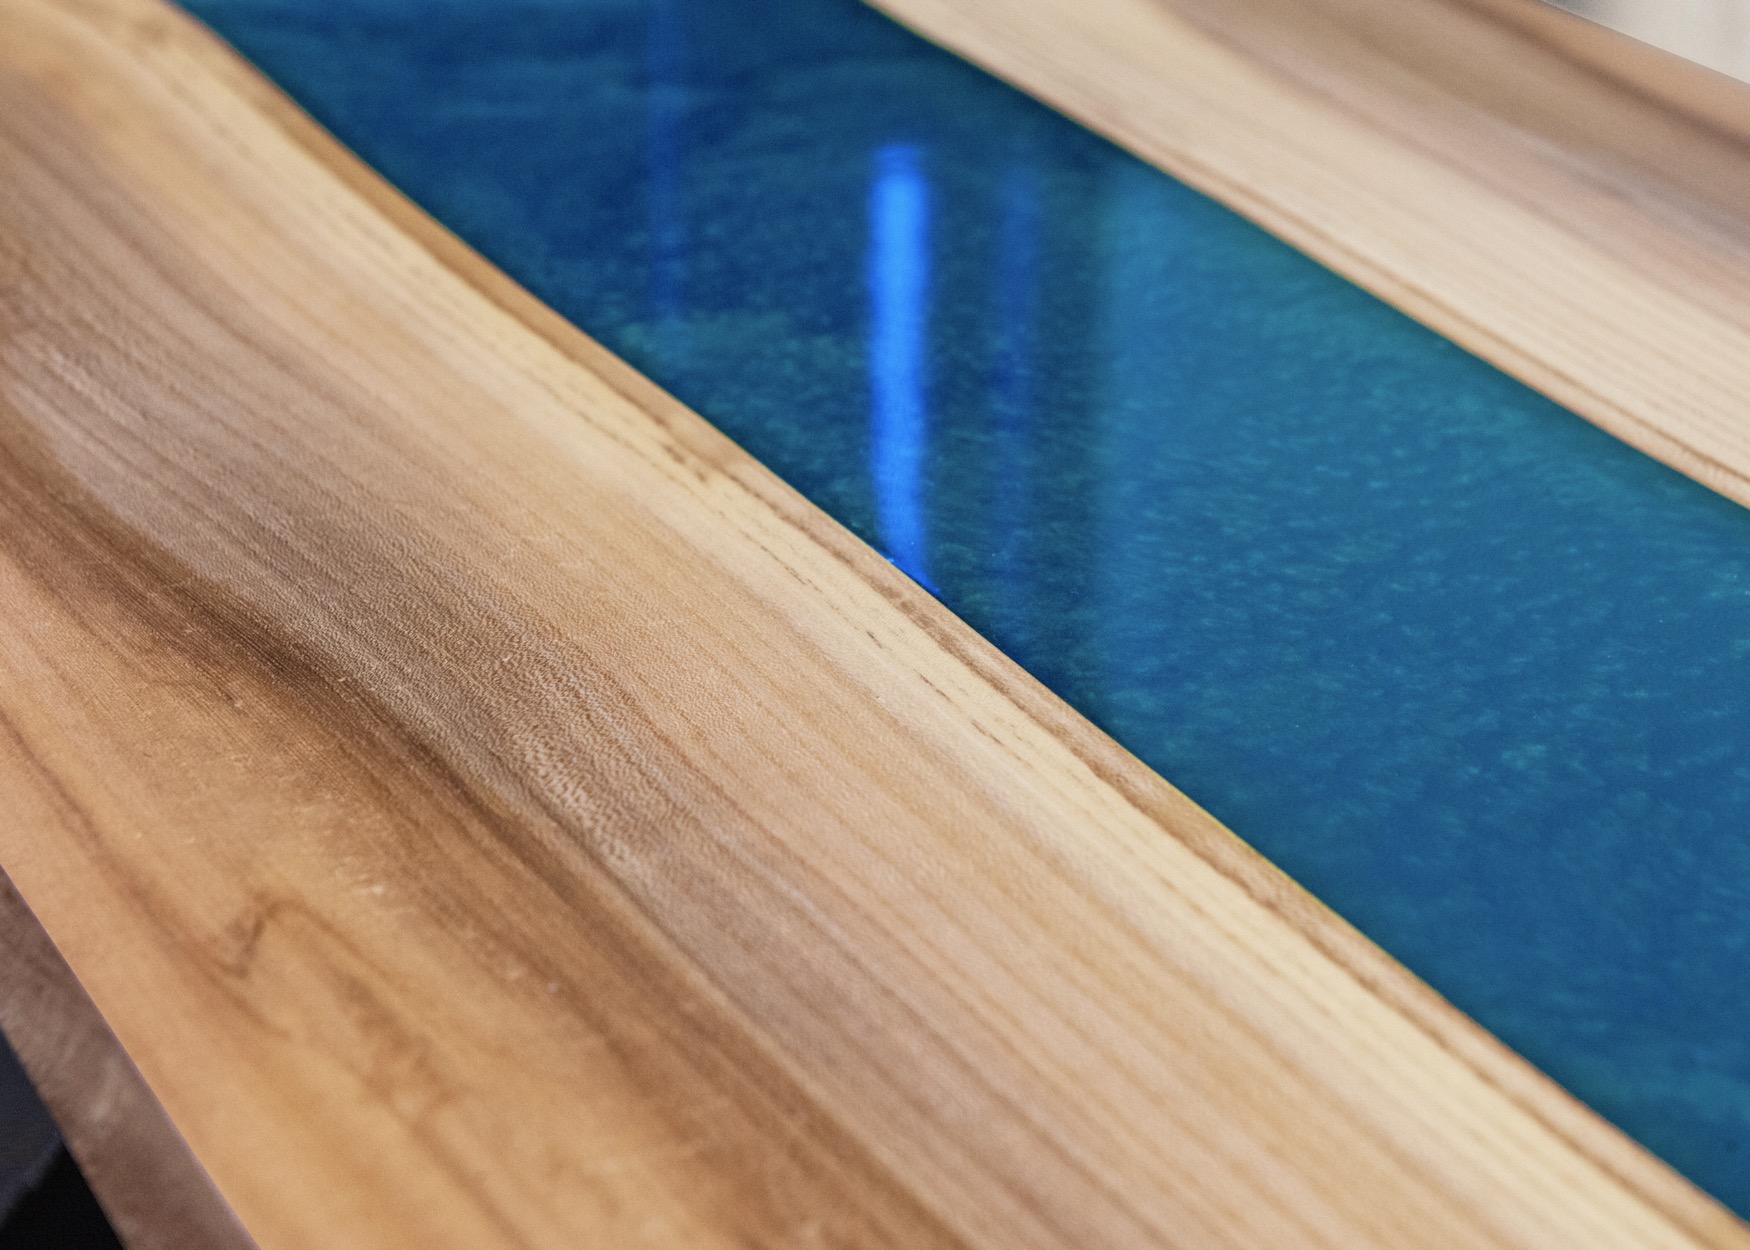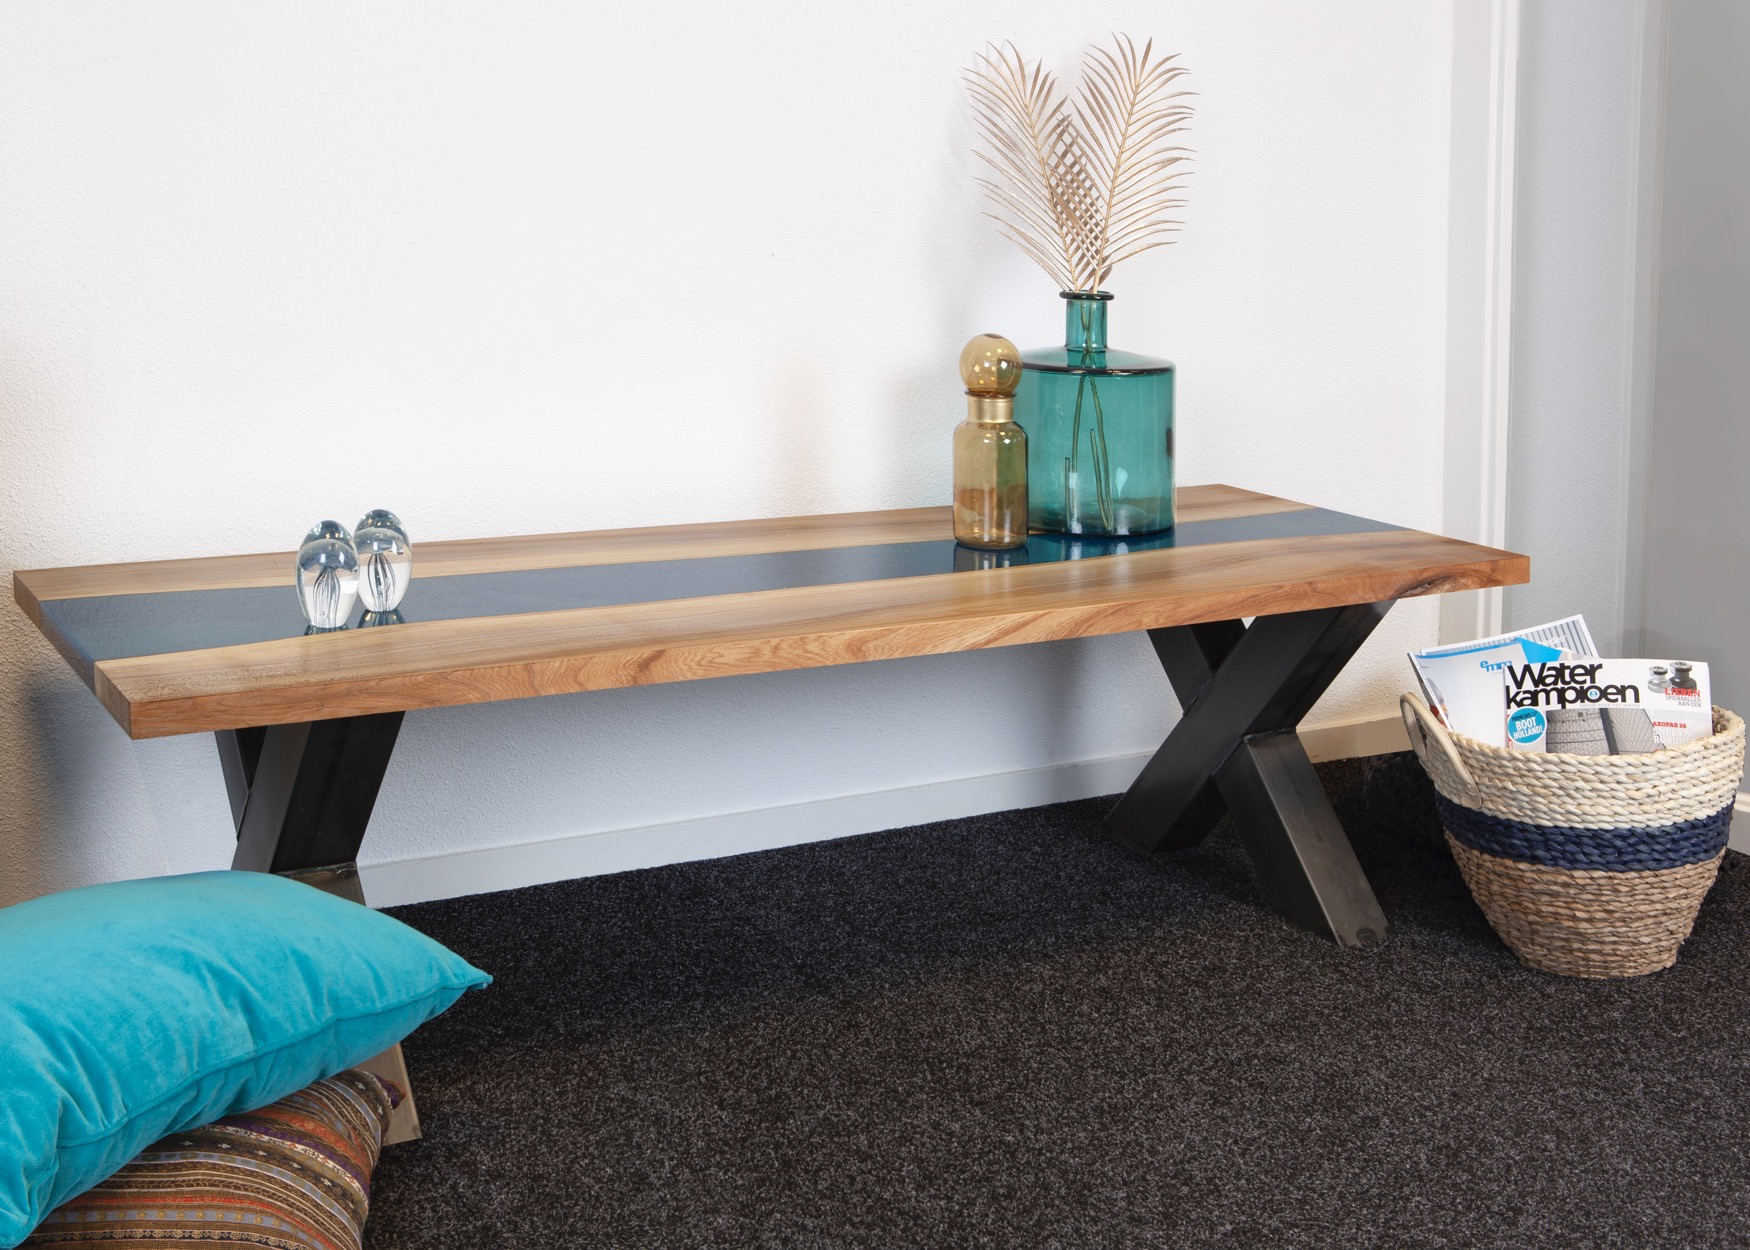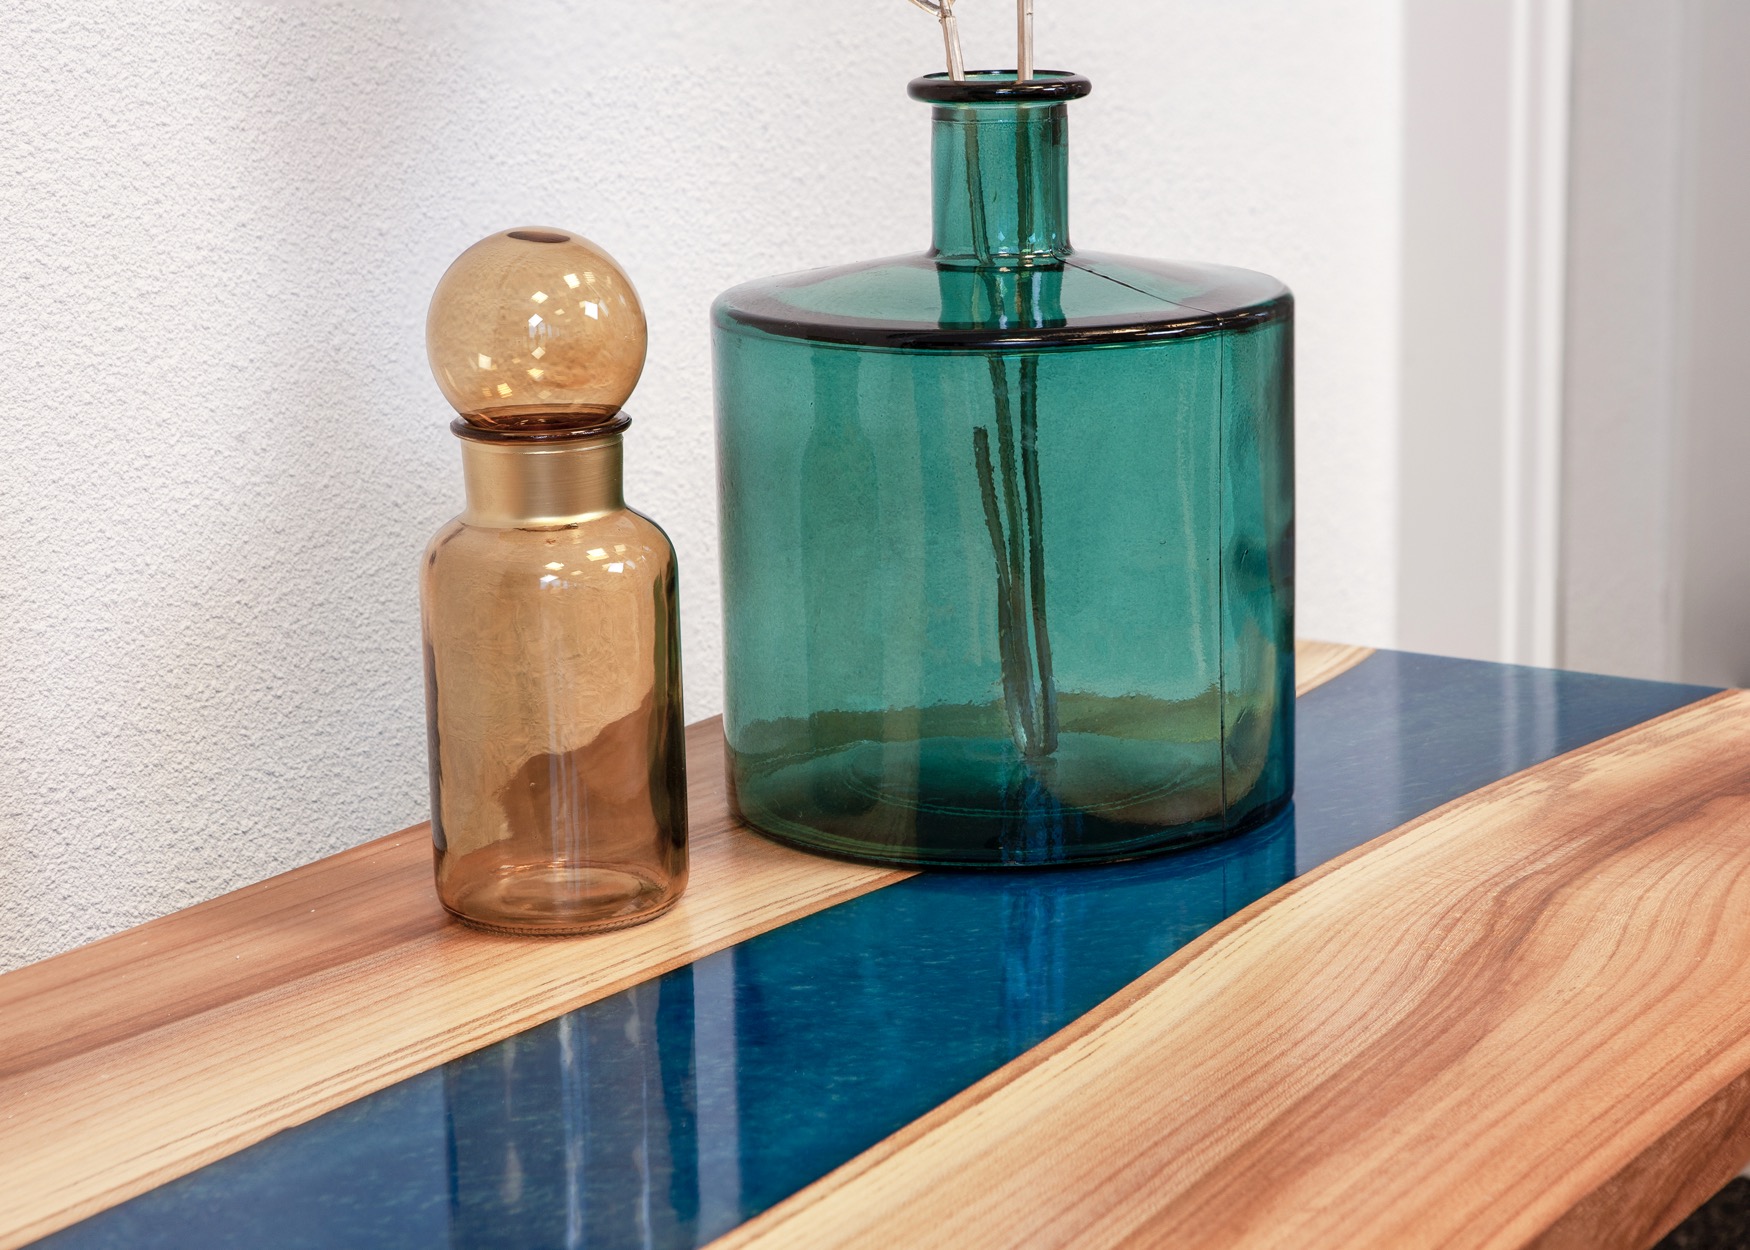
Did you know that you can make a beautiful river table yourself with epoxy? In this article you can read how to do this step by step! But we'll start at the beginning: what exactly are river tables? River tables are wooden tables with a strip of colored or transparent epoxy resin in the middle. These tables are often very expensive in the store, but fortunately you can also make them yourself!
You can make this beautiful river table using the following step-by-step plan:


This step is the easiest, if not the hardest, when you're having trouble making choices: selecting the table top you want to create the river table with. The choices are endless. From sturdy with lots of knots to a sleek piece of wood.
Once you have chosen the wood for the table top, it is time to make sure the wood is suitable for your table. As a rule, a tree trunk plank is sawn in half and the two saw parts are swapped. This creates the "river" in the middle which is filled with epoxy resin. The edges of the wood will often need to be sawn correctly to achieve the correct dimensions. Also make sure your wood is flat, this will save the amount of epoxy you need to use. Depending on the piece of wood you have chosen, you will spend some time working on it and sanding it. The easiest way is to use a sander for this purpose. Take the time to do it for a perfect end result.
Now it's time to make a casting mould into which the wooden pieces will be placed and the epoxy will be poured. The easiest way is to make a container from laminated chipboard. This is easy to saw and is available in larger sizes. If the hardware store doesn't have it, ask a wood dealer. Saw strips of chipboard at least 3cm wider than the desired table thickness and screw them against the sides to create a tabletop. Seal the joints with a small amount of acrylate sealant so that the container is watertight.
To prevent the epoxy from sticking to the mould, it can be treated with release wax. By applying 4 coats of non-stick wax and rubbing, the epoxy will not stick to the surface. Another method is to tape the surface with packing tape. Epoxy doesn't stick to this either.
Before casting, it is important to first apply a generous coat of epoxy to the part to be cast using a brush or roller. This ensures that no air bubbles escape from the wood into the resin. Always wear nitrile gloves and work in a ventilated room when processing epoxy resin. Mix the epoxy resin with the corresponding hardener, in the correct mixing ratio, and mix well. Also scrape the bottom and sides while mixing, so that all the epoxy resin and hardener are mixed well. Now roll the wood in the epoxy (sides, bottom and top if you want to finish the table with a coat of epoxy). Allow the epoxy to cure, lightly sand with 120 grit, then apply another coat of epoxy. These layers prevent air from entering the casting during river discharge. So, always apply enough epoxy in this step.
If the wood is well coated and cured, it can be fixed in the mould. Use glue clips to secure the wood in the right place. If you will use RESION UV Epoxy Resin, then pour layers up to 2-3 cm thick. If you want to pour thicker layers at a time, use RESION Epoxy casting resin for large castings, which can be poured up to 10 cm thick.
Mix epoxy resin with pigments if you want a colourful river table. There are different options for this:
For each of these options we have pigments in our webshop.
Mix the resin and hardener thoroughly and add the desired pigments to the epoxy. Mix gently to contain as few air bubbles as possible. Leave for a minute after mixing to allow air bubbles to appear on the surface. Then carefully pour the epoxy into the mould. The epoxy will spread into the mould and flow to the correct level. Check that you will eliminate air bubbles. This can be done with a hairdryer or a gas burner. Blow on the surface and the air bubbles will break.
If you use RESION Epoxy Resin, after approximately 12 hours the resin will be hardened enough to allow another coat to be applied. With RESION Epoxy casting resin for large castings you will wait 2 days. Then pour another new layer if necessary.
After hardening, the table is ready for further processing. This finish can be done again by cutting to size, milling the edges, etc. If necessary, the underside can also be made completely smooth by pouring epoxy onto the underside.
It's time to prepare the table legs. Secure them in wood or epoxy. A small amount of epoxy in the drill holes ensures that screws, bolts or wood thread bolts do not come loose. Is the table top thin? Then make sure the width of the table is supported enough to prevent any bending.
You can finish the river table by applying another layer of epoxy that you can then finish with DD Paint high gloss. Or you can sand the table and finish it with a furniture wax such as Osmo Hardwax oil.


Here you can find all 9 related articles on this topic. Mis je informatie om aan de slag te gaan met jouw klus? Neem dan contact met ons op.
Do you have a specific question? Call one of our specialists for free advice +3185 0220090
