
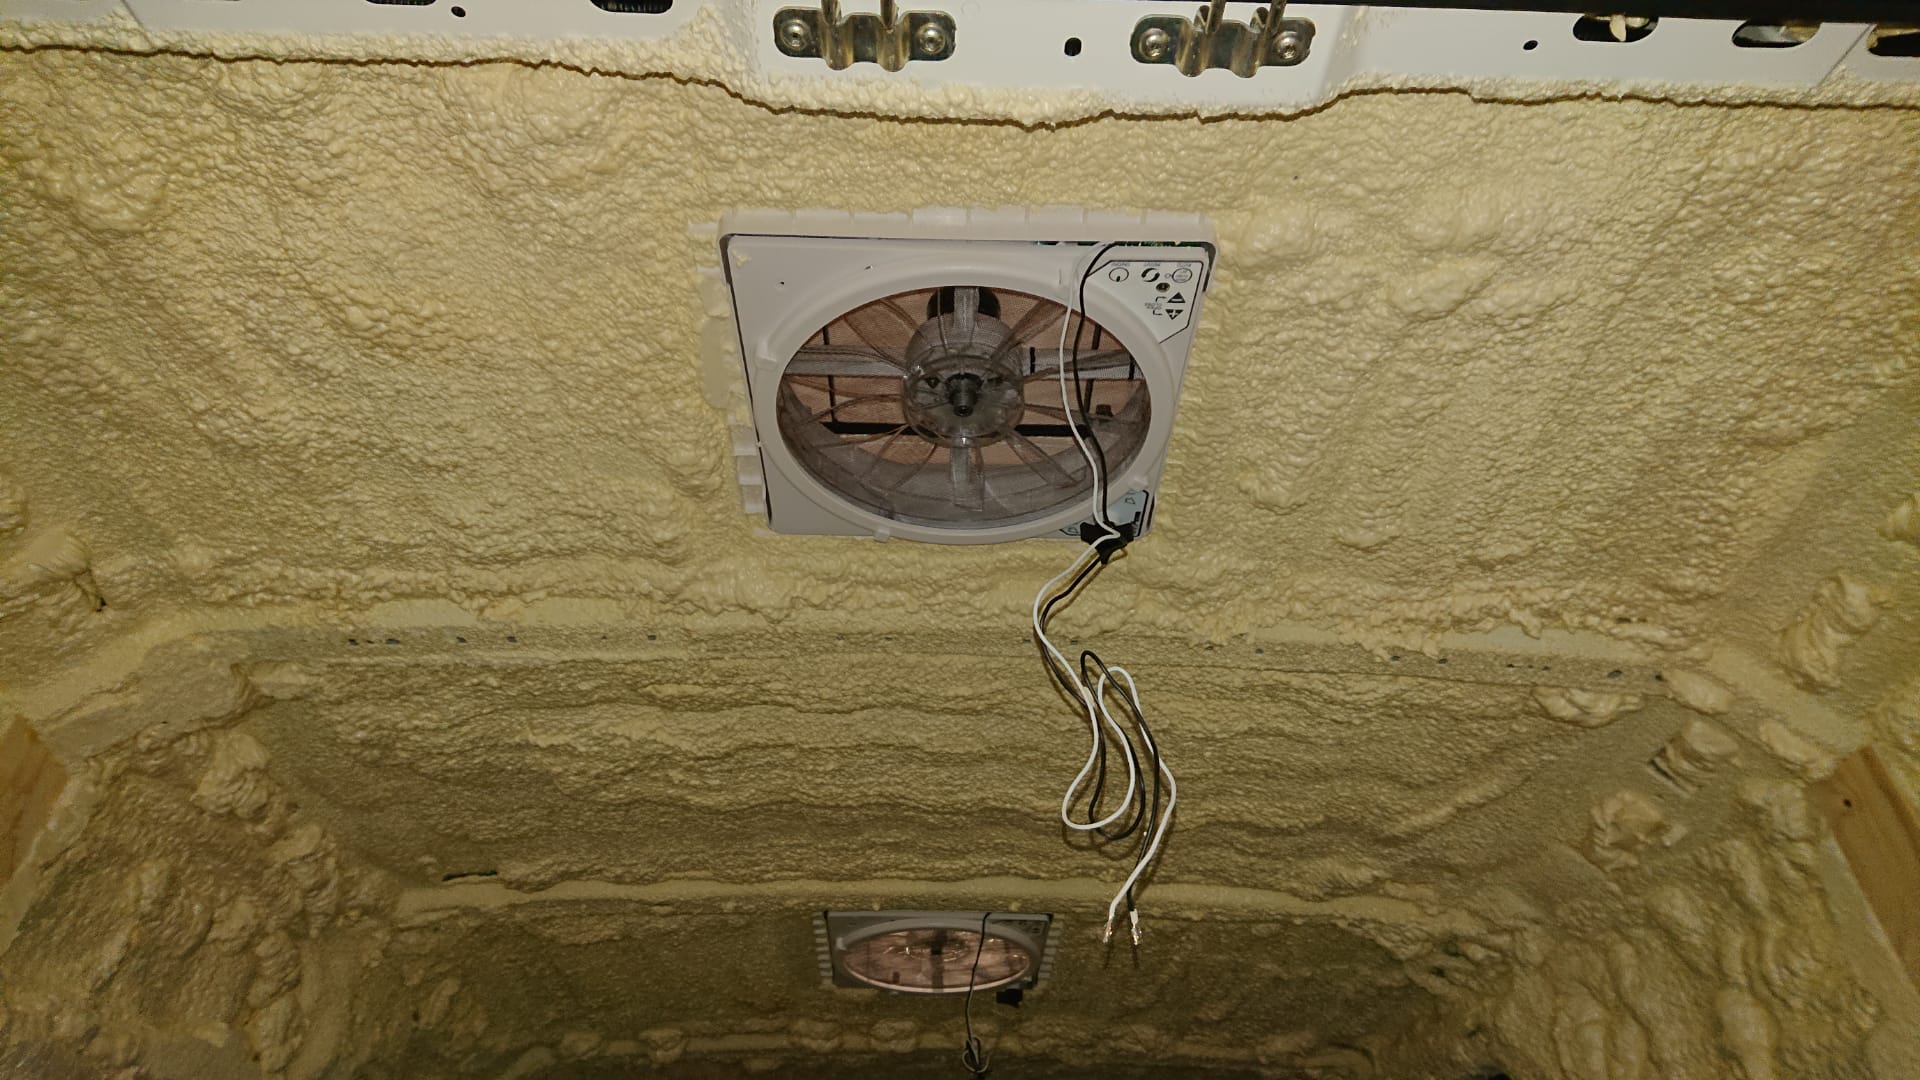
Do you want to convert a van into a camper van or use it as a refrigerated vehicle? Then you need to insulate the van well to limit the costs of keep the van at the right temperature. There are many ways to insulate, including spraying PU foam. We insulated Malou's van because she wants to transform it into a permanent living space. In this article you can read how we insulated this van with Froth-Pak in 7 steps.
The advantages of Froth-Pak sprayable PU foam:
The amount of Froth-Pak required mainly depends on the desired thickness and the total surface area that you need to spray. A thickness of 5 centimeters already provides a good insulation value. In this van we had just enough for 1 set of 1400L Froth-Pak.
In the step-by-step plan below you can read how we insulated the van with Froth-Pak PU foam. We have also made a video in which we explain the instructions again.
One of the most important steps is making sure the Froth-Pak is at the correct temperature. Make sure it is at least 20 degrees and no more than 40 degrees. Optimum temperature allows maximum foam performance and faster curing.
Actively heat the tray using, for example, a heating jacket or build a small oven from boxes with a heater inside. Heat the whole thing for a long time, as it may take some time before the liquid is nice and hot. Leaving it in a living room for a day is not enough!
It is also best to heat the set and the room it is to be sprayed in while spraying.
When you start spraying the PU foam, you will see that the PU foam ends up everywhere. This is one of the advantages, no cracks or corners are missed. However, you must therefore mask the parts that you do not want to isolate. Use foil and masking tape. Take your time with this.
We will now prepare the Froth-Pak set for use. Follow these steps:
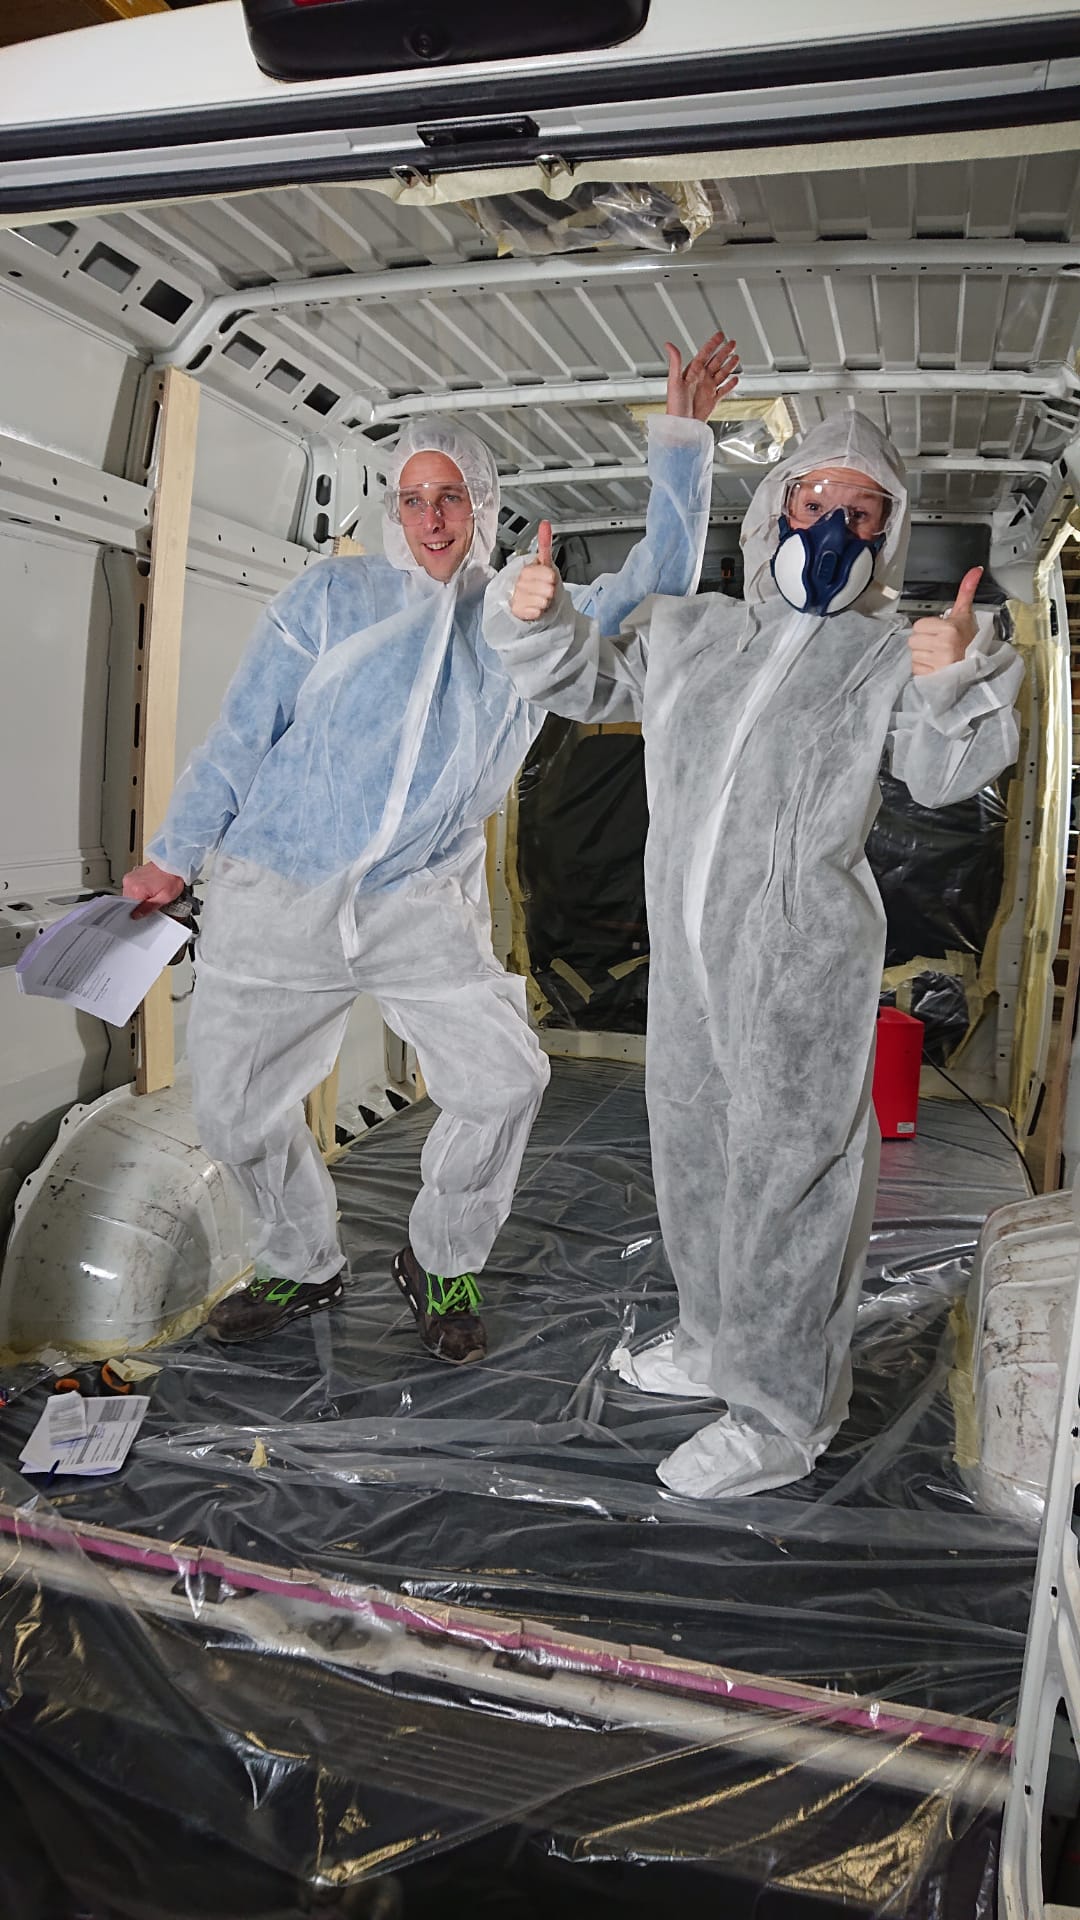
Once cured, Froth-Pak is completely safe. Then the foam is just as "dangerous" if the foam has been incorporated into your sofa or chair, for example. However, taking proper precautions is very important while handling Froth-Pak.
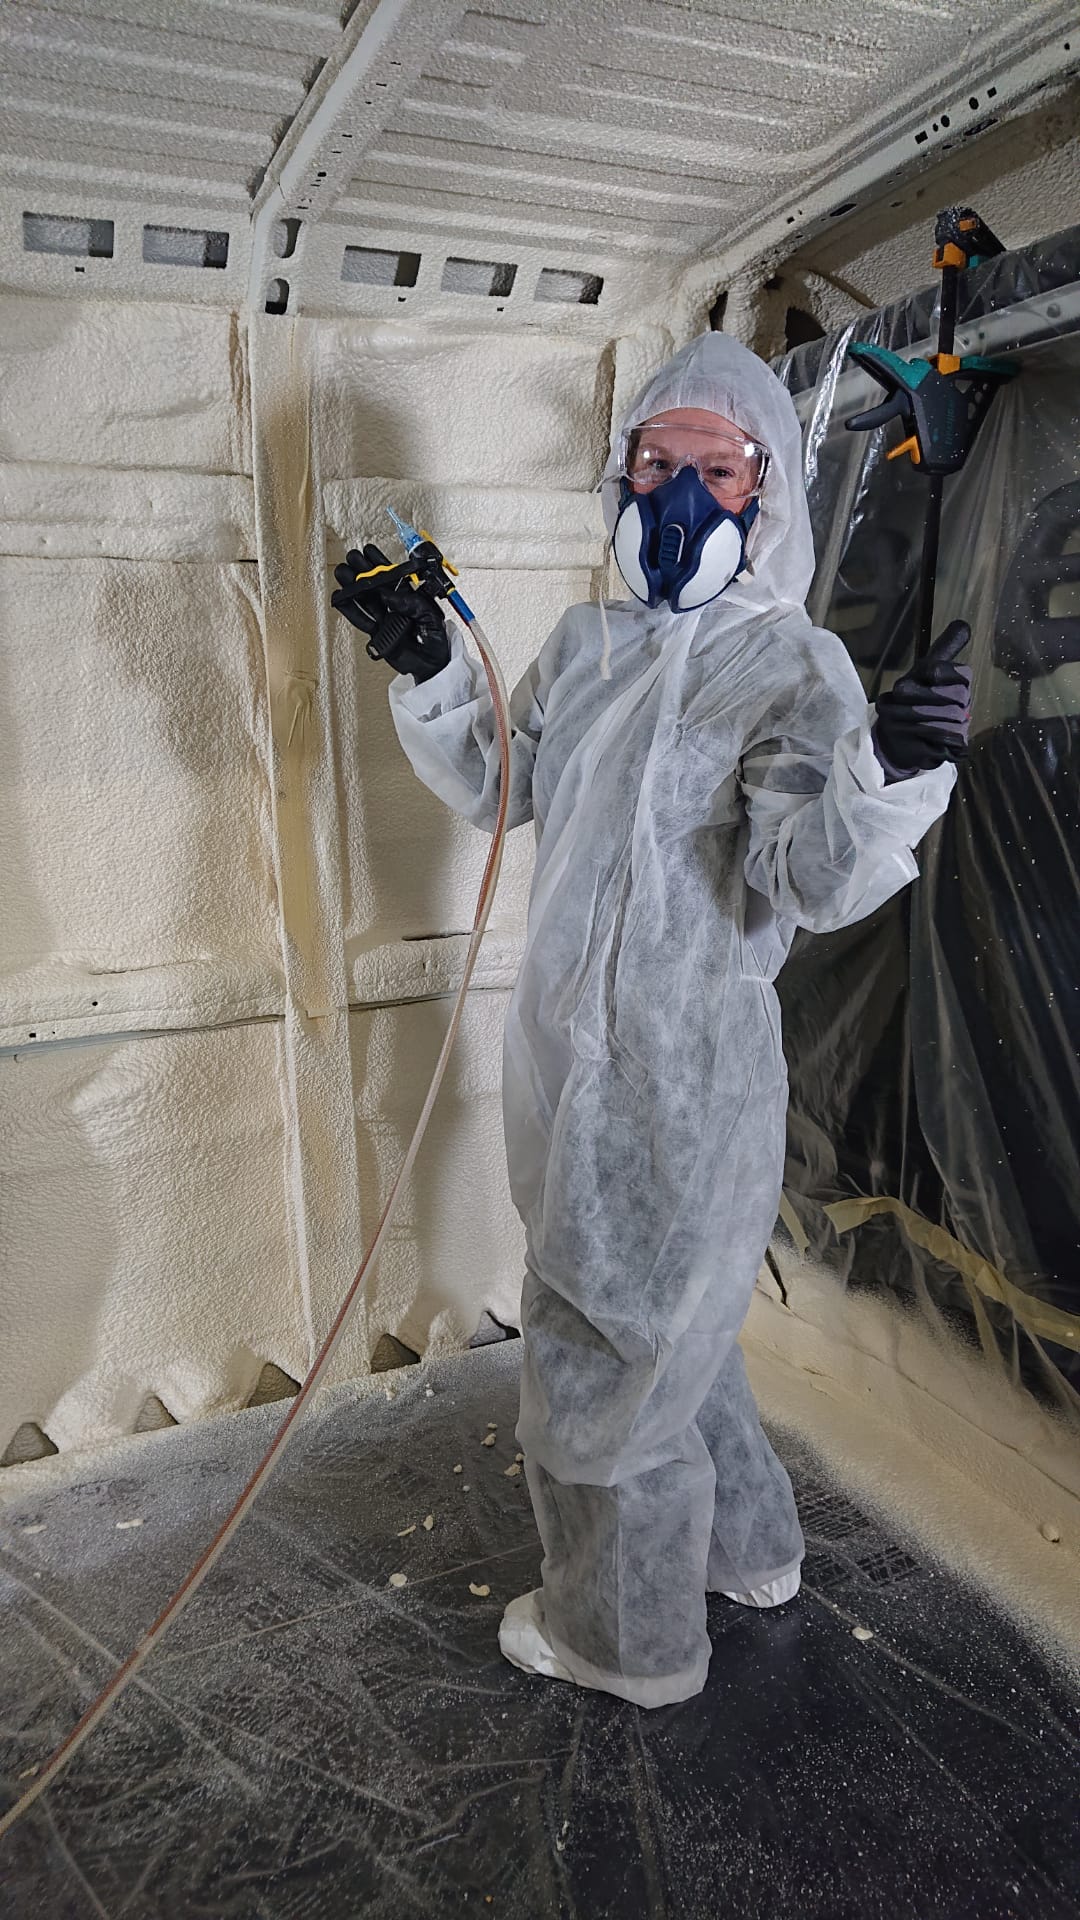
Wear old and fully covering clothing. Even if you put overalls over this, there is still a chance that PU foam will end up on your clothes. The overalls have a hood with which you can protect your hair. Cover your shoes completely and preferably wear old shoes.
Please wear a vapour mask with A2 filters when spraying. And don't forget safety goggles. You can obtain all these items at an affordable price by buying the safety package .
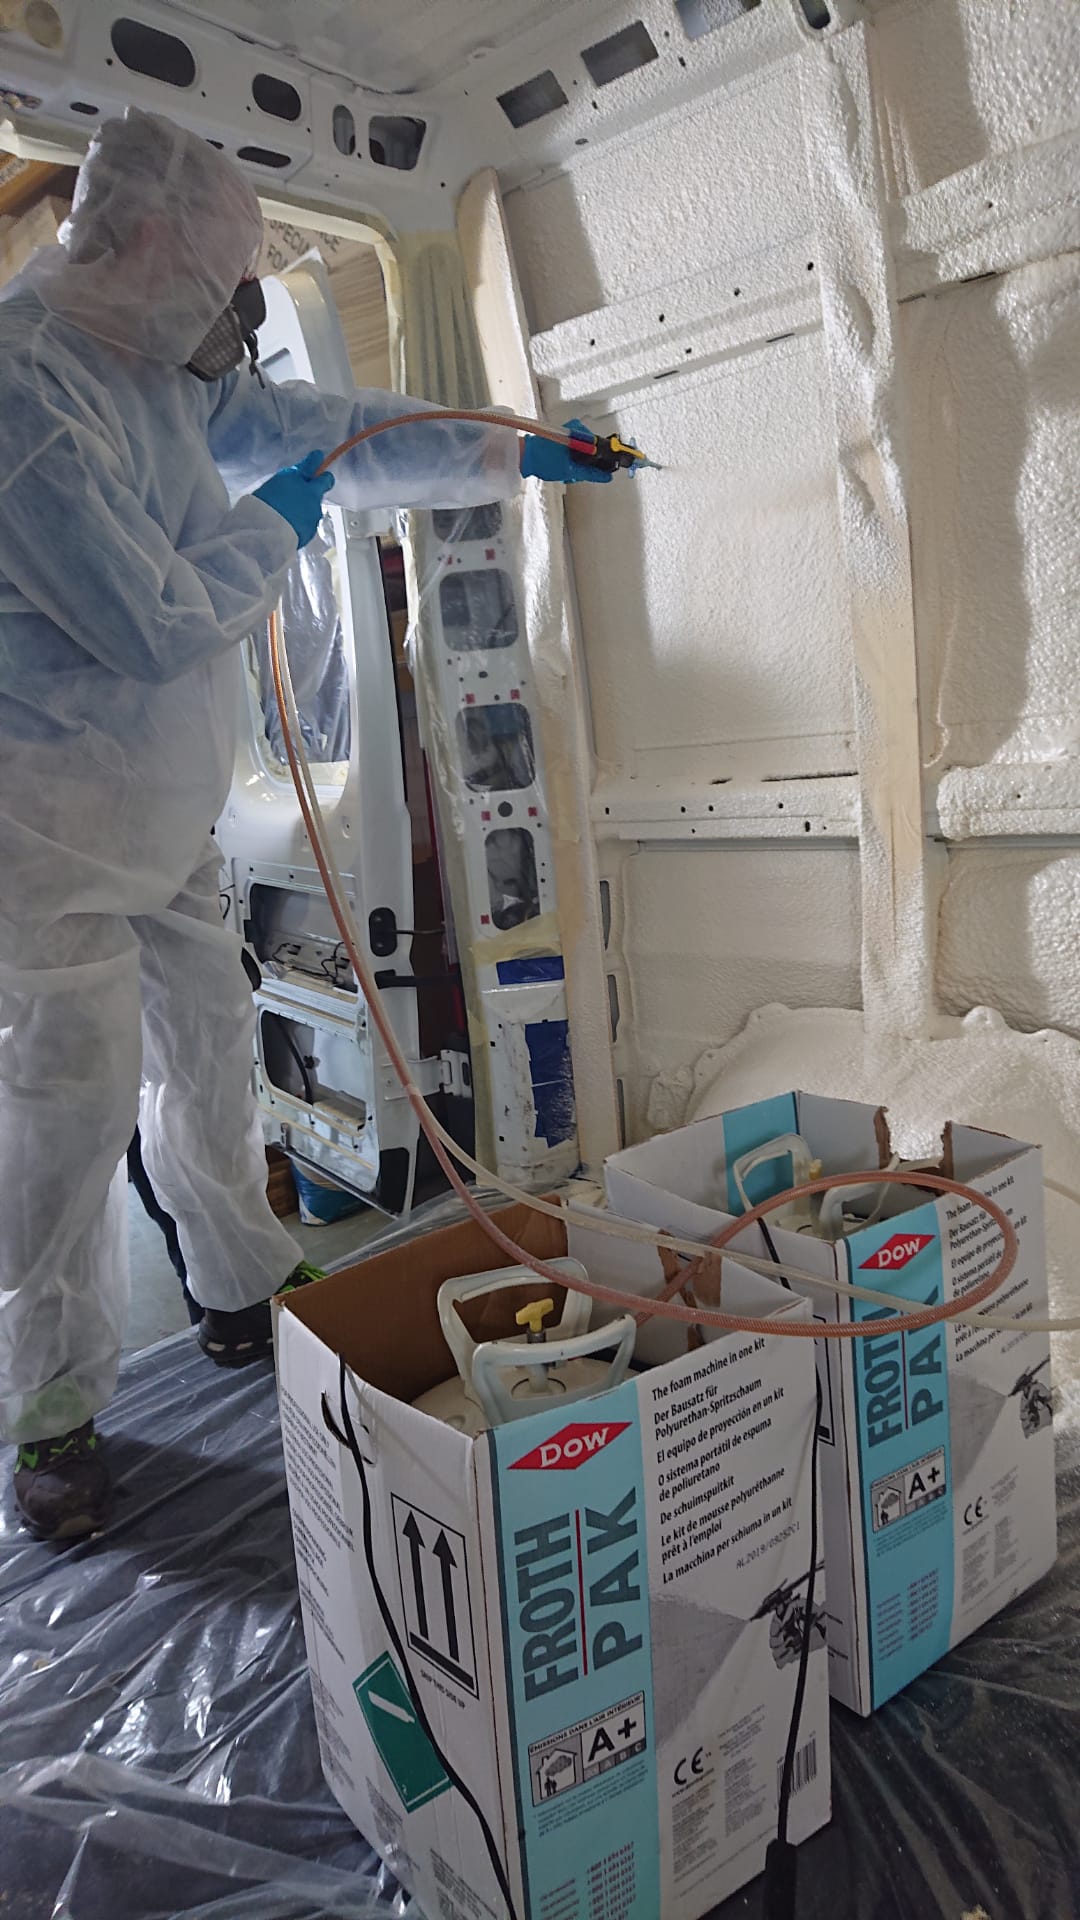
Now that we are going to spray, we first apply an adhesive layer. This is a thin layer that ensures that the next thick layer adheres better. Insert a blue nozzle and click it firmly into the gun. Apply a thin layer using a fast sweeping motion.
After the adhesive layer has been applied everywhere, it is important to apply the insulation layer. Connect a new nozzle. This may also be a white nozzle or, if you prefer to work in thin layers, a blue one.
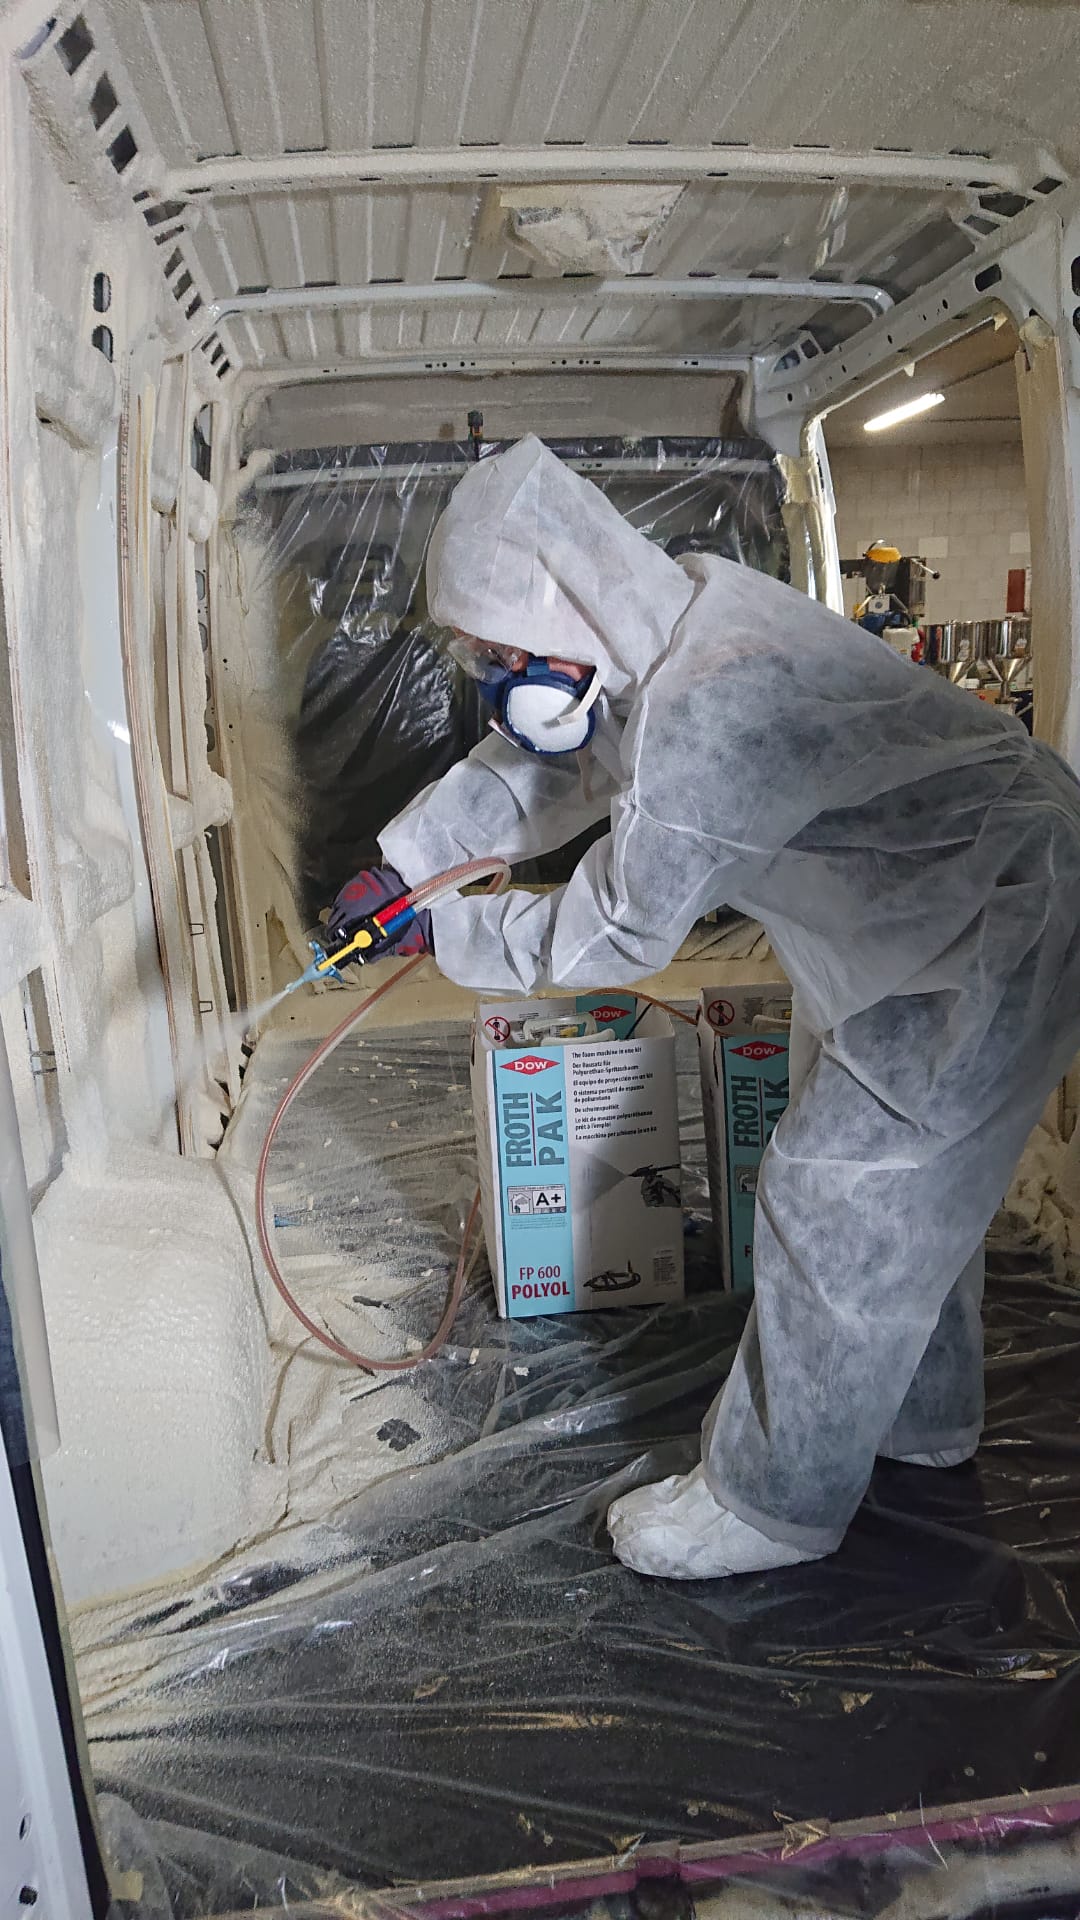
Now spray with a slower sweeping motion to get a thicker layer. You will then pipe about 1 to 1.5 cm thick. Only spray the next layer after a few minutes once this layer has hardened. Work in a structured way so that the part you did first is ready for the next layer.
After you have sprayed everything, let the PU foam harden for an hour. In the meantime, ventilate the room well. After an hour you can remove all the tape and cut away the foil and excess PU foam with a snap-off knife and a saw.
You can now finish the walls with the desired finishing board.
Here you can find all 36 related articles on this topic. Mis je informatie om aan de slag te gaan met jouw klus? Neem dan contact met ons op.
Do you have a specific question? Call one of our specialists for free advice +3185 0220090

