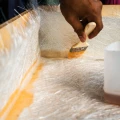
Wood rot is a form of wood decay that occurs when wood is exposed to moisture for a long time. This moisture allows fungi to grow in the wood, which breaks down the wood fibres and weakens the wood. This can eventually lead to serious damage.
Wood rot mainly occurs in wooden structures that are not well protected against water, such as window frames, doors, cladding and roof edges. It is important to detect and repair wood rot as soon as possible to prevent further damage. With epoxy you can easily repair the wood rot and restore the affected wood to its original state. In this article we answer the question: "How do I repair the wood rot of my window frame or door with epoxy?". We explain step by step which steps you need to take and which products you need.
How to Repair Wood Rot with Epoxy [Tutorial]
Supplies needed to repair wood rot
To repair wood rot with epoxy you will need the following products:
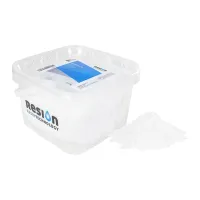
- Epoxy resin with rapid hardener 0.75 kg
- 0.50 kg Cotton fibre
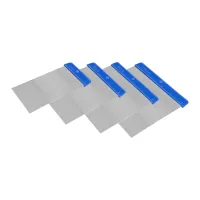
- Japanese spatulas
- Kitchen scales
- Mixing cups
- Flat brushes
- Nitrile gloves
- Mixing spatulas
- Wood chisel
- Hammer
- Screwdriver
- If needed a suitable piece of wood to fill with
Stap 1. Remove the wood rot
First of all, you must thoroughly clean the rotted parts. Remove all rotten wood with a wood chisel and screwdriver until only good wood remains. After removing the rotten wood, ensure that the wood is properly cleaned and that all wood residue is removed.
Stap 2. Impregnate the surface to be repaired with epoxy
Mix epoxy resin with rapid hardener to impregnate the substrate. It is important to use the correct ratio, so weigh the resin and hardener accurately with a kitchen scale. Mix at least 150 grams of epoxy (100 grams of resin and 50 grams of hardener).
Apply the mixed epoxy with a small flat brush to the bare areas where the rotten wood has been removed. Always wear nitrile gloves to protect your hands. Then let the epoxy cure for 1 to 2 hours, depending on the temperature. It is important not to wait longer than 24 hours before doing the next steps to ensure a good chemical bond.
Stap 3. Fill the holes with epoxy glue (epoxy + cotton fibre)
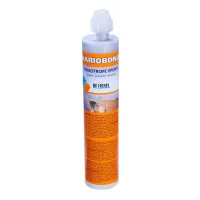
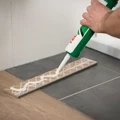
Now that the substrate has been impregnated, it is time to fill the holes with a mixture of epoxy resin and cotton fibre. With these two products you can easily and cheaply make a fillet. Follow the steps below to make a fillet connection:
- Mix the epoxy resin with the corresponding hardener in a ratio of 100:50 for approximately 3 minutes.
- Add cotton fibre to the mixed epoxy until a 'peanut butter consistency' is achieved.
- Then process the thickened epoxy as desired with a putty knife. When using universal epoxy with a fast hardener, you have a processing time of approximately 20 minutes at room temperature.
- Smooth the paste as smoothly as possible and let the epoxy harden for at least 24 hours.
Step 4. Finish the window frame
After filling the holes with epoxy paste, your rotten window frame is almost repaired. Once the epoxy has completely hardened, you can start finishing the whole thing. You can do this with a sander or simply by hand. Please sand with 120-180 grit.
More information about wood rot repair
By properly implementing the above step-by-step plan, your window frame will look like new again and can last for years to come! Do you have any questions about the working method or the products used after reading this article? Feel free to contact our customer service team, via email, telephone or live chat!