Do you have questions about repairs to your boat after reading this informative article? Or do you have doubts about the (quantity of) suitable materials? Please do not hesitate to contact our specialists for tailored advice!
Step-by-step plan for boat repair (below the waterline)
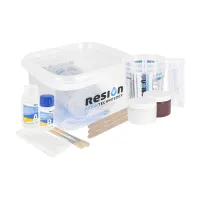
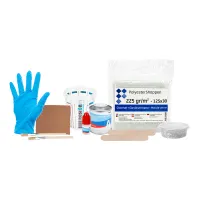
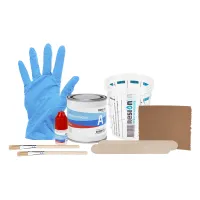
In the video below, product specialist Arne shows how to easily carry out a polyester repair. Here he uses the Polyester repair kit. We wrote down all the steps so you can read it again later.
Step 1. Map the damage
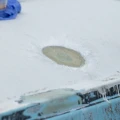
Before you start boat repair, it is first important to take stock of the damage. Check carefully where the damage is and what the damage is. Think of cracks, scratches or holes from removed equipment (such as a log or depth gauge).
After you have inventoried all the repairs, you can calculate how much material you will need to carry out the repairs.
Step 2. Chamfer off holes, cracks and scratches
Supplies:
Chamfer cracks and scratches with an 8:1 bevel. For minor repairs you can use a sander. An angle grinder with flap disc is indispensable for major repairs.
Unnecessary holes should also be chamfered. In many cases we recommend carrying out the repair from both the inside and outside. It is often decided to first bevel the outside to approximately 2/3 of the hull thickness. Once the outside has been repaired, you need to grind out and repair the inside.
After grinding, check whether the cracks are not deeper than expected. Wet the sanding area and wipe it dry again. In a crack the water will remain longer and become visible again. Grind out these cracks even deeper.
Finally, make a plug from, for example, a piece of leftover plywood covered with tape or cardboard. This is how you bridge the gaps of equipment.
Step 3. Repair damage using polyester and glass fabric
Supplies:
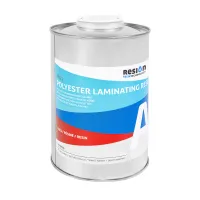
- RESION Polyester laminating resin
- Fibreglass chopped strand mat 225 gr/m2
- Fiberglass
- Polyester safety package
- Vent roller
- Disposable brushes
- Mixing spatulas
In this step, we are going to laminate holes and cracks with polyester laminating resin combined with glass fibre. Always clean and dust the surface before you start laminating. In addition, make sure you always wear the right protective equipment while working with polyester. Always wear covering clothing, a suitable fume mask and nitrile gloves.
Repairing holes
Add approximately 2% MEKP hardener to the polyester laminating resin and mix well in a clean mixing cup. While mixing, the polyester resin will slowly change colour.
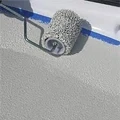
Once you have mixed the polyester resin well, apply a layer of resin to the surface. Apply enough fibreglass chopped strand mat around the hole. Do this from large to small and vent the surface after each layer with a vent roller. After each layer of fibreglass, apply another layer of polyester resin. Work layer by layer until the fabric is level with the surrounding surface. Now let the polyester resin harden completely.
For holes that are completely through the hull, once cured on the inside, the temporary plug can be removed and the spot can also be sanded at an angle on the inside and laminated according to the above method. The strength is now fully restored.
Repairing cracks
You can easily repair cracks by making a paste of polyester laminating resin and glass fibres. Add approximately 2% hardener and the glass fibres to the polyester laminating resin base. Mix well to make a spreadable paste. Now fill the crack with the paste and spread it well. Then let it cure completely.
Step 4. Follow-up
In the steps above you have read how to carry out a polyester repair. Now that you have successfully repaired all cracks and holes, you can move on to the next step: fairing the hull with epoxy putty.
More information about a repair above the waterline?
Do you have any questions about polyester repairs or about refurbishing your boat? Our specialists are ready for you! Feel free to ask all your questions via phone, email or live chat, we are happy to help you with your project! Please check out the other informative articles we wrote on boat repair and recovery.